Category Archives: Sides

Roasted Heirloom Tomatoes

Summer time means homegrown tomatoes! Chad and I’s tomato plants are 7 feet tall.

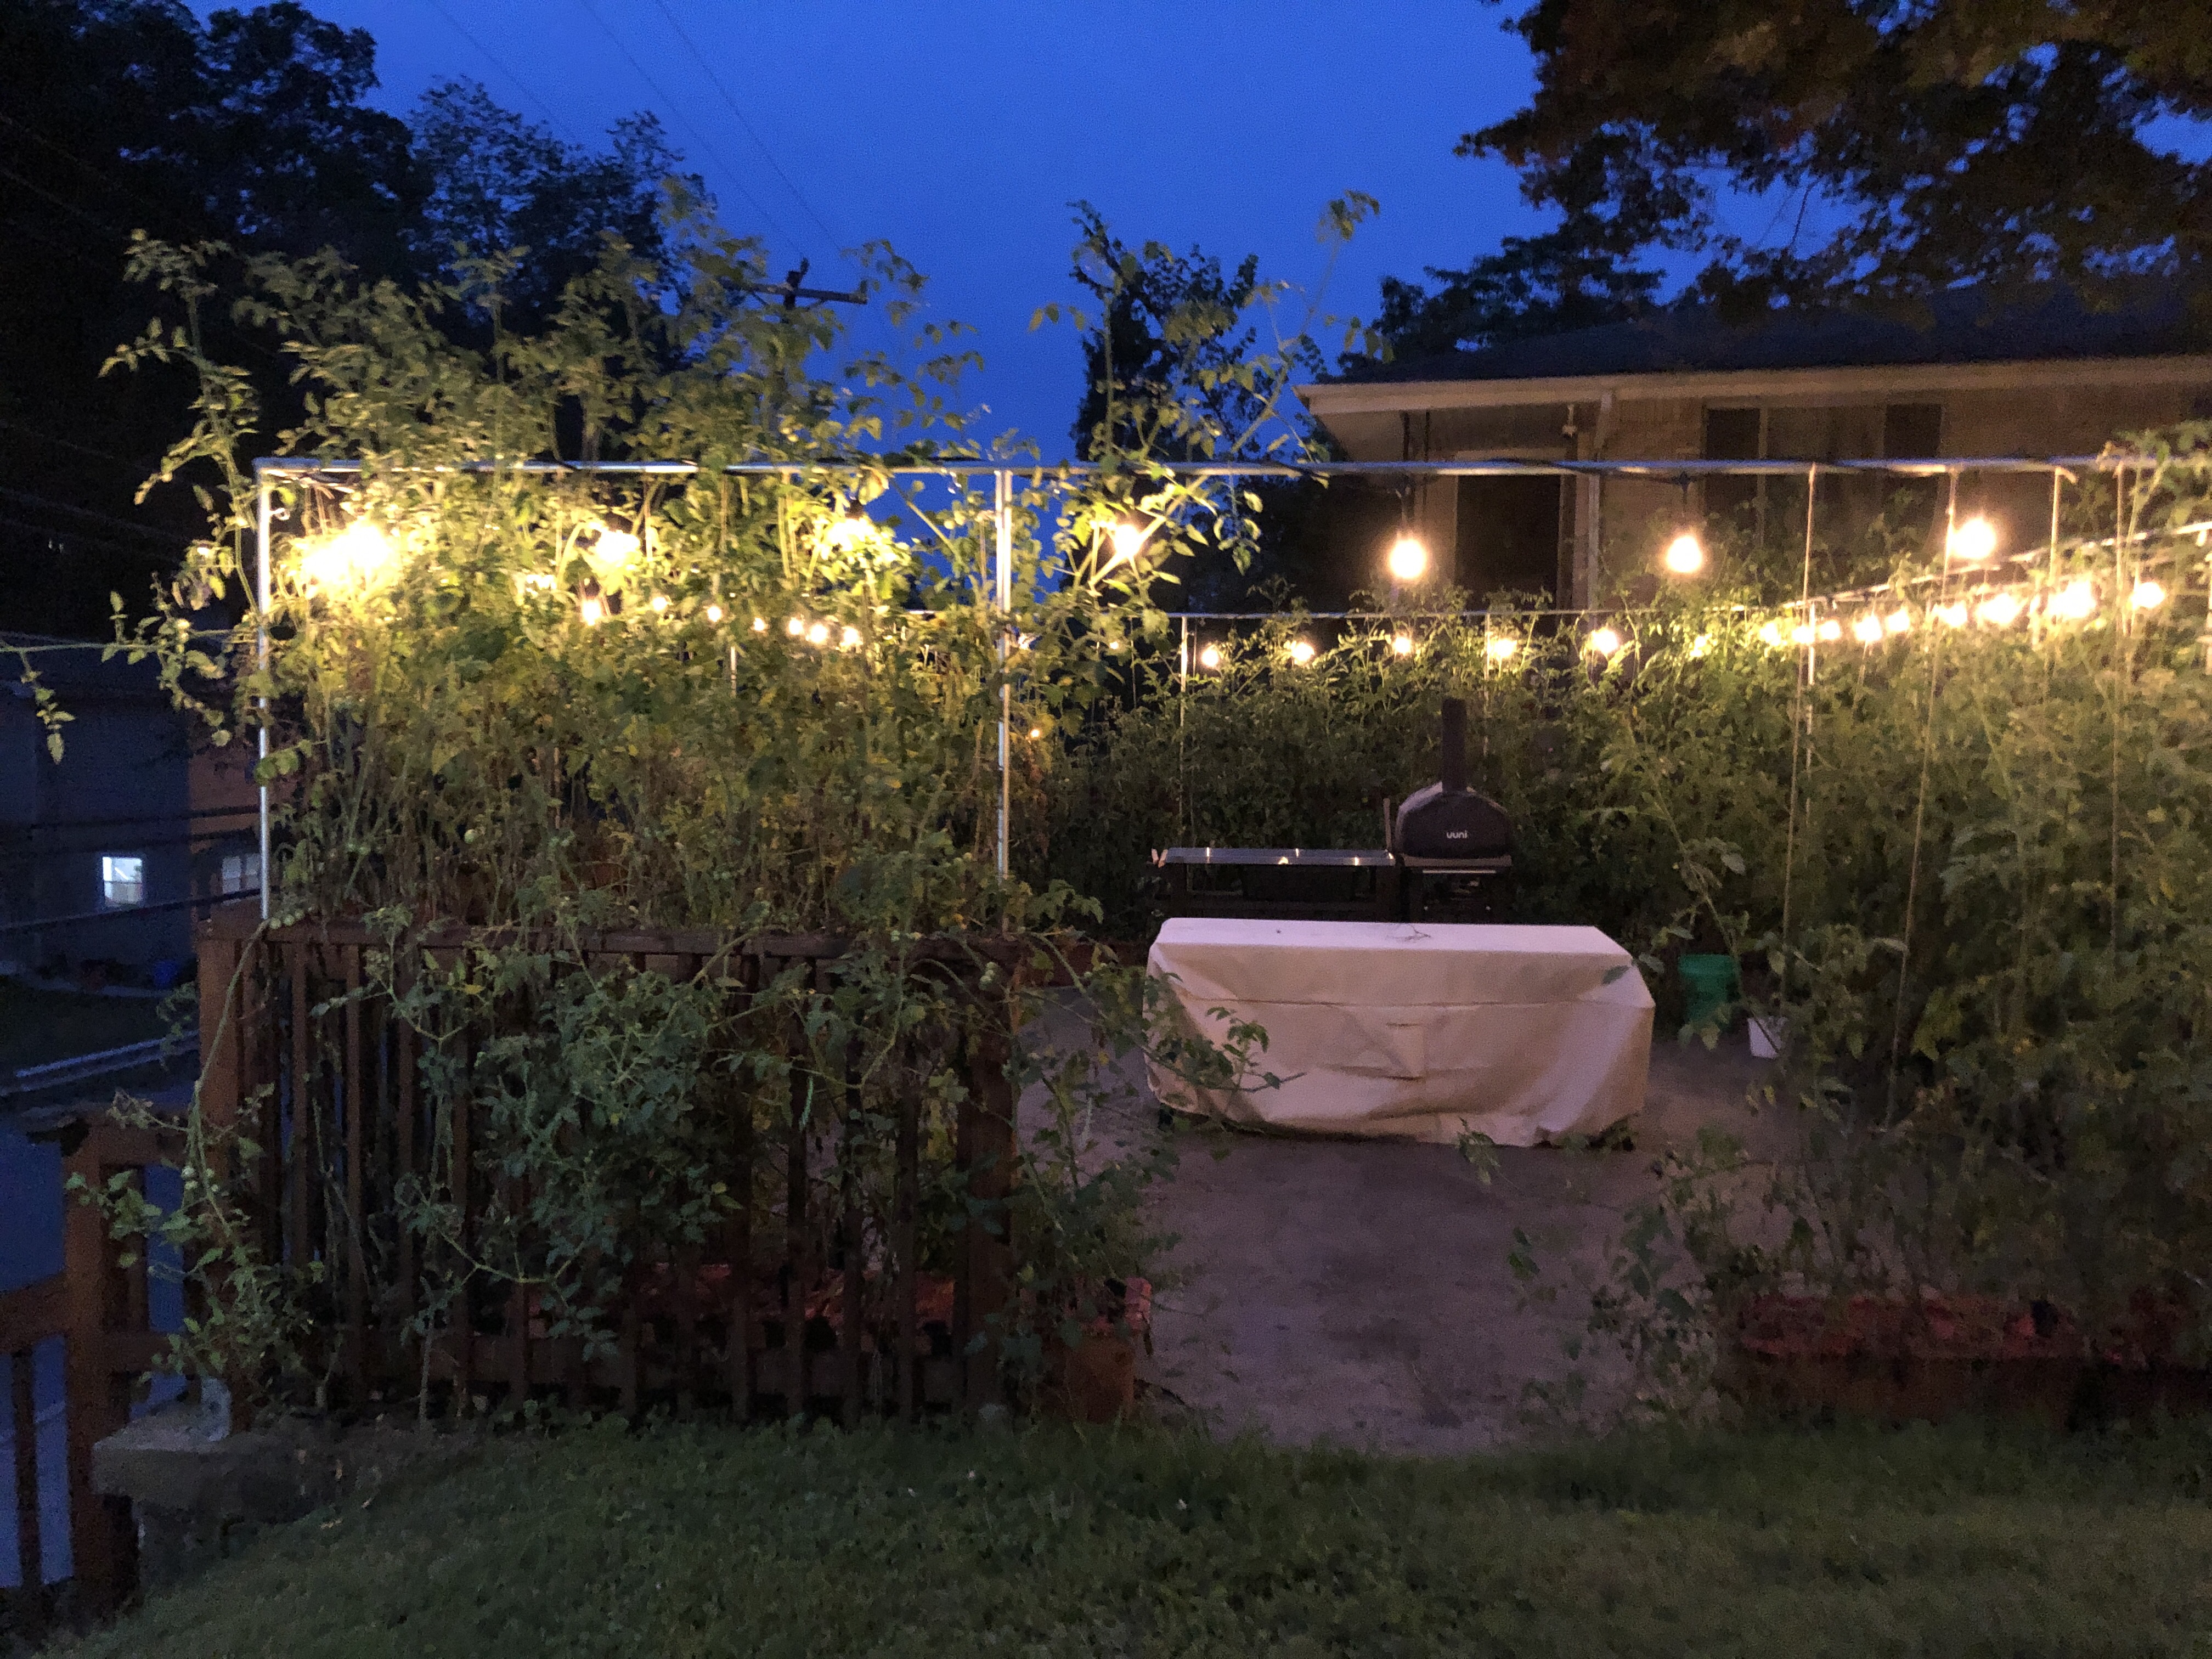
We planted over a hundred plants in the rooftop garden this year. So now that they are ready to be picked we cannot keep up. One of our favorite things to do is slow roast them in the oven (that is when we are not eating them right off the plants!). Yum! We grew a variety of small heirloom plants so many vibrant colors of the rainbow with various flavors and textures.

We also love to give the tomatoes away. We probably give more away than what we keep. Sharing is caring ☺️

Roasting and freezing them help us enjoy them all year round.

This is such a simple recipe! All you need is time.

Ingredients:

  • 1-2 pints of ripe tomatoes (we like to grow the smaller variety)
  • Olive oil or canola oil spray
  • Kosher salt to taste

Directions:

  • Preheat oven to 250 degrees
  • Prepare a 1/2 sheet baking tray with either rack insert or lined silicone mat
  • Wash & rinse the tomatoes with water
  • Cut the tomatoes in half & line them on the sheet pan cut-side down.
  • Place the pan in the oven and let them roast for 2 hours at 250 degrees.
  • Once time has elapsed remove from oven and let cool. Place the tomatoes using a funnel into ball jars. Store in refrigerators.

I love to place this on top of my salad, eggs, or in a wrap with hummus. Or just eat by the spoonful 😋

Fiesta Black Bean Salad


We had a Fiesta theme Birthday Bash for my Mother-in-law’s 60 th Surprise Birthday Party. I know this type of salad is one of her favorites. 

The salad is also vegan which I find enjoyable to always take a vegetarian entree wherever I go for meals. This way I can always count on at least one meal to eat at a potluck.  I prepare variations of this bean salad all the time; however, this go around I did make a few twists by incorporating an avocado, and green chilis to add some flare. 

Ingredients

1 large can black beans ( 822 g); rinsed and drained well

4 oz can of green chilis; drained 

1 large green pepper, diced 

1 large orange pepper, diced 

1 cup frozen corn kernels 

1 pint of grape tomatoes, cut in half

I small lime, juiced

2 Tablespoons jalapeño lime vinegar 

1 teaspoon ground cumin

1 teaspoon chili powder 

1/2 teaspoon kosher salt 

2 tablespoon of fresh cilantro, minced

1/4 cup red onion, diced

1 small ripe avocado, diced

Directions
:

1. Place all the ingredients in a large sealable bowl with the exception of the avocado. Use a rubber spatula to fold ingredients together. Let the salad rest overnight. 

2. Prior to serving fold in diced avocado. 

Freekeh 

Are you looking to branch out and try a hearty ancient grain?  Freekeh, might be the way to go. The first time I had freekeh was when we had a HelloFresh order.  I thoroughly enjoyed the nutty texture, the mouthfeel is similar to barley or farro. This versatile grain can be used in place of quinoa, rice, pasta, & couscous. 

Freekeh (pronounced “free-ka”), is a world grain which is produced from the young green wheat during the harvest. Since freekeh is harvested so early on in the process, it is filled with many rich nutrients &, fiber. Freekeh is also roasted which attributes to the nutty taste. 

Keep in mind, unlike rice, and quinoa, this grain is not gluten free, since it does stem from the wheat grass. 

I was every excited when I was grocery shopping the other day, and came across a discounted package of Freekeh in the bargin bin at Harris Tetter 🤗. 

I’ll take that! Please advise; Never be afraid to rummage through the clearance section at the grocery store! While I purchased this gem, I also came across a full pound of already cut butternut squash for $1.00! 

Yields: 3 cups

Ingredients

1 cup dry freekeh

3 cups vegetable broth, low sodium

1 tablespoon pasta sprinkle 

Directions:

1. Place vegetable broth, freekeh, and pasta sprinkle in a 2 quart sauce pan. On high-medium heat, bring the mixture to a boil. 

2. Once the freekeh starts to boil,reduce the heat, stir, then cover with a lid for 20 minutes to allow the freekeh to simmer. 

3. After the 20 minutes have elapsed, turn the heat off, and allow the freekeh to rest for 5 additional minutes in the sauce pan.  If there is any additional liquid remaining after the 5 minute window, strain the freekeh in a pasta strainer. 

Enjoy with some roasted vegetables, as pictured below. Or try the grain in a stuffed pepper, soup, salad, or stir fry. 


Oven Roasted Broccoli, Brussel Sprouts & Onions


During the winter months, I love roasting vegetables in the oven to perfection. I enjoy when the vegetables have a slight char to them but are still firm for good texture and are not overly done. 

This recipe is an easy side dish which pairs well with almost any entree. I suggest trying the dish with roasted chicken or sautéed tofu steaks with a hearty grain like quinoa or freekeh for the starch companion.

Ingredients :

Canola oil cooking spray

Two smallfresh heads of Broccoli or one large, roughly chopped (stems and all)

One medium yellow onion, quartered

1 cup of fresh Brussel sprouts, halved  

1 Teaspoon of every day seasoning from Trader Joe’s (a blend of sea salt, mustard seeds, peppercorns, coriander,onions, garlic, paprika, and chili pepper)

Directions :

1. Preheat oven to 350 degrees. 

2. Thoroughly rinse all the vegetables with water & prepare according to indication above.

3. Coat with cooking spray a half sheet baking pan. Set aside. 

4. Evenly distribute the vegetables on the prepared baking sheet. Generously spray the vegetables with cooking spray and sprinkle with the seasoning. With a spatula toss the vegetables to coat the seasoning uniformly. 

5. Place the pan in a preheated oven with temperature set to 350 degrees. Bake for 20 to 25 minutes. Make sure to toss the vegetables halfway using silicone spatula. 

6. Afterwards remove from oven and place the mixed vegetables in sealable bowl.  Properly store the leftovers in the refrigerator (if there are any leftovers).

Baked Barbecue Zucchini Chips

We have so much Zucchini in the garden! We could not even fit two more in the refrigerator.  I have been wanting to try baked zucchini chips for a while now so no better time than now. 

This recipe is very easy especially if you have a mandolin. These chips take a little extra time and patience; however, they are worth the wait.  I ate the entire first batch… oops and then had to make another. 

Ingredients: 

One small-medium zucchini

Add half a teaspoon a barbecue 3001 seasoning 

Canola Oil Cooking Spray

2 Half sheet pans with parchment paper

Pre-directions preheat the oven to 230 degrees and line two half sheet pans with parchment paper.

Directions

1. Using a mandolin safely cut up one zucchini. 

2. Blot the cut zucchini slices with paper towels to remove the excess moisture.

3. Line the zucchini slices on parchment paper lined pan. 

4. Spray the zucchini with cooking spray & sprinkle with the BBQ powder. The trick to even distribution is using a powder sugar metal shaker (all purpose shaker). 

5. Place the pans in the oven. Bake for an hour at 230 degrees. Rotate out the pans and bake for another hour, at same temperature, or until golden in color. 

Enjoy !

Tri-Color Quinoa


I love quinoa! This Tri-Color Quinoa goes well with just about any dish. I make it in bulk on the weekends and serve it up with most of my lunches or dinners during the week. Add it to beans, salads, place onto of portobello mushrooms, stuff peppers with. Really you can use it just about anywhere you typically use rice. I prefer it over rice because of it’s nutty flavor and fluffy texture. Quinoa provides more protein than traditional grain products. A 1/2 of cup uncooked quinoa provides 8 grams of protein.

Ingredients:

1 cup of dry (rinsed through a strainer) Quinoa (I like the tri-colored but you pick your favorite)

2 cups of water

1 tsp of Penzey’s Vegetarian Soup Base

1 tsp of Pasta Sprinkle (or Italian seasoning)

1 tsp Roasted Garlic Powder

Directions:

  1. Place a 2 quart pan on a burner with vegetable base, garlic powder, water & quinoa on high. Allow the quinoa to come to a boil.
  2. Once the quinoa is boiling, decrease the temperature to simmer and place lid over pan.
  3. Allow the quinoa to simmer for 15 minutes with lid on. After 15 minutes have elasped check to see if the grain is fluffy and no water remains.

Roasted Cauliflower Rice


IMG_8283Cauliflower rice is a fairly new concept, well everything cauliflower replacing traditional grain products is all the rage. But this idea is not the first time cauliflower has replaced a traditionally starchy food at the dinner table. I can remember 20 years ago, my mom making cauliflower mock mashed potatoes when I was growing up.  When everyone was low carb and loving it.  I love whole grains please don’t get me wrong. I eat whole grains daily, matter of fact several times a day. Whole grains are superfoods, rich in many vitamins, minerals, and fiber.

I strongly advocate for incorporating more vegetables into any diet. Actually, everyone can use a more vegetables in their lifestyle.  Cauliflower rice is one way of sneaking in (aka increasing) vegetables into you and your families meals . Switching out regular rice and substituting it with cauliflower rice can significantly decrease the calories in a dish as well.   This rice recipe is something you have to try! One of my colleagues has me hooked. I love this side dish. You will eat half a head of cauliflower in a sitting and not even bat an eyelash.


Ingredients:

1 large head of cauliflower

Salt to taste

1/4 Teaspoon of  Black Pepper

1 & 1/2 Teaspoons of Roasted Garlic Powder from Penzey’s

Low Sodium Soy Sauce (optional)

Directions: 

  1. Preheat oven to 400 degrees. Line a half sheet pan with parchment paper. Set aside
  2. Prepare a food processor with the grater attachment. Take the cauliflower feed it through the top using the plastic plunger. Pour the shredded cauliflower onto the baking dish evenly.
  3. Sprinkle with roasted garlic, pepper, & salt and mix. Bake at 400 degrees for 30 minutes or until the rice starts to brown.Every 10 minutes, toss the “rice” with a spatula.
  4. Enjoy!

Chili Spice Fries in the actifry 

Today we had a healthy cooking food demo at work for the wellness program. Our dietetic intern presented on slow cooker meals and quick easy healthy dinners. This was her second presentation on this topic. Last week I made partytime beans in the crock pot for her presentation and today we decided to share the love of the actifry. The actifry is one of my favorite healthy kitchen tools, I love the fact it eliminates all the fat except for 1-2 TB or even sometimes, I just use cooking spray. I think by the end of the session we had everyone participating wanting an actifry. For the demo, I made my chili spicy fries, which were and always are a big hit.


Ingredients:

4 large baking potatoes (scrubbed well and washed with water)

1 1/2 c tsp chili powder

1 tsp kosher salt

1 tsp garlic powder

2 tb olive oil

Directions:

  1. Cut fries about 1/2 inch thick and 3 inches long. Do not peel the skin (all the nutrition and fiber is in the skin). Place the fries, seasonings, and oil in actifry. Set timer for 40 minutes or until browning effect takes place and fries are cooked to your standard.
  2. Enjoy!


Mystery Cheese Potatoes

 
. 
I placed these fries in the Actifry. The reason they are called Mystery  fries is because we went to one of our favorite shops in the strip district & they have a cheese called “mystery cheese. ” Of course we had to purchase some. The owner was too cute and told us what the cheese was even though it was considered quote on quote “mystery cheese.” 

Ingredients:

1/4 cup a blend of grated Parmesan, Asiago, Romano Cheese

1 teaspoon of garlic salt

1/2 teaspoon of garlic powder

1/2 teaspoon of dried oregano 

1/2 teaspoon of paprika

2 tablespoons of olive oil

4 medium to medium large local potatoes 

Directions:

1. Clean, don’t peel, & cut potatoes into sticks. Place in actifry. Pour olive oil over the potatoes.

2. Sprinkle with remaining ingredients and set actifry for 45 minutes. Add additional salt to taste. 

3. Enjoy!