Category Archives: Vegetarian

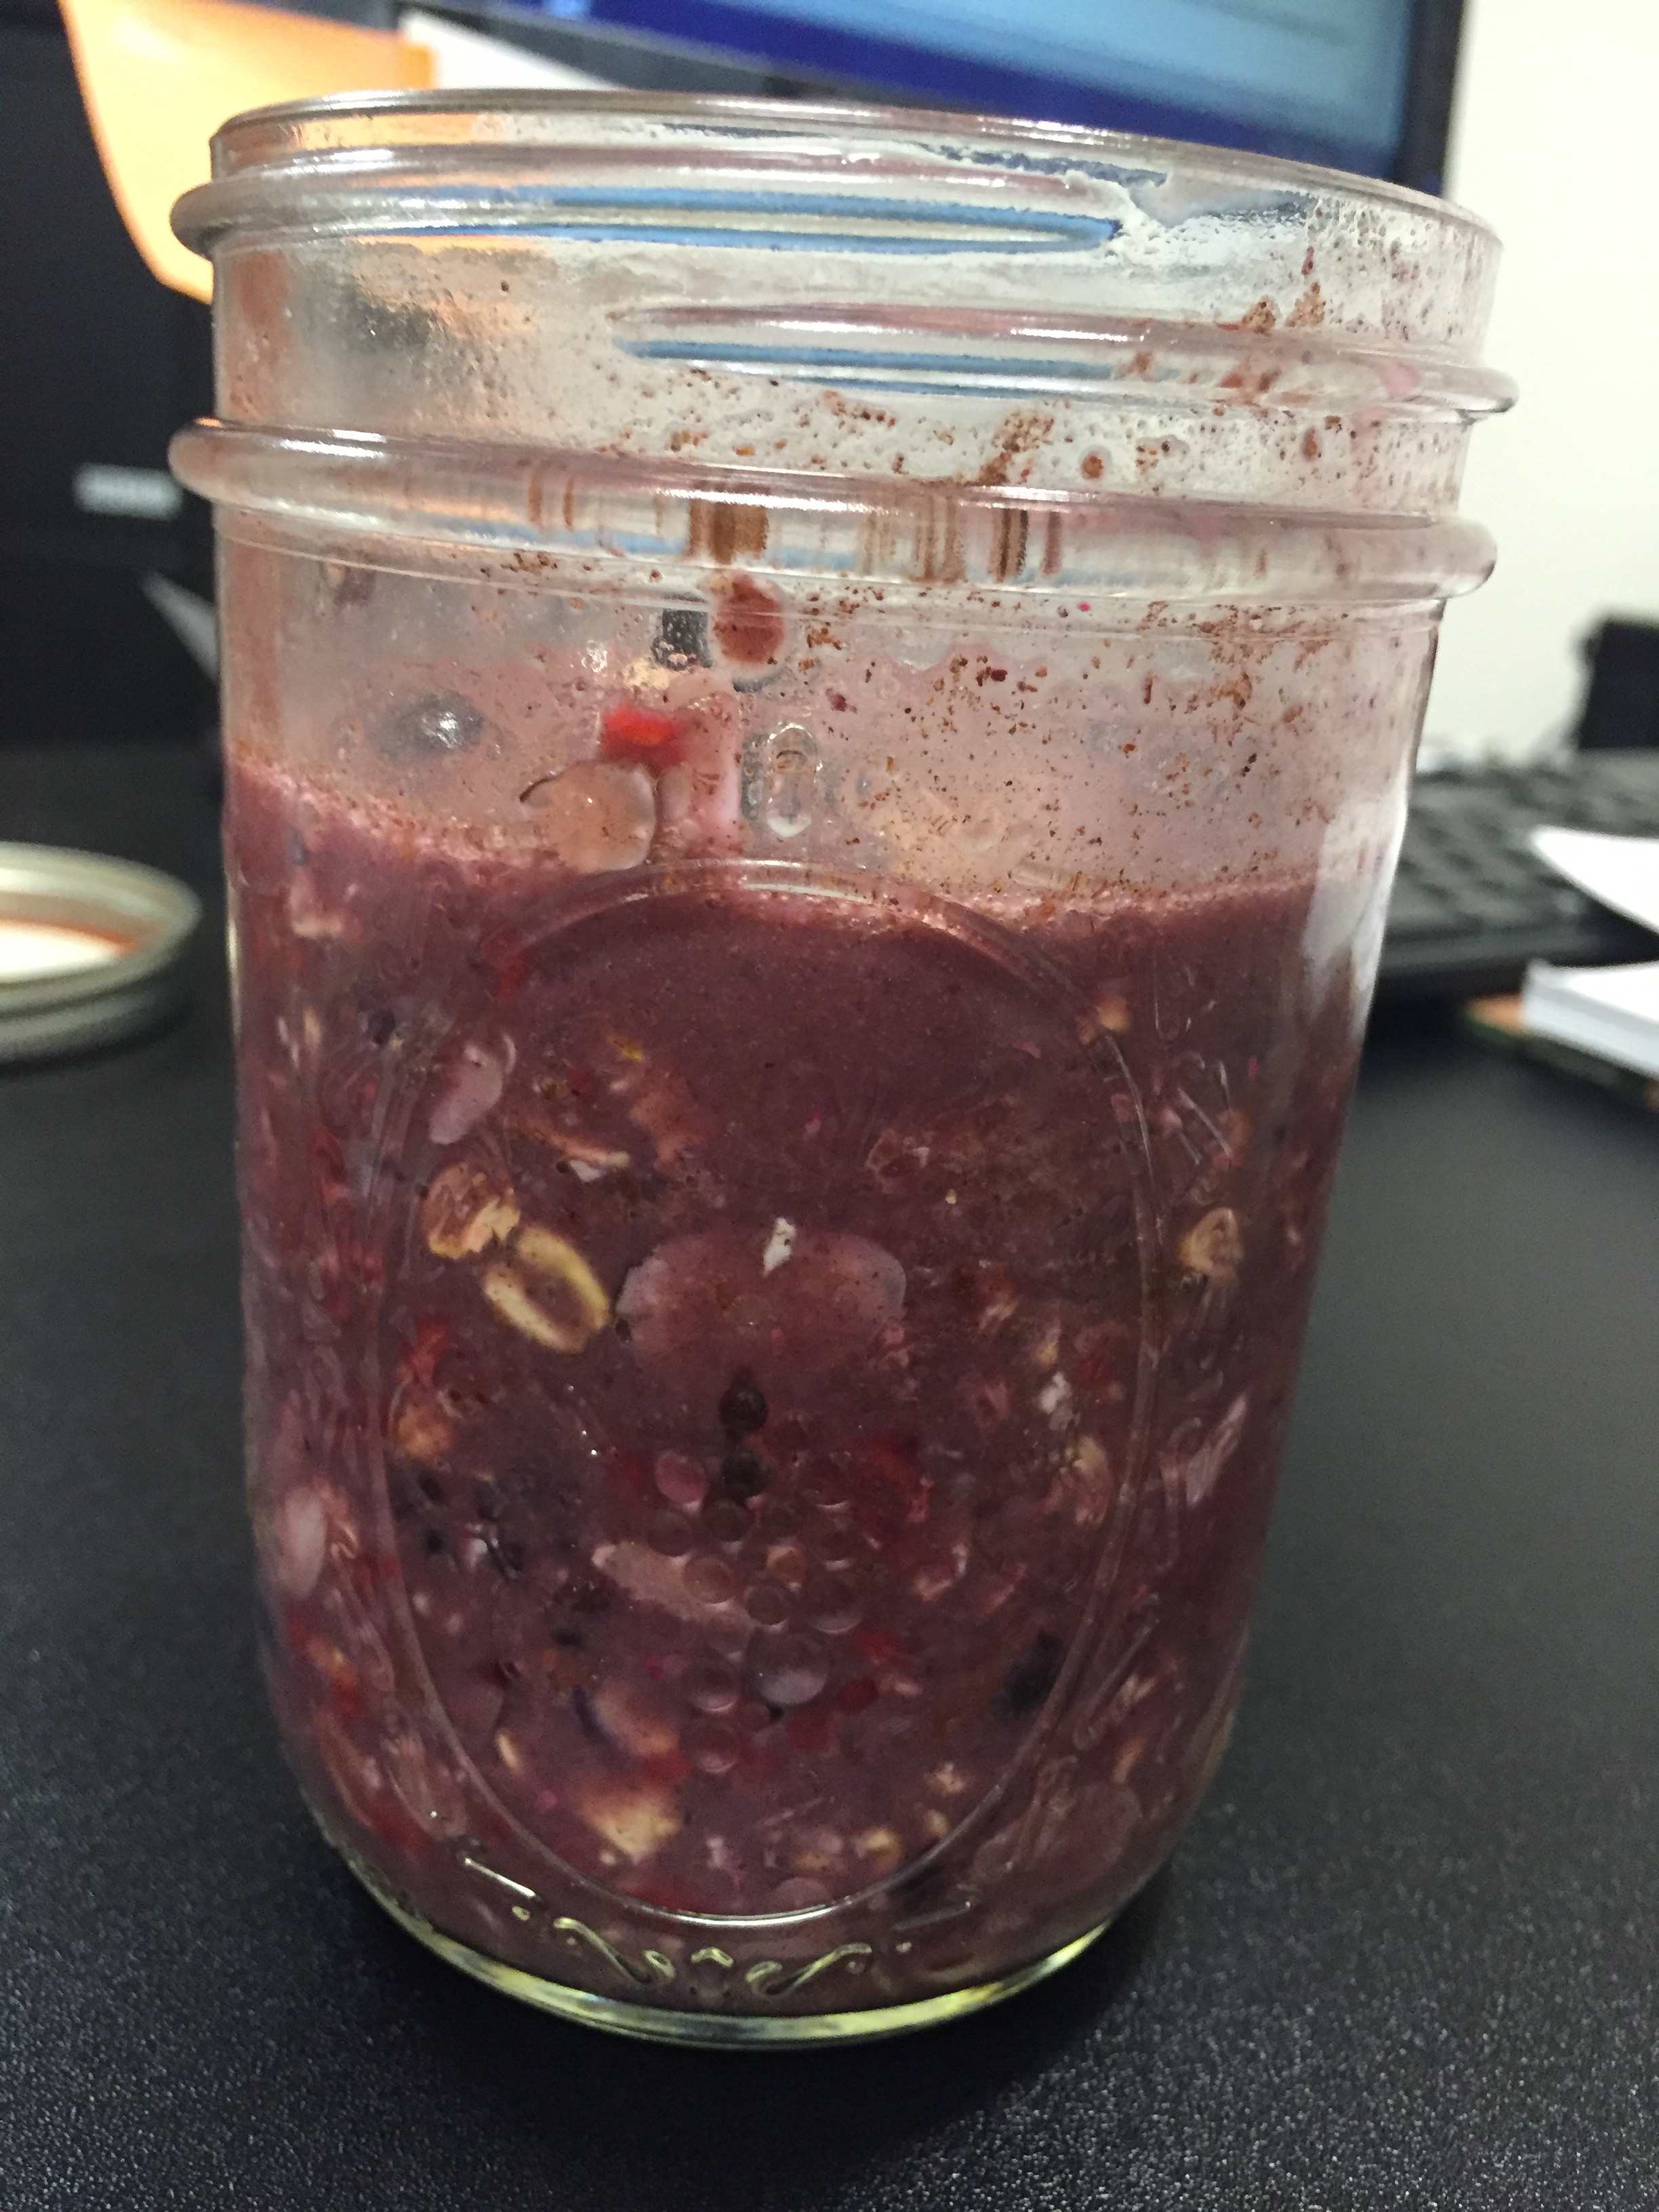
Overnight Berry Oats


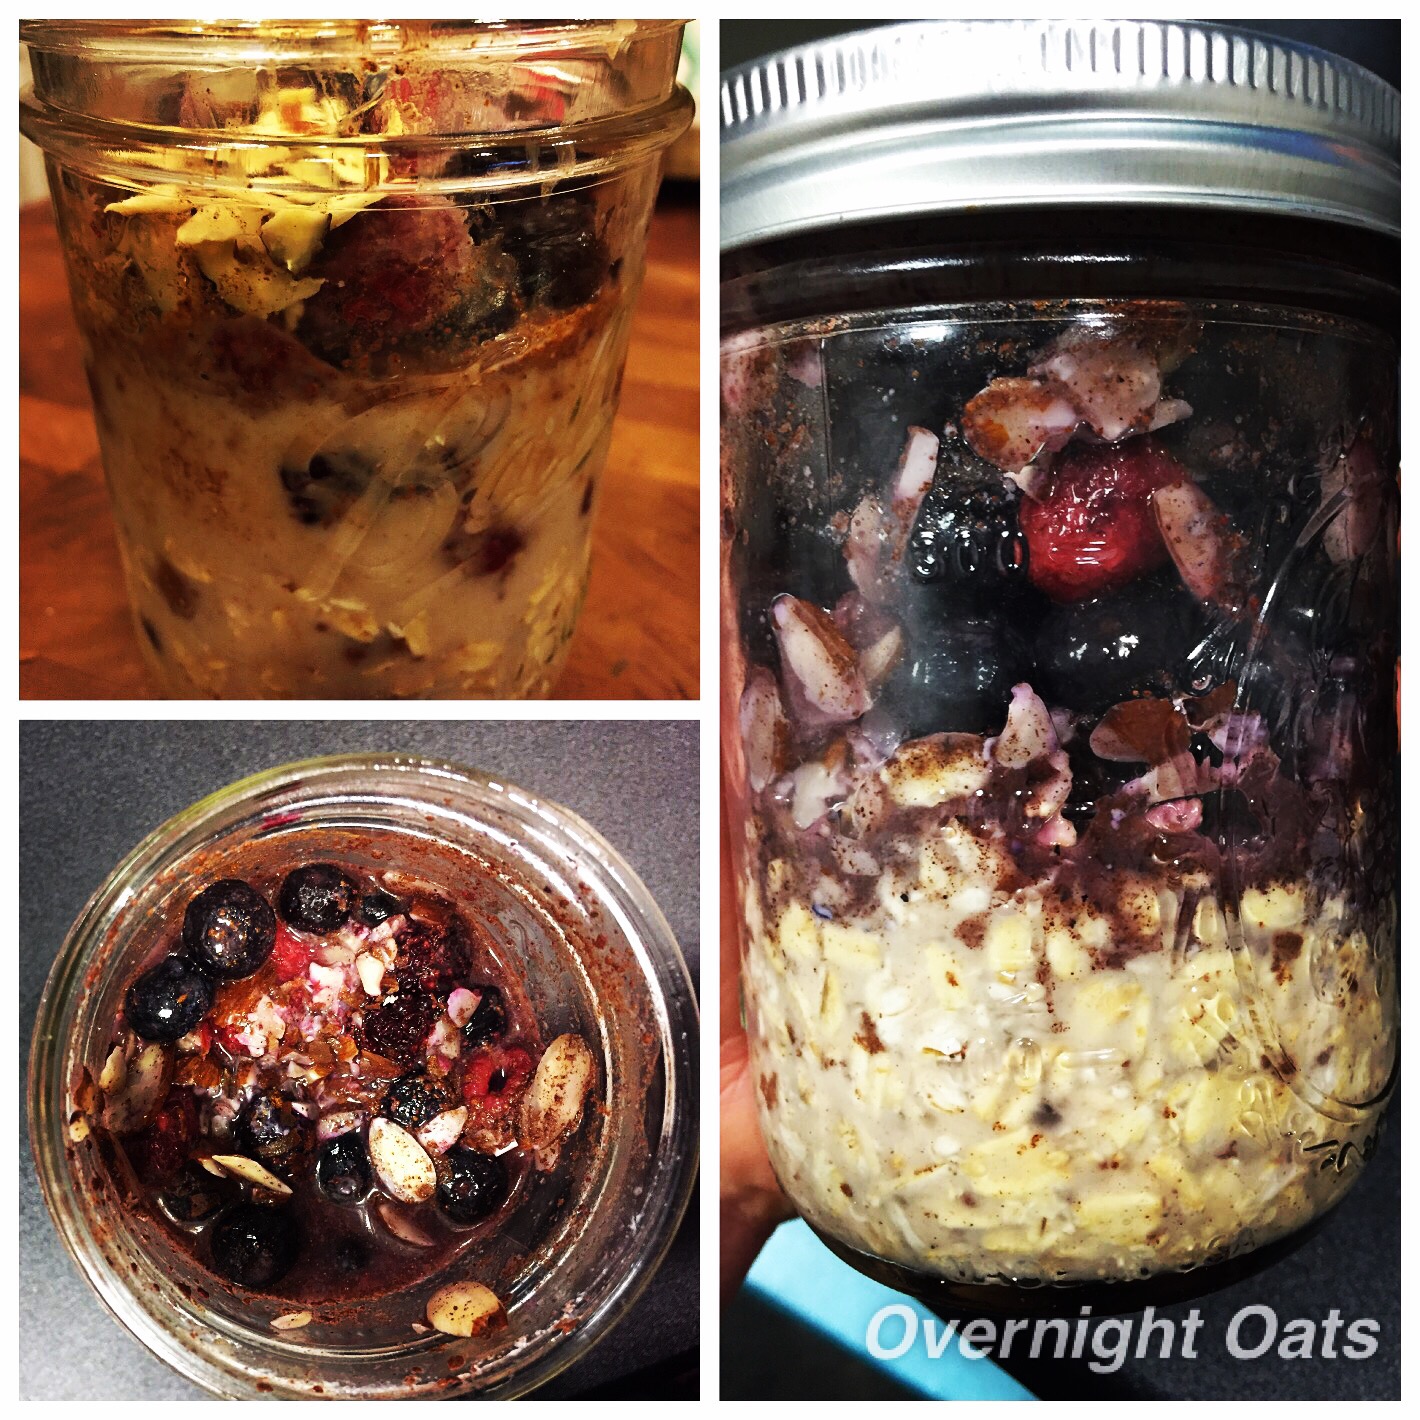
I don’t know what it is about a mason jar but it makes preparing breakfast the night before a lot more enjoyable. I love using mason jars for storage, canning, snacks, and now overnight oats. 

What I enjoy most, the jars are a fun way to see your creations come to life as they blend and marry in the refrigerator over night. 

This overnight oat recipe is very quick and easy to make and your belly will thank you in the morning. 

Ingredients

2/3 cup unsweetened cashew milk 

3/8 cup old fashion oats

1 tsp ground  vietnamese cinnamon

1/8 tsp pure vanilla extract

1/8 tsp coconut extract

1 tb slivered almonds

1 cup mixed frozen berries

1 packet of non caloric sweetener (optional) 

Directions:

1. Place the milk, oats,  sweetener, extracts, & cinnamon in pint mason jar and stir. Add the frozen berries and slivered almonds. Secure the lid and place the jar in the refrigerator overnight. 

2. The next morning stir the contents of the jar thoroughly! Enjoy ! 


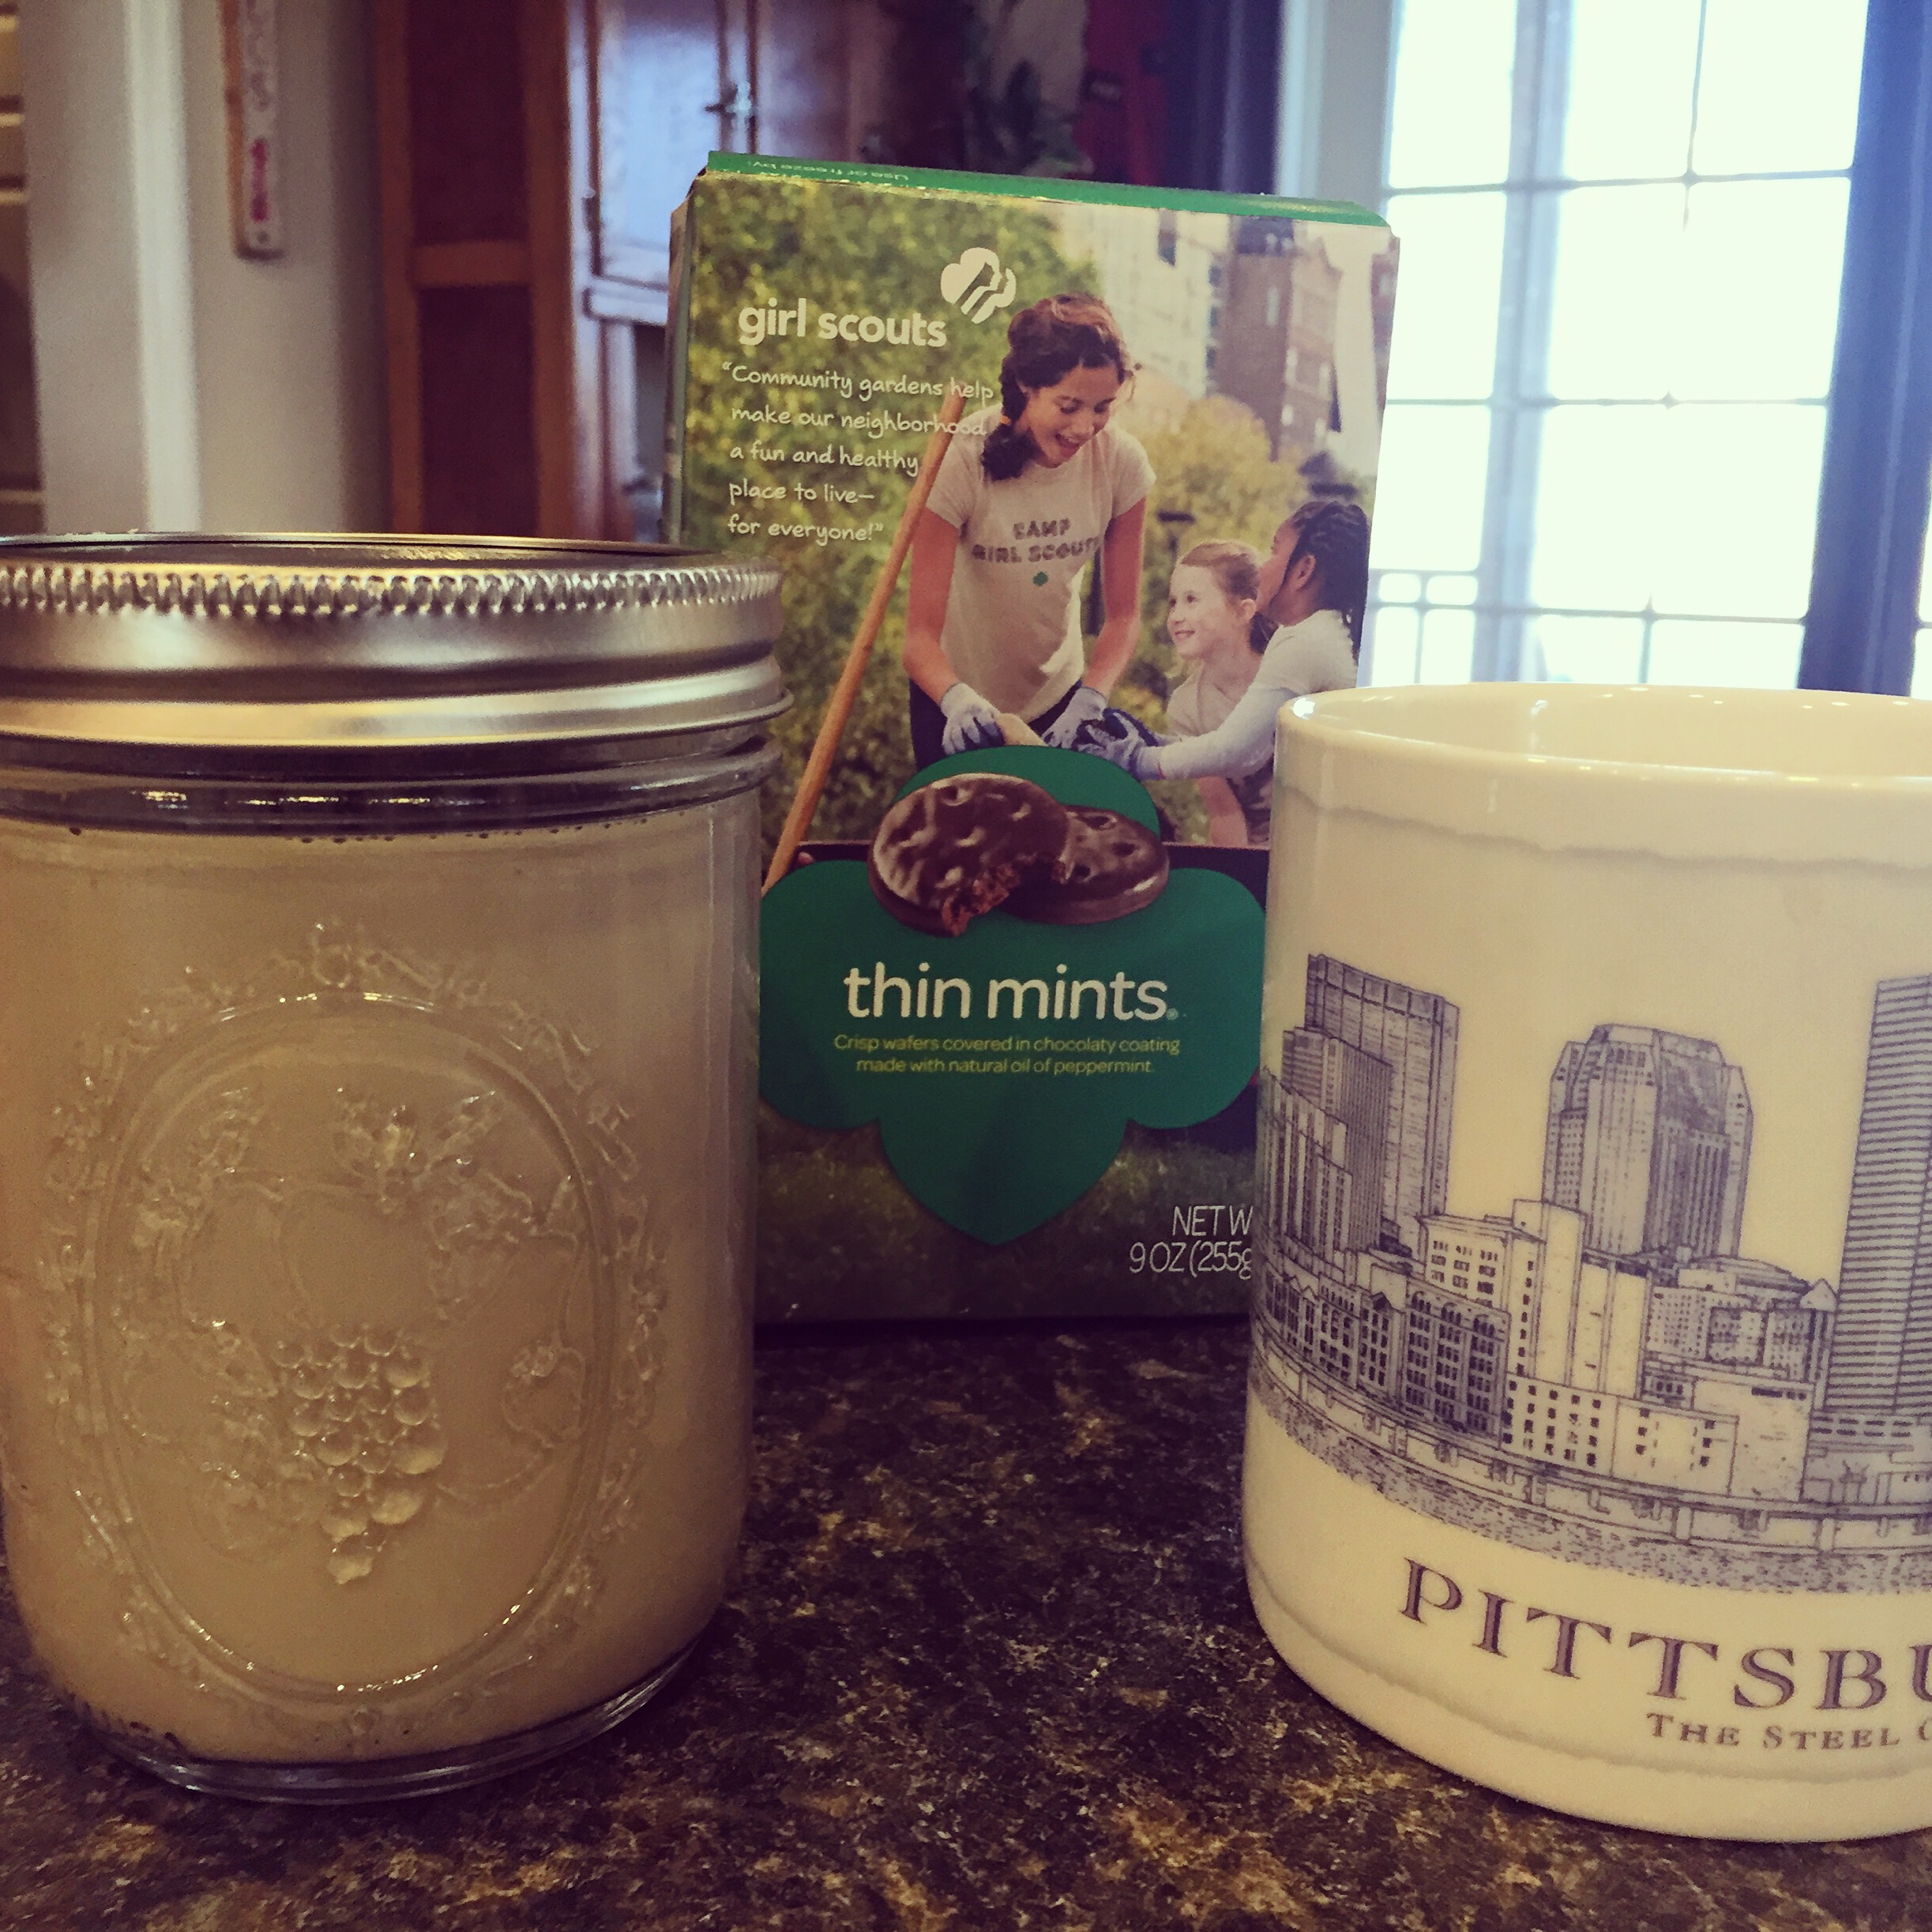
Thin Mint Coffee Creamer


Girl Scout season is here! Girl Scouts are everywhere selling cookies for one of their badges and to also allow the troops to complete activities throughout the year. 

Every time I see Girl Scout Cookie stands it is so hard to pass them up. They always talk you into a box or two…Even my husband the last time he went to the grocery store they conned him into a box. 

I was a Girl Scout when I was growing up and I can remember going door to door to sell these fine treats. One year I even found the mystery house one road off from my house. 

This creamer you can make all year round so you can enjoy the flavor anytime you have a craving for a thin mint. 

Ingredients:

2 cups of fat free half and half

1/2 cup of  Crème de menthe syrup

3 TB of penzeys hot cocoa powder

Directions:

Place all the ingredients into a sauce pan. Place pan on medium-high heat. Whisk with wire whisk so all the for ingredients can marry. Allow the creamer to simmer for 5 minutes and remove from heat. Allow the liquid to cool slightly prior to pouring into glass container. I recommend using a funnel for this step. Keep the vessel sealed in refrigerator. Make sure to shake the creamer well prior to each use. 

Vanilla Cake with Pastry Cream Filling & Strawberry Whipped Cream Frosting

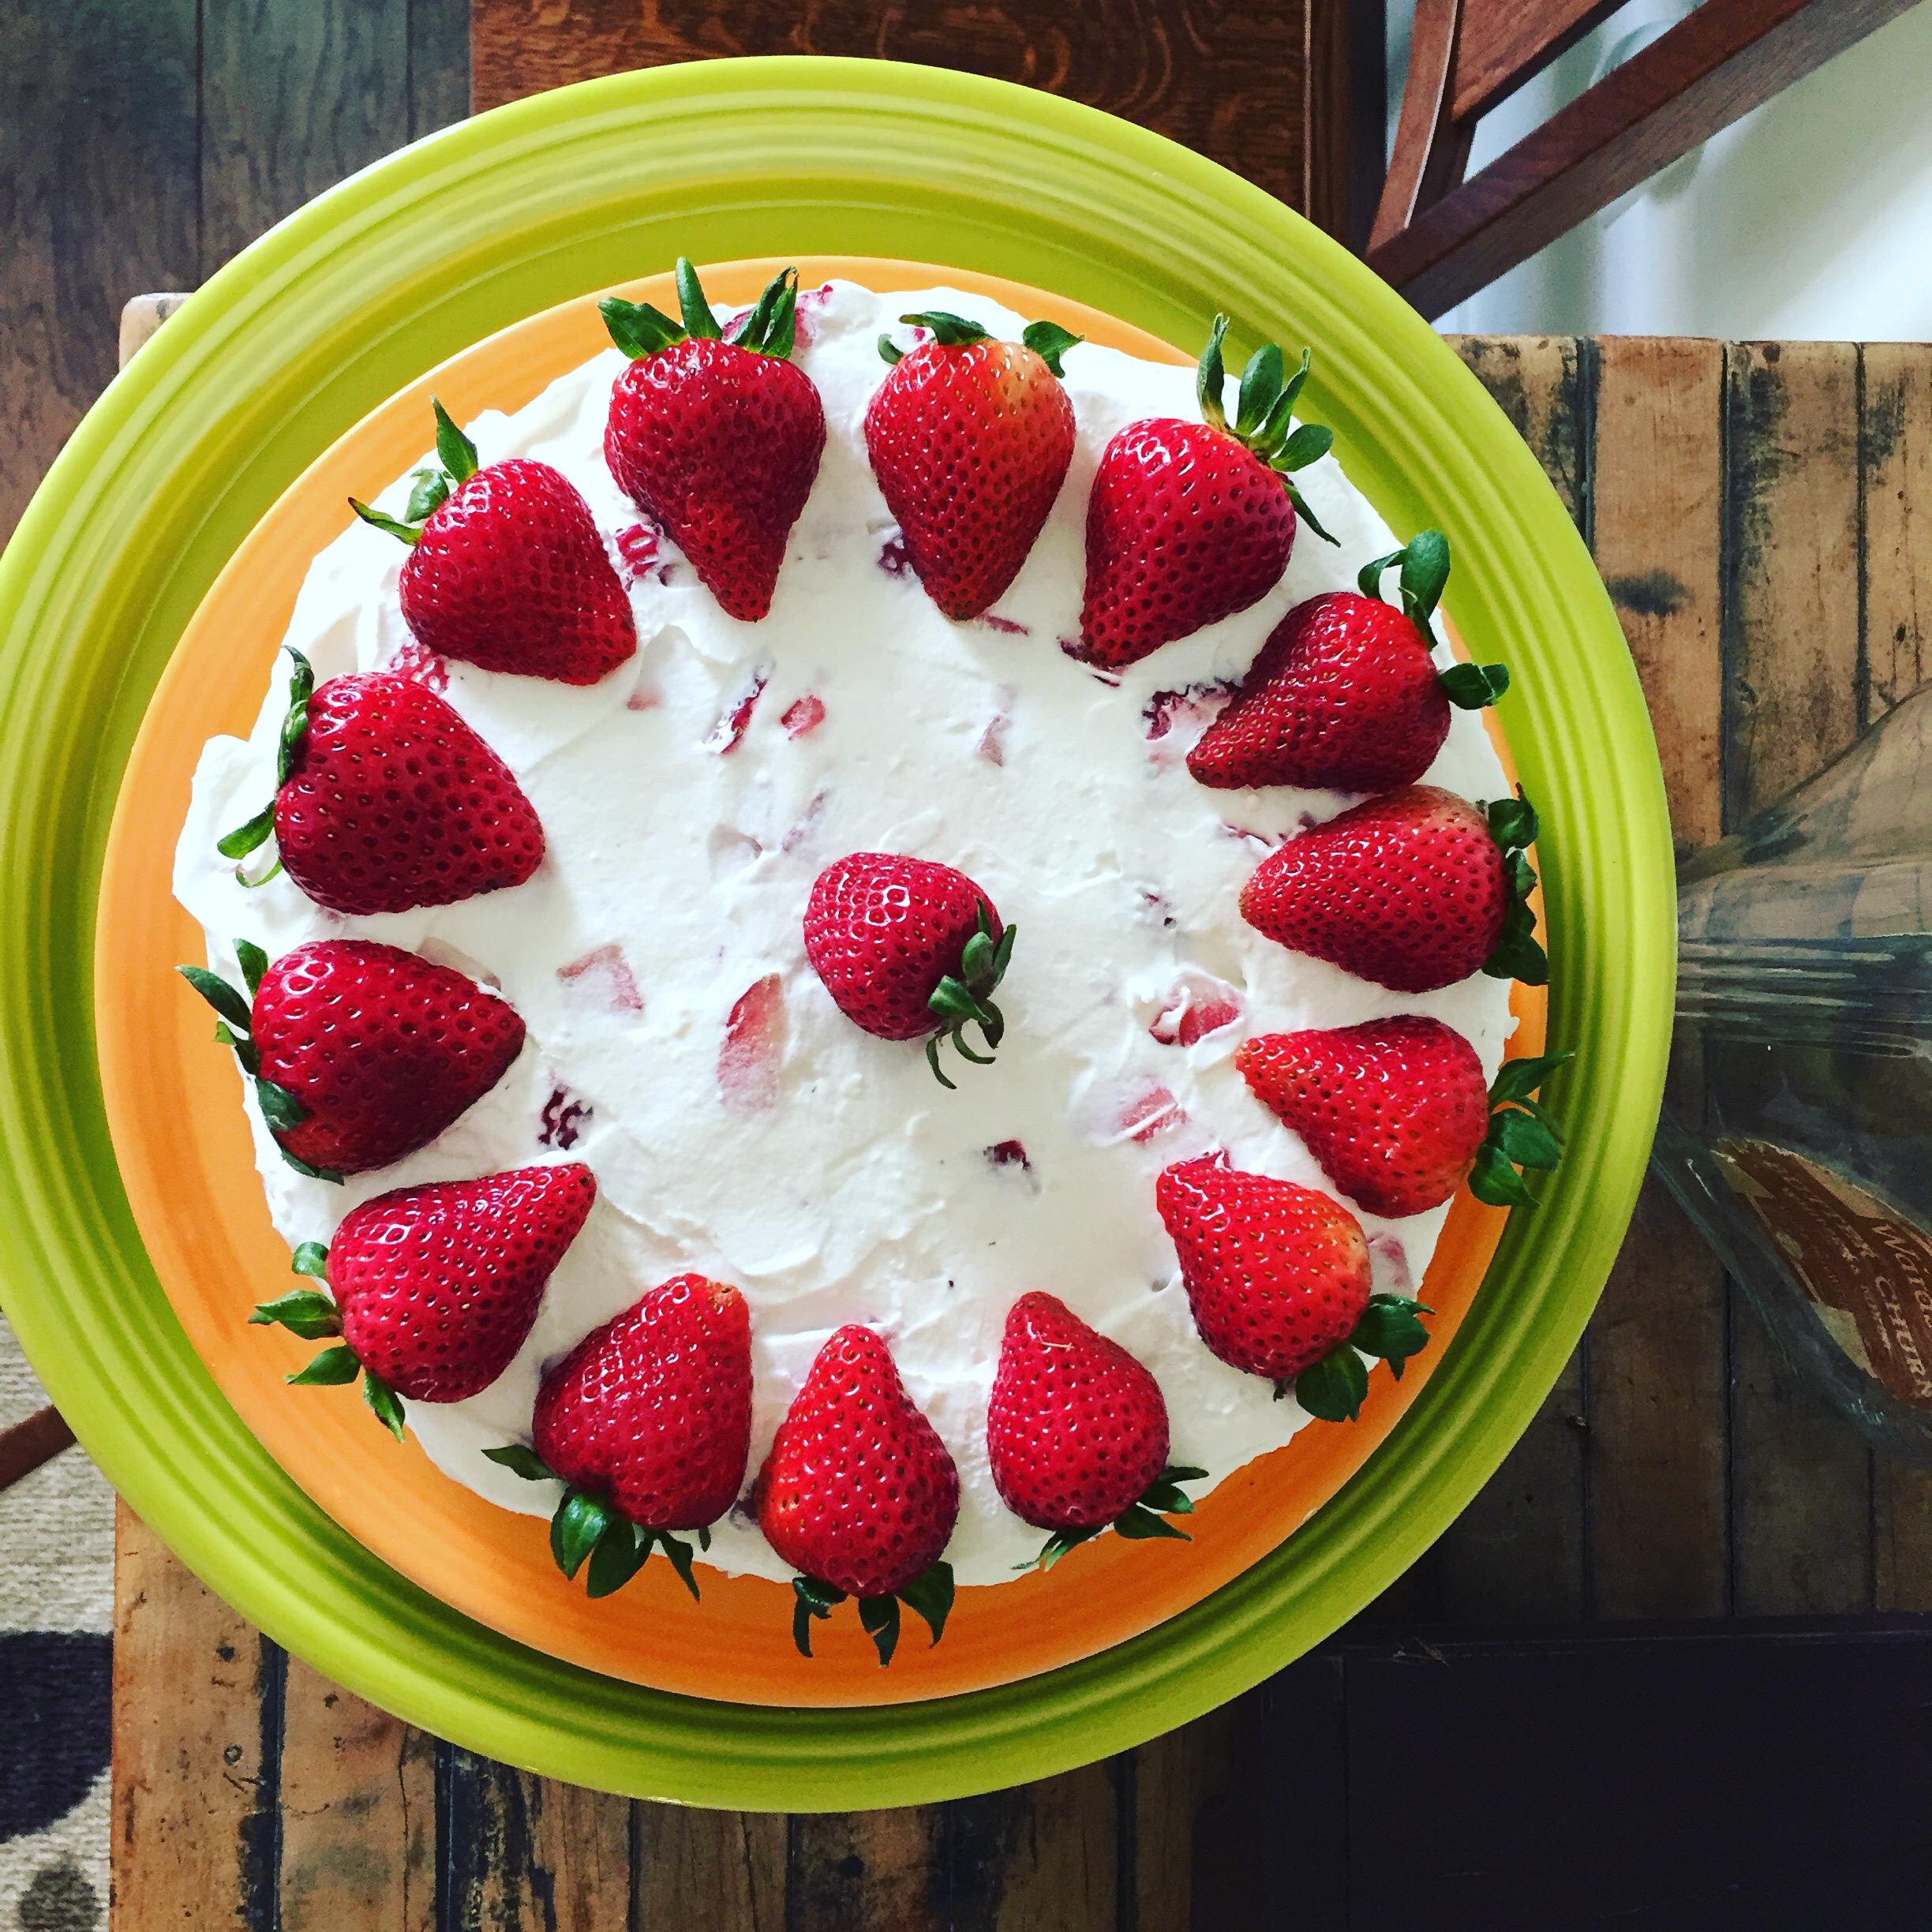
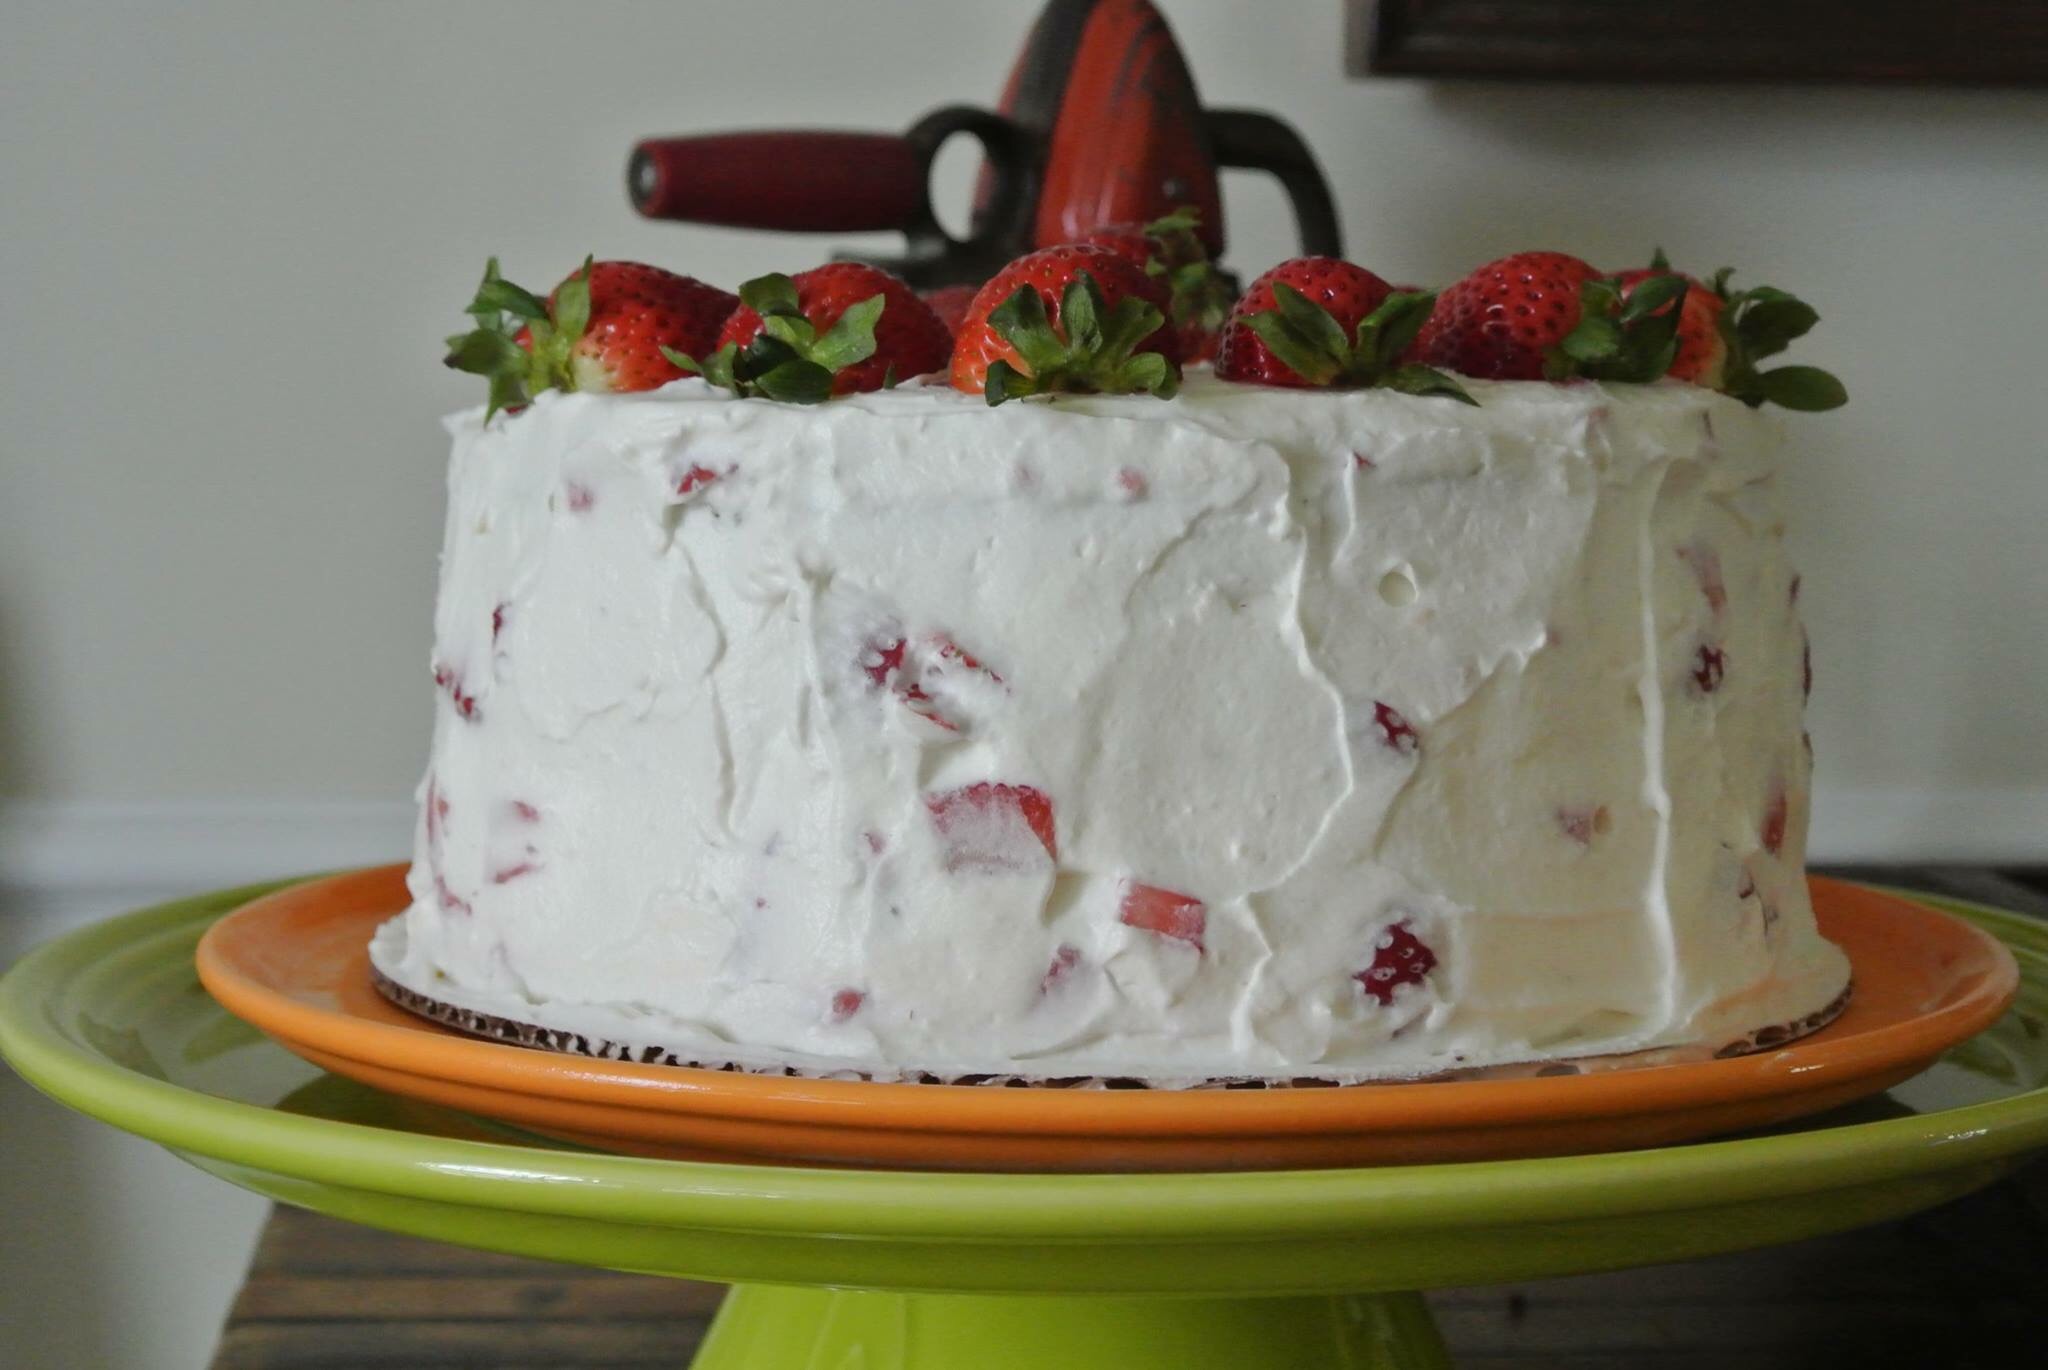
My grandfather turned 86 years old this past weekend and I was honored to bake the cake for him. We were able to celebrate with some of our family at his favorite restaurant. We finished off the celebration with this refreshing spring cake.

Strawberries are one of his favorite fruits. My grandpa grows them in the summer and there is nothing, absolutely nothing that compares to his homegrown strawberries.

When my sister and I were kids we would go to his house and pick them fresh out of the garden. Two for me and one for the basket was our motto. We loved spending the summers at our grandparent’s home. Once we were finished we would have angel food cake, vanilla ice cream, & fresh sliced strawberries with some cool whip. Yum! I can taste the dish just thinking about it. This cake takes me back to those wonderful nostalgic memories at Grandma & Gtrandpa Harpers.

This cakes serves 16- 24 servings

Cake Ingredients:

3 cups cake flour
1 Tbsp baking powder
1/2 tsp kosher salt
1 cup (8 oz) (2 sticks)unsalted butter, room temperature
1 3/4 cup  granulated sugar
3 large eggs
2 large egg yolks
1 1/4 cups low fat buttermilk
2 tsp pure vanilla extract

Pastry Cream Filling:

3-4 Large Strawberries

1/2 cup skim milk 1/4 cup fat free half and half1/4 cup heavy cream
1/2 vanilla bean, split lengthwise, seeds scraped out
3 egg yolks
1/2 cup granulated sugar
1/8 cup cornstarch
1/2 tablespoon unsalted butter


Strawberry Cream Cheese Whipped Cream Ingredients:
1 1/2 cups heavy cream
1/2 cup powdered sugar, divided
4 oz cream cheese, 1/3 reduced fat, room temperature
1/2 tsp pure vanilla extract
1  lbs strawberries, hulled and sliced into pieces slightly under 1/2-inch
Sliced strawberries for decorating


Directions for the Cake:

Preheat oven to 350 degrees. Cooking spray with Bakers Joy (or a flour based spray) 3 9-inch round cake pans then line bottom with a round of parchment, cooking spray with Bakers Joy parchment. Set pans aside.

Whisk together flour, baking powder, and salt together into a medium mixing bowl, set aside.
In the bowl of an electric stand mixer fitted with the paddle attachment cream the butter and sugar until pale and fluffy. Mix in eggs and egg yolks one a time. Also add vanilla in with the eggs.  Add 1/3 of the flour mixture at a time (to the butter/egg mixture) alternating with 1/2 of the milk and mixing on low speed just until combined after each addition. Scrape down sides and bottom of bowl and gently fold batter several times.
Divide batter among prepared baking pans evenly. I like to use my scale for this, even distribution makes for even baking. Bake in preheated oven 20 minutes until toothpick inserted into center of cake comes out clean. Cool in pan about 5 minutes, run a plastic knife around edges of cake to ensure they are loosened then invert onto wire racks to cool for 20 minutes. After the time has elapsed prepare them for the freezer. I like to wrap them in plastic wrap and place them back into their baking pans and stack them in a deep freezer before frosting.

Directions for the Custard Filling:

In a small saucepan, heat the milk, heavy cream,  half and half, and vanilla bean to a boil over medium heat. Immediately turn off the heat and set aside to infuse for 10 to 15 minutes. In a bowl, whisk the egg yolks and granulated sugar until light and fluffy. Add the cornstarch and whisk vigorously until no lumps remain. Whisk in 1/4 cup of the hot milk mixture until incorporated. Whisk in the remaining hot milk mixture, reserving the empty saucepan. Cook over medium-high heat, whisking constantly, until thickened and slowly boiling. Remove from the heat and stir in the butter. Let cool slightly. Cover with plastic wrap, lightly pressing the plastic against the surface to prevent a skin from forming. Chill at least 2 hours before placing in between the layers of the cake.

Whipped Cream Frosting: 

In the bowl of an electric stand mixer fitted with the whisk attachment, whip heavy cream until soft peaks form (occasionally scrap down sides and bottom of bowl to ensure even mixing), add 1/4 cup powdered sugar and whip until stiff peaks form (make sure they are stiff or your topping will be runny, it should get to the point where it doesn’t have a wet sheen). Scrape cream out into a separate bowl.
Add cream cheese to bowl of stand mixer, fit with paddle attachment and whip cream cheese until smooth and fluffy, mix in remaining  1/4 cup powdered sugar and vanilla. Add strawberries and mix until uniform in color. Remove bowl from stand mixer, add whipped cream and fold into mixture.

Putting it all together:

Take the side with flat surface (the side that was touching the bottom of the pan) and place it onto cake plate or cardboard cake circle. Place a ring of the whip cream frosting around the border of the cake (I piped this by using a ziplock baggie & cutting a small rectangle at one of the tips of one of the corners) and then pour some of the custard into the center. Spread the custard evenly in the center. The ring of whip cream serves as a border to prevent spillage. Place slices of strawberries around the middle.
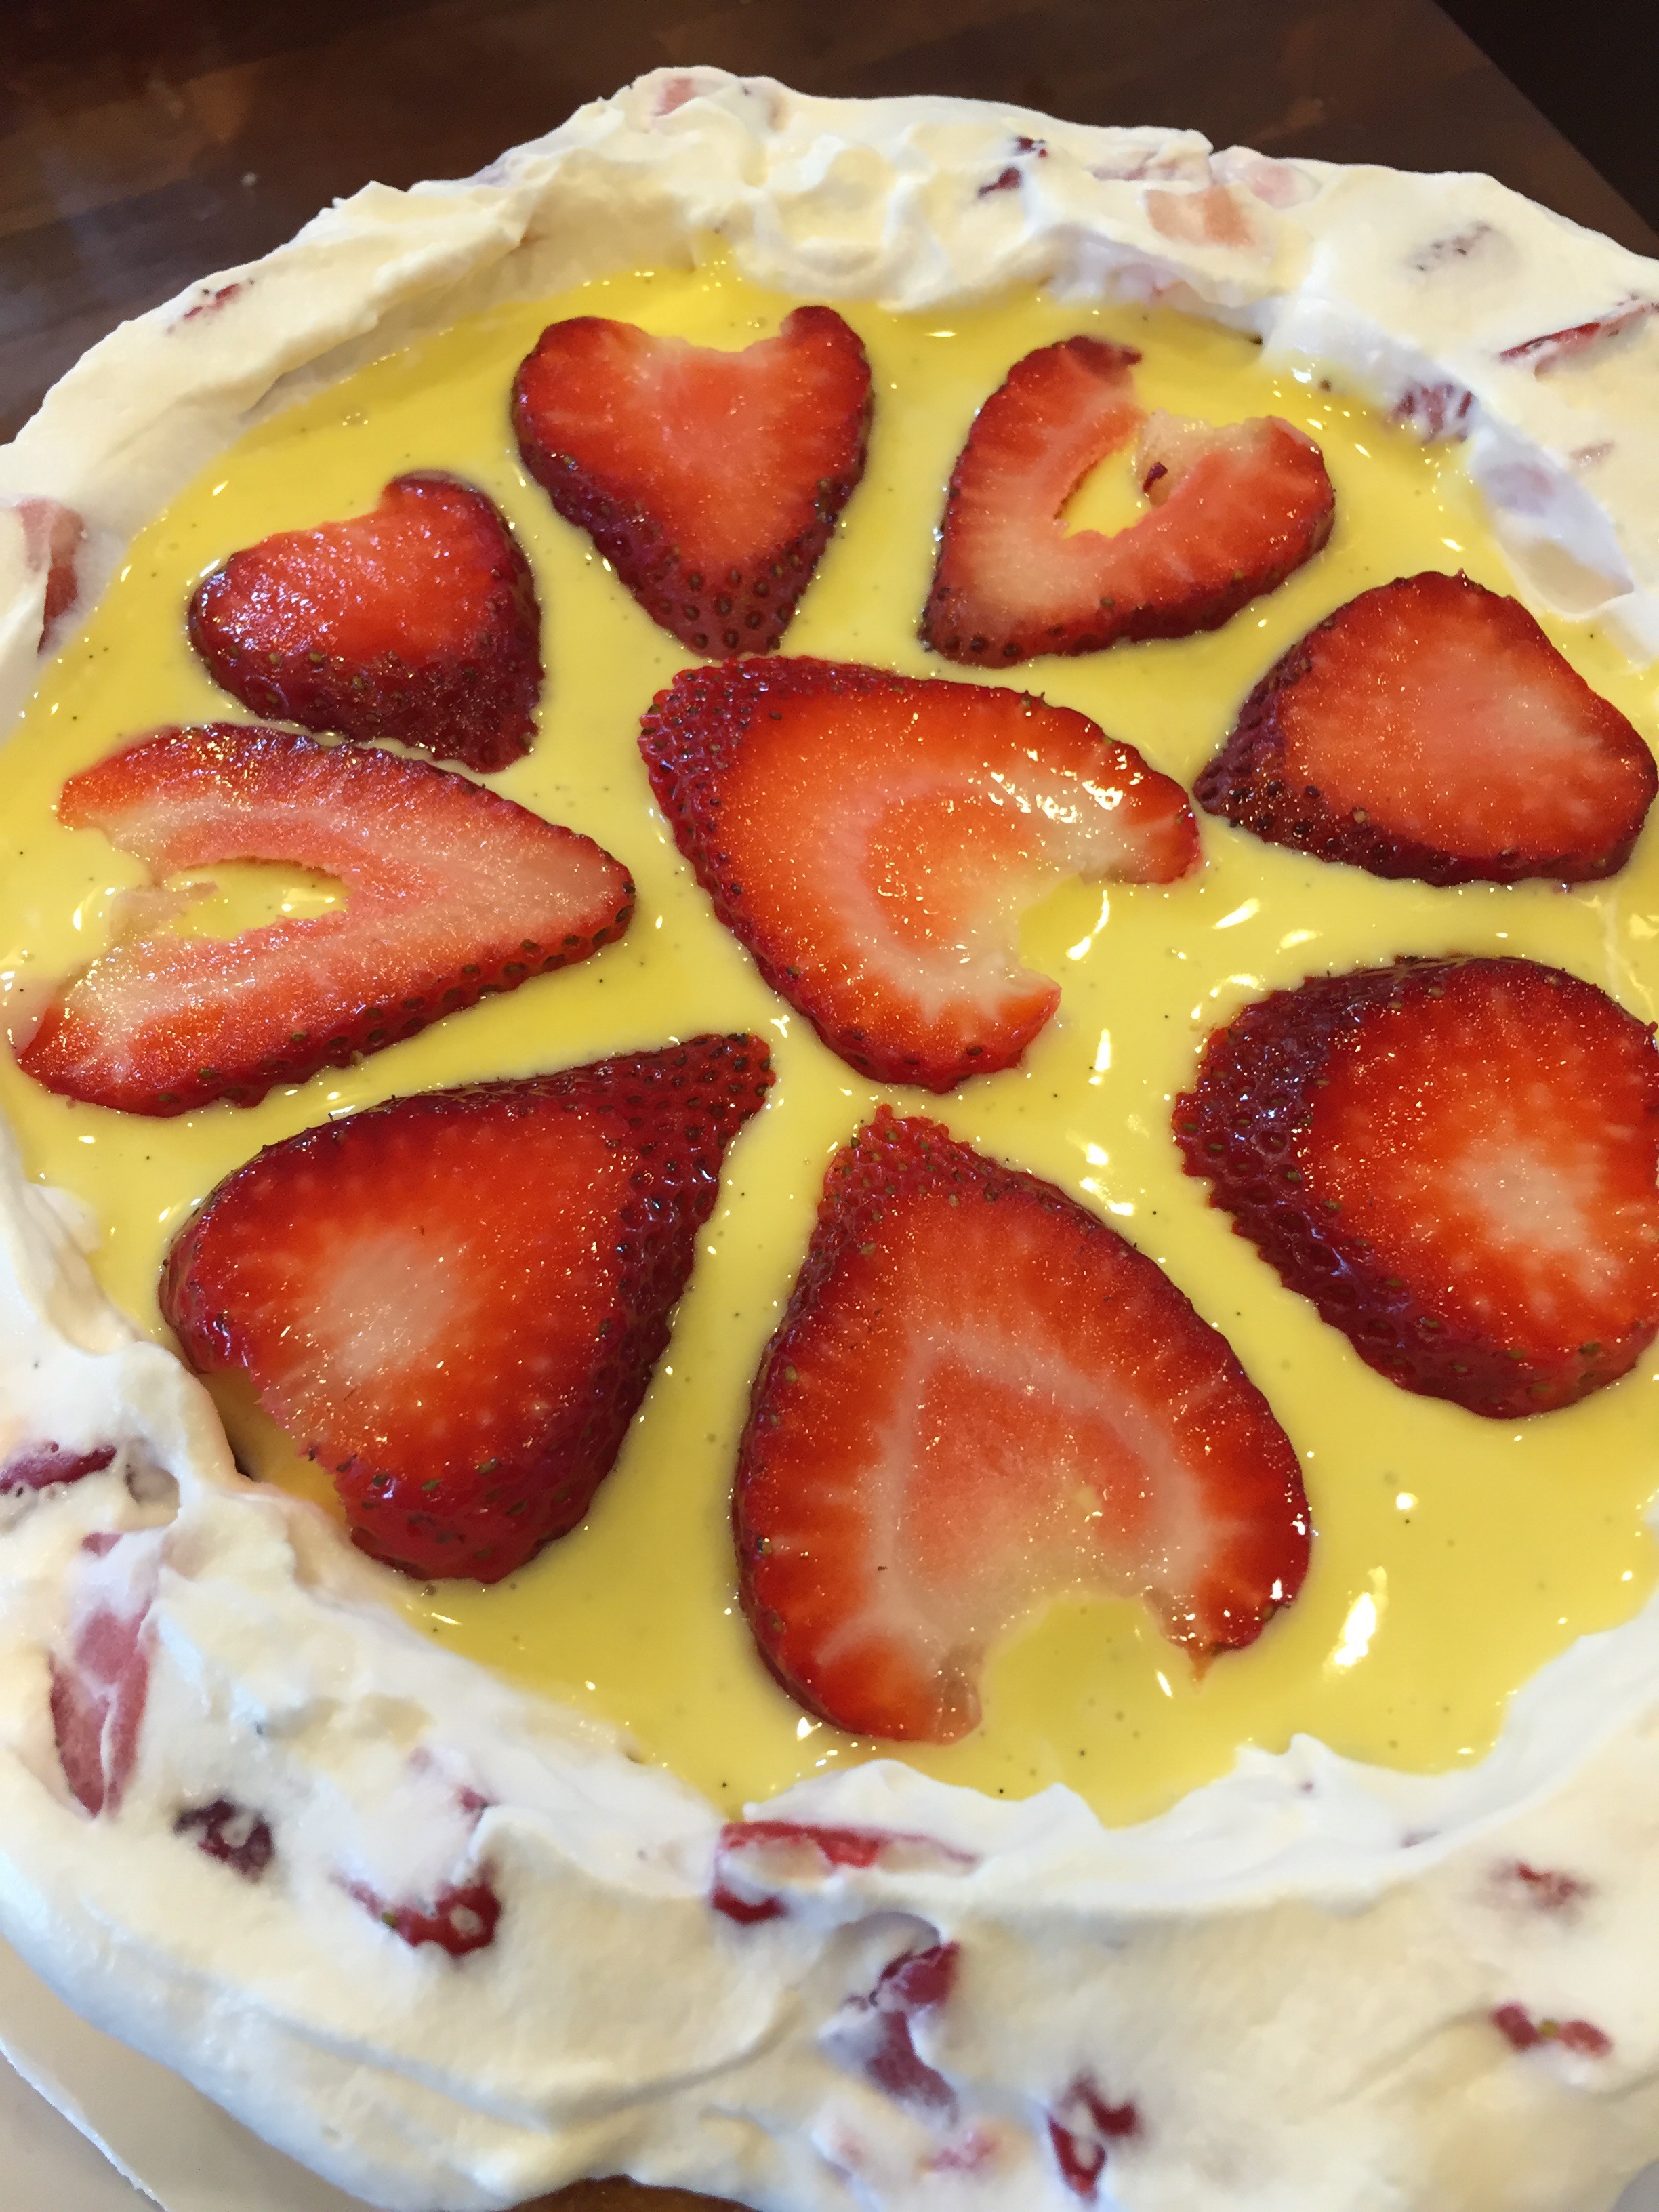

Place next cake layer down and repeat the custard layer with boarder of whipped cream. Top with the last cake layer.  Finish frosting by taking the remaining whipped frosting and frost cake. Place the cake in the freezer immediately and remove before serving.  Store leftover cake in an airtight container in refrigerator, well that is if there are any leftovers. We did not have any…
 

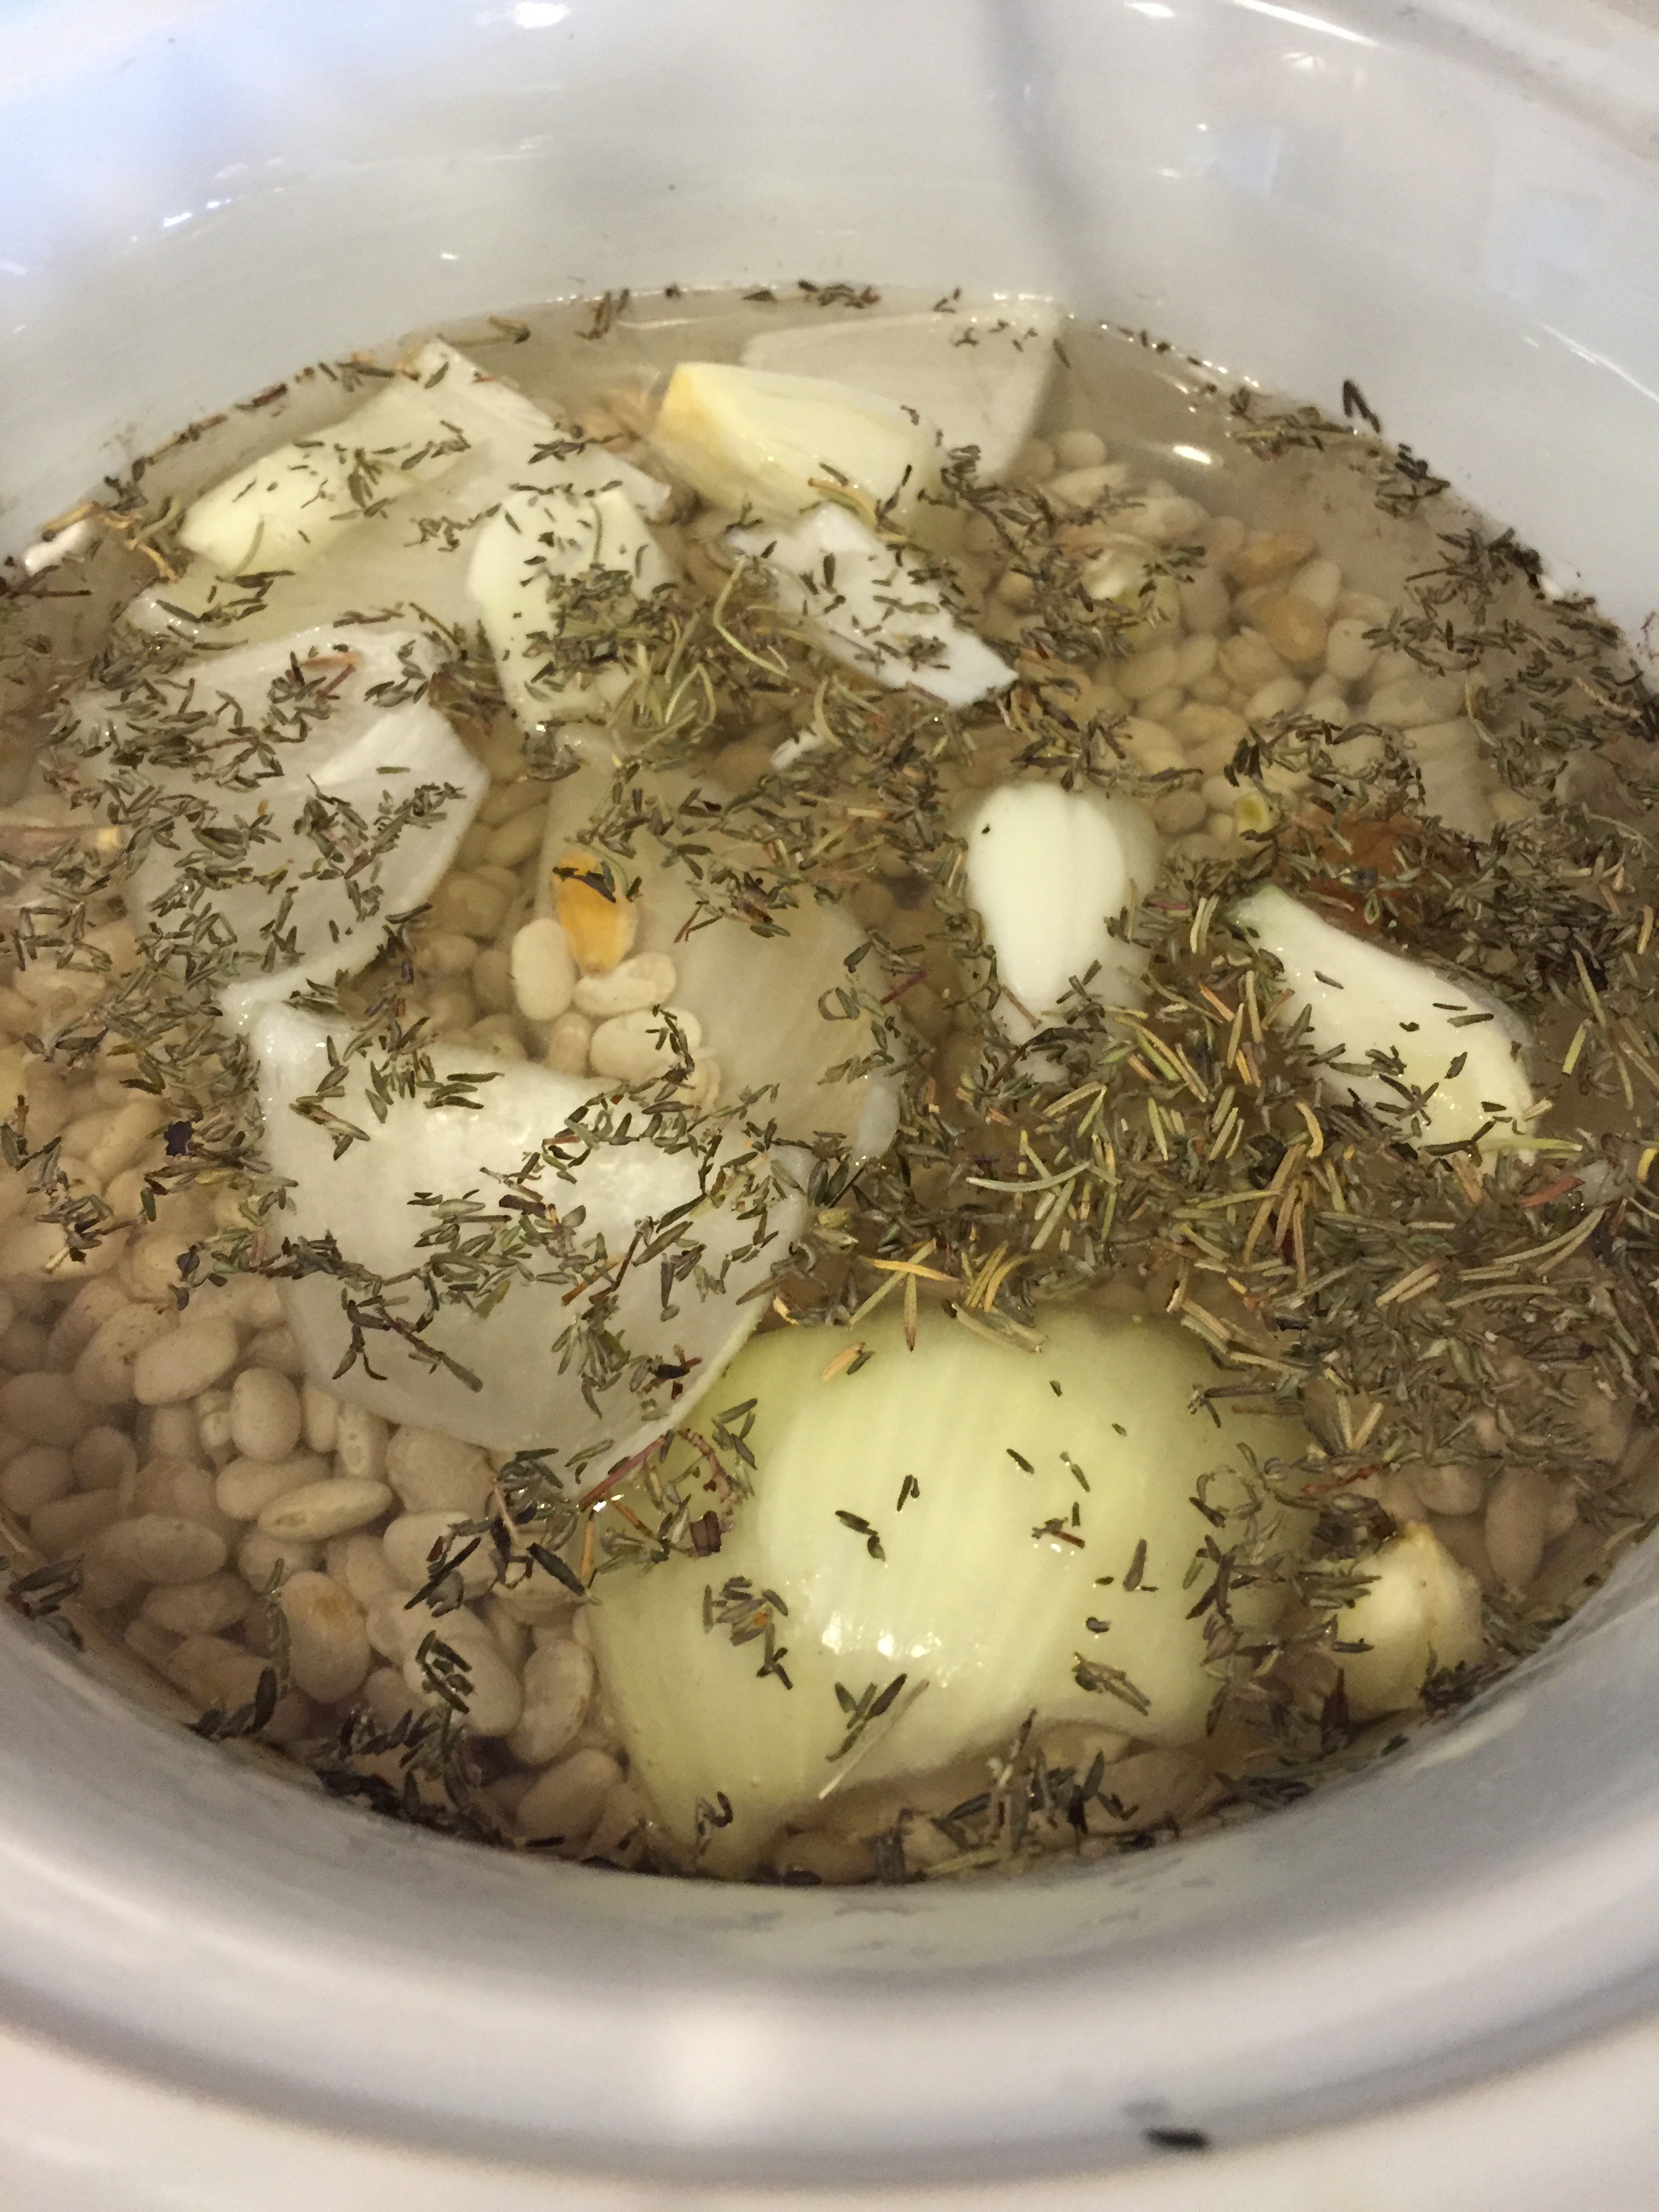
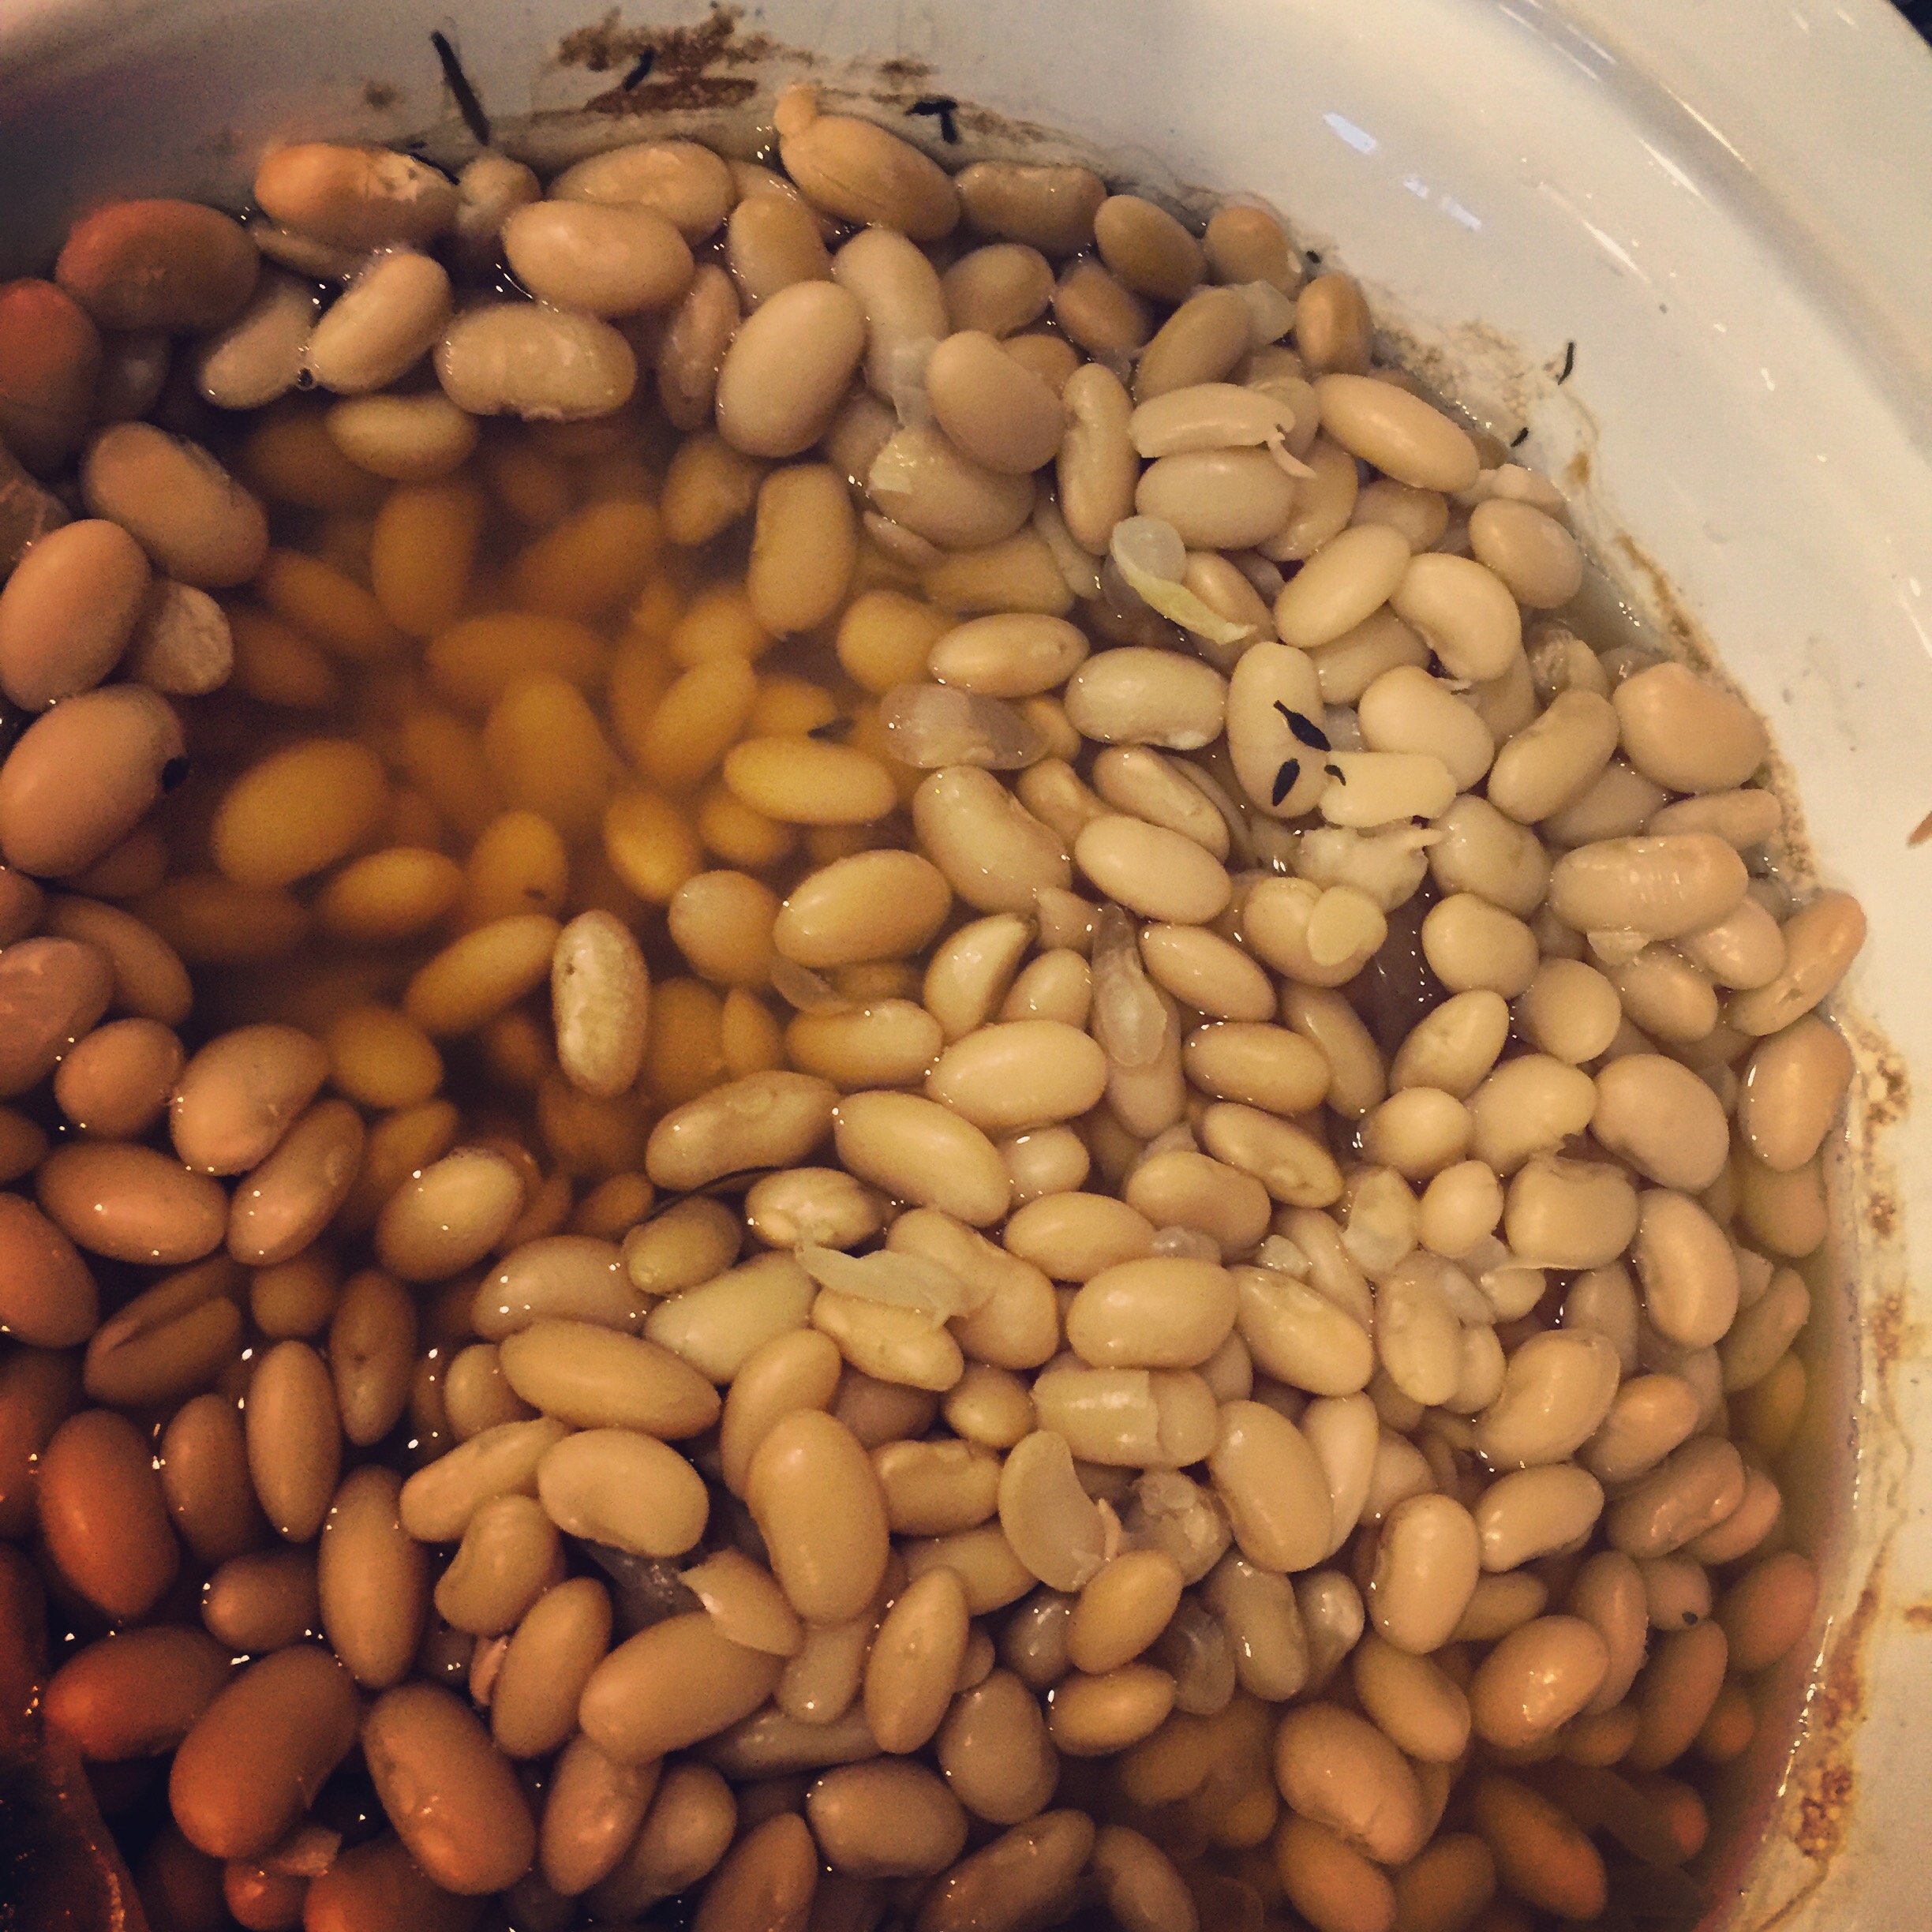
Slow Cooked Cannolini Beans

 
I love slow cooked beans! I am obsessed! Veggie Protein Power!  Another bonus, I bought all these ingredients for less than 3 dollars. Not to mention I used our own homegrown spicy garlic to flavor the dish.

Ingredients
:

2 lbs dried Cannolini Beans aka white kidney beans (rinsed)

1/4 of a very large onion

1 tsp thyme

1 tsp Rosemary 

1 tsp  Mural of flavor 

6 garlic cloves

1 tsp penzeys vegetable base

10 cups of water plus One more cup at the end

Fresh Pepper to taste

Salt to taste

Directions:

1. Place all the ingredients in a slow cooker. Place crockpot on warm for 16 hours then place on low for 8 hours. You might need to add one additional cup at the end. 


Sweet Potato Cinnamon Muffins

IMG_6167


I have used leftover Idaho Mashed Potatoes in donuts, rolls, pumpernickel bread, pot pies, and other baked goods but I have never used mashed sweet potato as a substitute in recipes before. However what a great idea to add moister & sweeteness to  any baked good. These muffins are so moist.  I cut the fat from the original recipe by replacing half of the oil with using low fat buttermilk and ripe bananas.

This recipe yields 18 muffins

Ingredients:

1 large Banana, mashed

1 large sweet potato, baked, mashed (about 1 1/2 cups)

2 egg whites

1 tsp pure vanilla extract

1/2 cup of buttermilk, low fat

1/2 cup canola oil

3 Tsp baking powder

1 tsp kosher salt

1 cup AP Flour

1 cup Whole Wheat Pastry Flour

1 2/3 cup of granulated sugar

1 Tsp ground cinnamon

1 Tsp Pie Spice


Glaze Ingredients: Optional

1/2 cup of powdered sugar

2 TB Skim milk plus maybe 1/2 TB

1/2 Tsp vanilla

Directions:

  1. Preheat oven to 375 degrees. Line muffin tins with paper liners and spray with cooking spray. Set aside.
  2. Using a whisk, mix the dry ingredients in a large bowl (flours, baking powder, salt, spices, and sugar. Set aside.
  3. In a separate bowl mix together the mashed banana, mashed sweet potato, egg whites, oil, and buttermilk. Mix together well.
  4. Add dry ingredients to the wet ingredients and mix until combined. Be careful to try and not over mix the muffins. A tunneling effect will occur.
  5. Scoop the muffin batter into the prepared muffin tins using a number 16 scoop. It will make your life some much easier and make the muffins the same size for overall perfect appearance.
  6. Bake the muffins at 375 degrees for 20 minutes in the oven or until toothpick comes out clean.
  7. Allow to cool in pan for 2 minutes and remove to allow to cool on wire rack for the remainder of the time.
  8. While the muffins cool, prepare the glaze (optional).
  9. Place all the ingredients for the glaze in a small bowl, whisk thoroughly. Once muffins have cooled slightly drizzle scant amount of glaze onto the muffins.
  10. ENJOY


Lemon Ice Box Pie


This year I was in charge of the pies and rolls for Easter. My mom hosted Easter dinner and allowed me to help with these few items to help her in the kitchen.  I love baking so I was anxious  to try a few new recipes.  

I love using my grandma’s pie dish so I was pleased to make the pies. It makes me feel like she was with us this year sharing the meal and memories.

Ingredients:

Crust:

16 Lemon Flavored Oreos

3 TB unsalted butter, melted

Filling:

1 (8 ounce) packet of 1/3 reduced fat cream cheese, room temperature

1 can (14 oz) of sweetened skim condensed milk

1/4 cup of egg white substitute

1/2 cup fresh lemon juice, plus 3 TB boiled (this will take about 3 lemons)

1 tsp lemon zest

2 tsp gelatin

Directions:

1. Place the Oreos in the food processor and pulse. Slowly add the butter and incorporate.

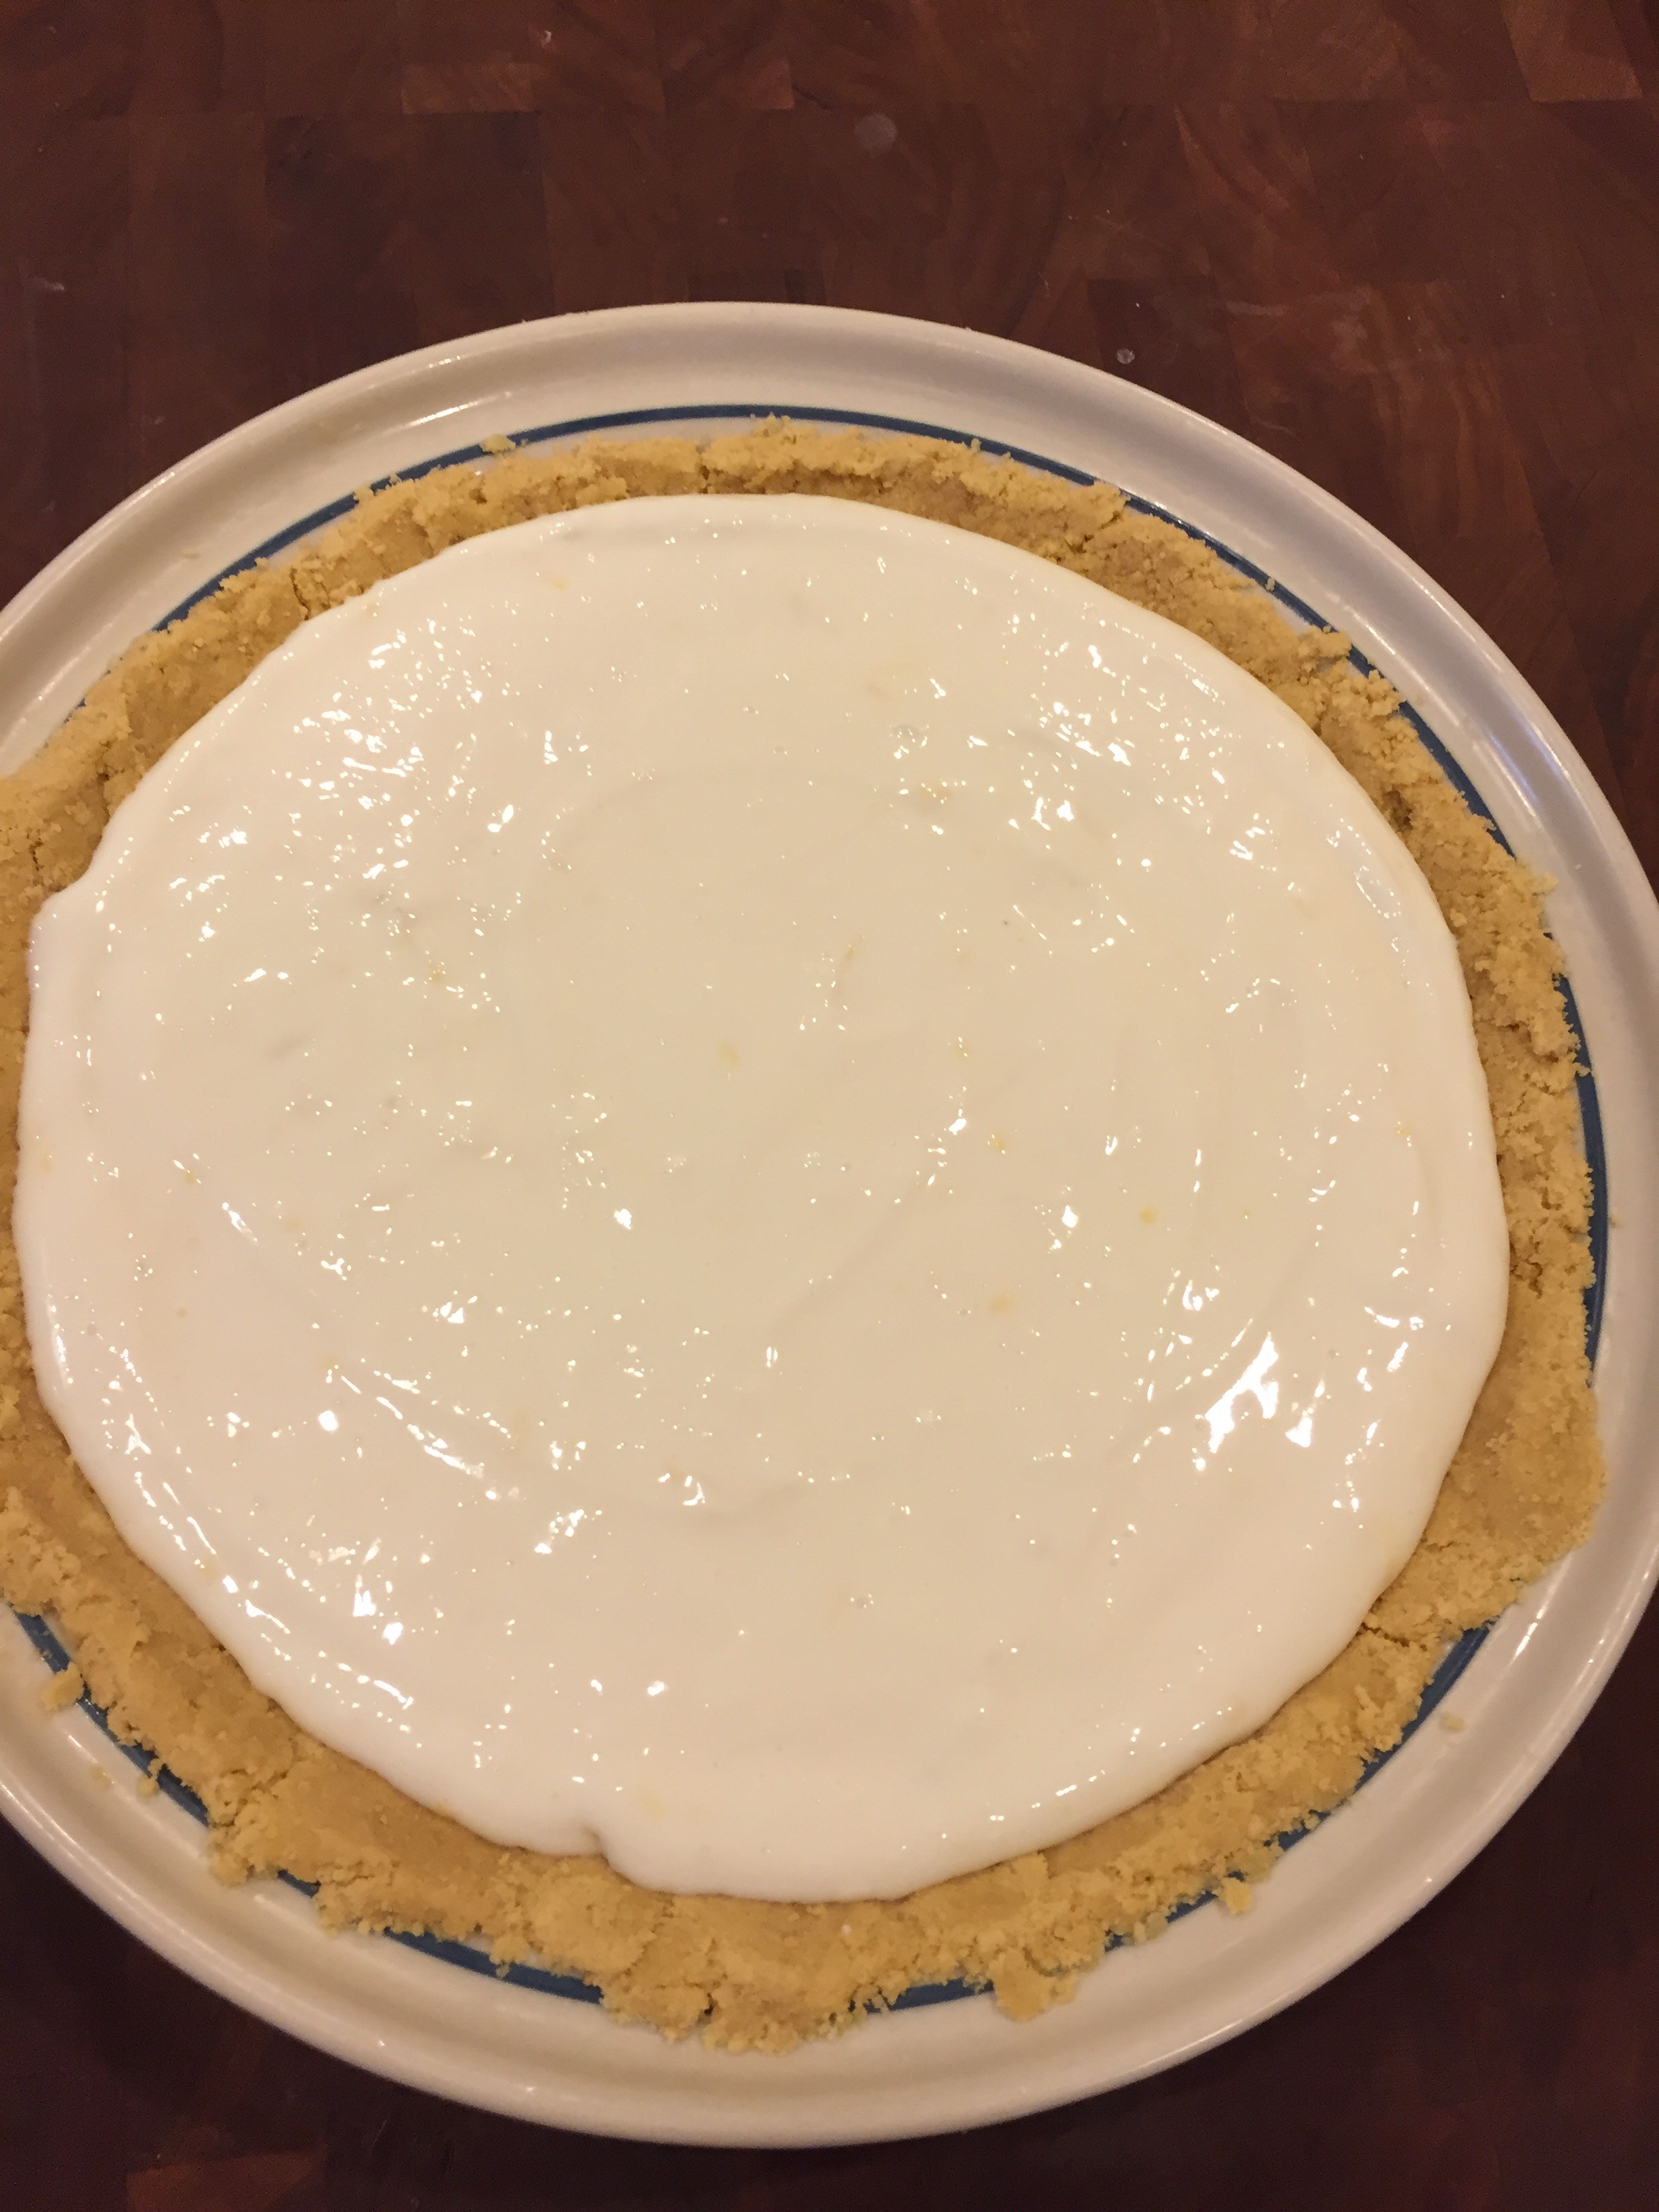
2. Place the mixture into a standard pie dish and press into dish. Place the dish into the refrigerator and allow to chill for at least 30 minutes.

3. In the meantime prepare the filling. In stand mixer beat with paddle attachment the cream cheese, egg substitute and sweetened condensed milk.

4. Mix 3 TB of the hot lemon juice and dissolve the gelatin in the hot juice. Mix the gelatin until it dissolved. Set aside.

5. Add in the lemon juice and zest to the cream cheese mixture, then fold in the gelatin mixture.

6. Pour the filling into the pie dish, cover with saran wrap and allow to chill in the refrigerator overnight.

Keep chilled prior to serving


Slow Cooked Black Beans Venezuelan Style

black bean


I love beans and legumes, they are superfoods, these powerful vegetables contain natural sources of antioxidants and photochemicals. The American Dietary Guidelines recommend Americans consume at least 3 1/2 cups weekly of beans, which equals out to 1/2 cup daily. This is so easy to do. I add them to my salads, quesadillas, enchiladas, tacos, pastas, puree them to make dips for my carrots and snap peas. I also puree them to add to baked goods to add creaminess and moisture. I place the hummus on the top of pizza instead of tradition tomato sauce on pizza.

Beans contain more protein per serving than any other vegetable.  They are a cheaper source of protein compared to animal products.  I love that beans are naturally sodium free and fat free.  Plus these powerful beans are high in fiber to keep us regular.

I personally am not a huge fan of canned beans unless they are a high quality bean brand like Bushes Beans.  That said canned beans contain a high amount of sodium. I specifically made these low in sodium for my grandpa, so they are heart healthy for all. If you wish and you do not follow a low sodium diet you can add more salt to these beans. If you cannot make a fresh batch, I honestly would rather have frozen.This black bean recipe is so easy and inexpensive, you will question your next canned bean purchase.

The following recipe was generously provided to me by our dear friend from Venezuela, she makes the best black beans ever. We used to live next door; however, we moved and I have been craving them! We would always trade my sweet baked goods for her Venezuelan dishes. Luckily she provided me with her recipe to have whenever I want.

This recipe yields 2 qts of beans

Ingredients:

2 Bags of dried Black Beans, rinsed and strained (only about $0.80 to $1.00 a bag)

1/2 Yellow onion

6 cloves of garlic

Water

16 ounces Very Low Sodium Vegetable Stock or homemade, or more water

Additional (part two of the recipe)

1 yellow onion, diced

2 garlic cloves, optional

1 red bell pepper, diced

1 Tsp cumin

Salt to taste

Pepper, freshly cracked

4 qt slow cooker

Directions:

  1. Place  1/2 of onion, whole garlic cloves, & beans in a 4 qt slow cooker. Cover with enough water to reach above the beans about an inch. Place the slow cooker on warm for 12 hours. We did this overnight.
  2. After 12 hours has elapsed turn the cooker to low. You may need to add more water and this where you need to add the vegetable stock. Allow the beans to cook for 6 to 8 more hours.
  3. After the beans are tender and to your liking, I like mine slightly firm (not mushy), remove the 1/2 piece of onion and the garlic cloves.
  4. Spray a 10 inch saute pan with cooking spray and saute up the red pepper, garlic, cumin, pepper, and onion. Cook vegetables until translucent. Add the sautéed vegetables to the beans,  stir, cover ,and allow to cook for 10 more minutes on low.
  5. Enjoy!
  6. Serve with quinoa or rice. Place beans in a salad or in enchiladas or quesadillas or my most recent post Tex Mex Lasagna. Also you could puree these beans in a high power blender to make black bean hummus dip to spread on pizza or dip your veggies into it for a snack.

IMG_5891


Grandma Harper’s Pizzelles Recipe

12819184_987441034668486_8047717639355443712_o

Pizzelles are a beloved and versatile cookie. You can make just about any flavor you can image. Traditional flavors  are anise, vanilla, almond and lemon. There is actually a cookie shop back home that makes all different kinds of flavors from margarita to key lime, so if you are turning your nose up to these cookies reconsider a nontraditional  flavor.

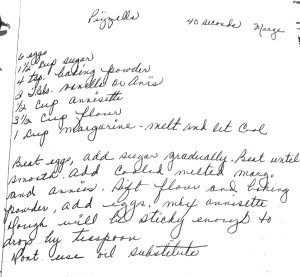
As a child, I can remember my Grandma Harper always having these delectable cookies around for the holiday. I recently was able to go through some of her recipes and lucky stumbled across this classic treasure. Her recipe as you can see below calls for anise and also anisette liquor.


IMG_5165 2


My husband and I were making these last night, honestly it is a two person task as fast as these have to bake in the press. The pizzelle iron we were graciously able to use had 4 pizzelles molds, which did cut some of the time in half. My grandfather let us borrow his 1986 iron which still was packaged nicely in the orginial box for preservation. A habit I have adopted but never knew, who I inherited that from, but now do and I am thankful for. I must say items not used every day last better kept in boxes and stack easier for storage.

By using my Grandma and Grandpa’s Sears and Roebuck Counter Craft Waffle Baker-International Dessert- Pizzelle Maker, it made me feel like she was with us pressing out the cookies. Even though I do have to mention, this was my first encounter making these cookies, which caused me slight stress trying to perfect them I still felt pleasure in creating them with her recipe & iron.


This recipe yields 56 standard size pizzelles

Ingredients:

6 Eggs

1 1/2 cups of granulated sugar

4 tsp baking powder

2 TB vanilla extract or anise

1/2 cup annisette

3 1/2 cups AP flour

1 cup of unsalted butter (grandma used margarine for everything): melted and allow to cool


Directions:


Beat eggs, add sugar gradually. Beat until smooth. Add cooled melted margarine (or butter)and anise. Sift flour and baking powder, add to eggs, mix anisette. Dough will be sticky enough to drop by teaspoon onto hot iron. Follow manufacturers directions. These gems in this device took only 30 to 35 seconds. Don’t use oil substitute per grandma. 

Helpful hint: Now, Grandma’s recipe directions were never elaborate. So I did beat the eggs in a standing mixer with whisk attachment. I sifted the flour with baking powder on parchment paper, which makes it very easy to pour into the mixing bowl without a mess and you don’t have to clean another bowl (hurrah) ! Also, our batter was slightly thick so it took about 1 heaping tablespoon which make our pizzelles thicker. So we will have to thin the batter more next time.


Enjoy!


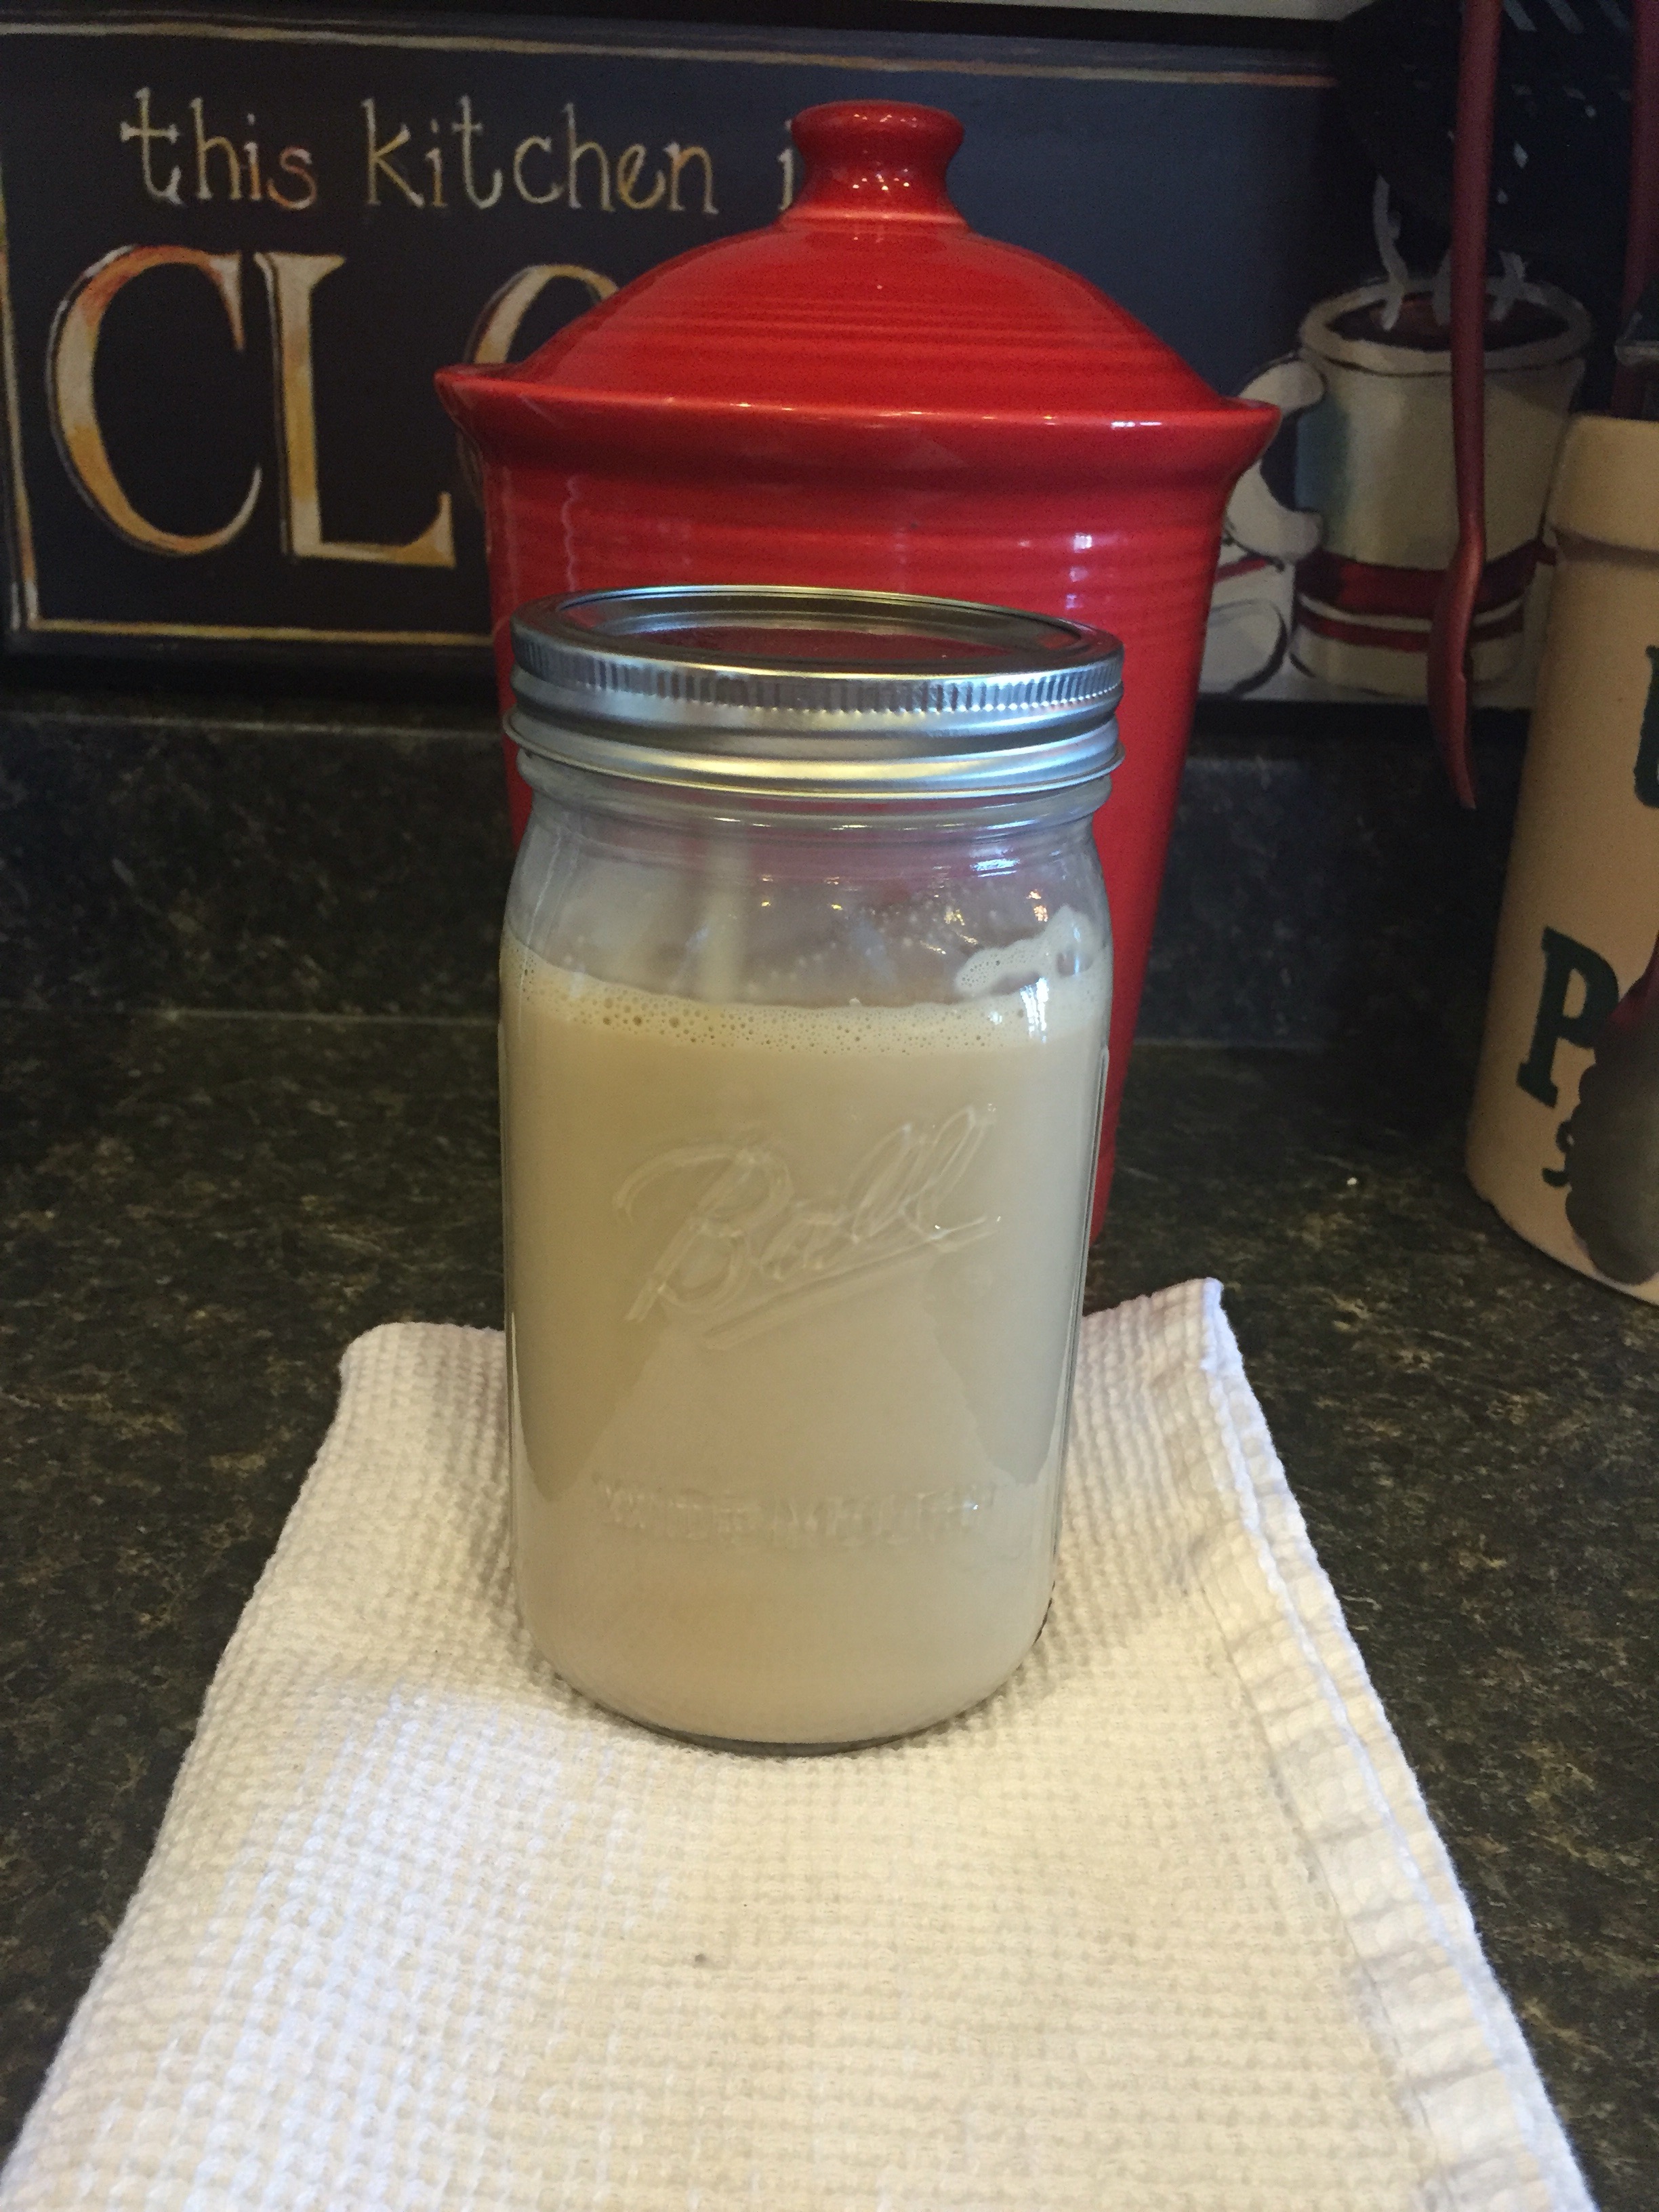
Salted Caramel Coffee Creamer


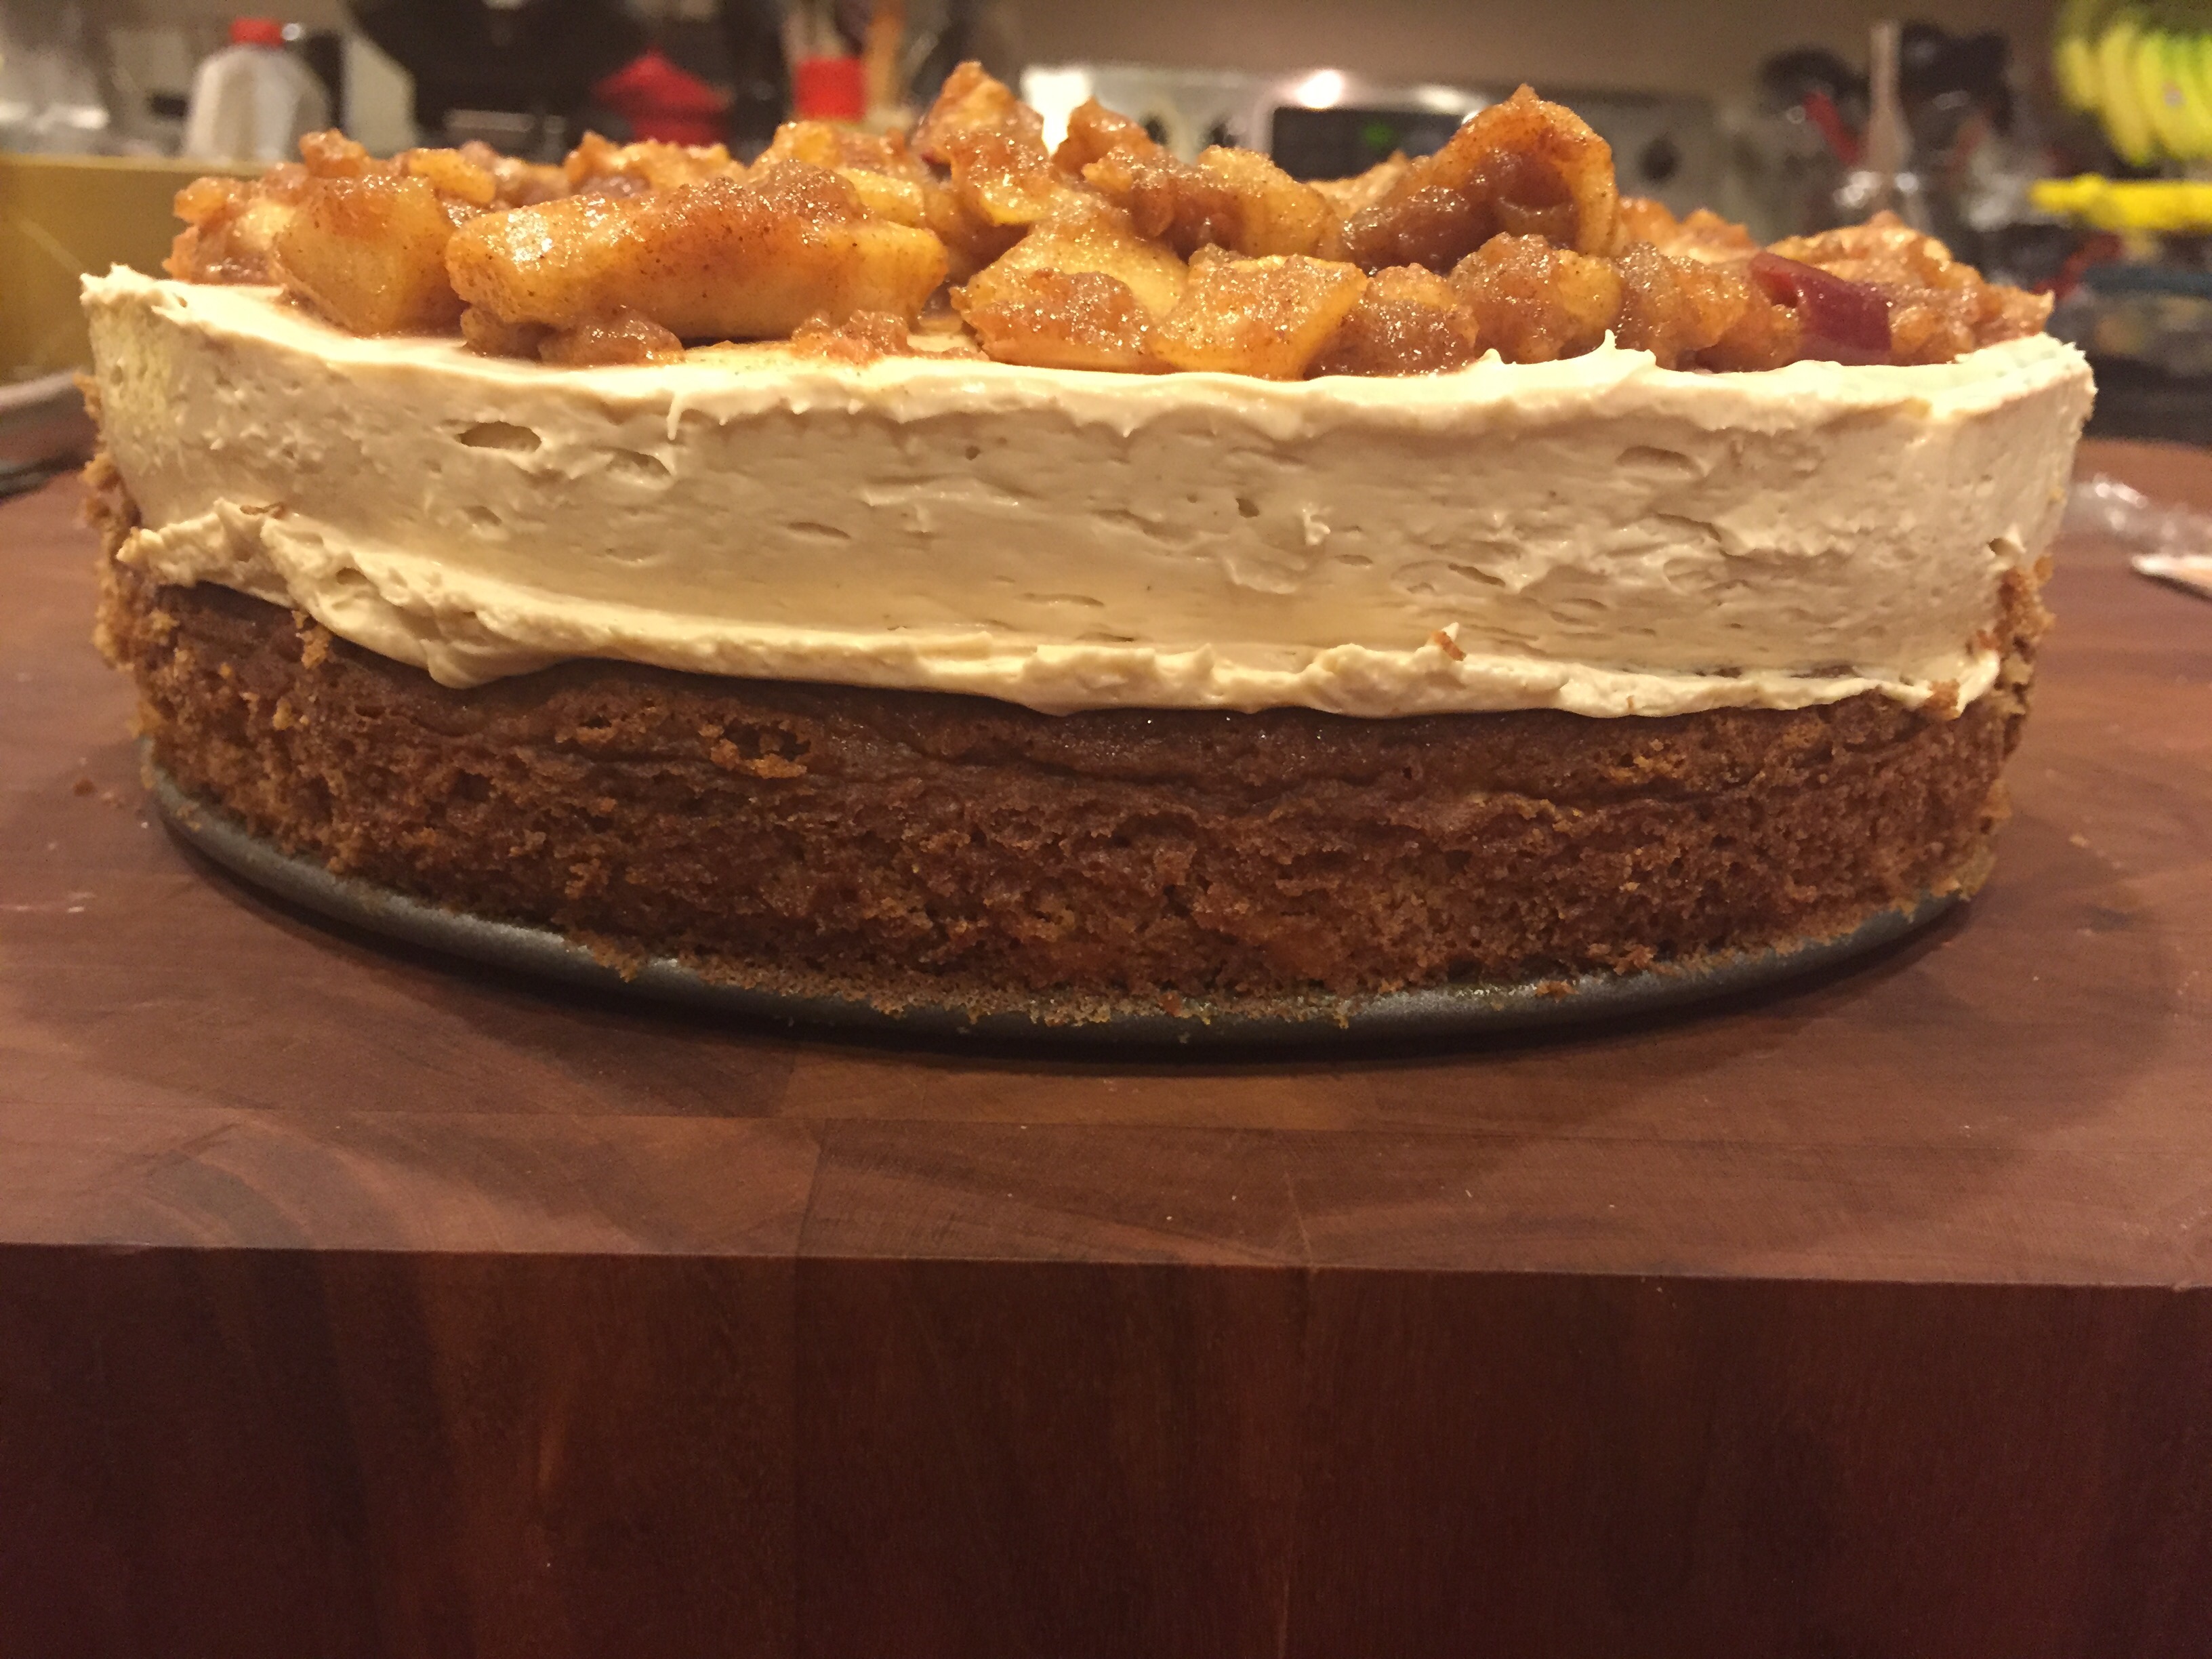
This past weekend I made a caramel apple cheesecake with a blondie bottom crust.

  
 I had some leftover homemade caramel from the recipe. I don’t like things to go to waste & decided I wanted to make one of my husbands favorite flavors of coffee creamer with the leftovers. 

This recipe makes 24 ounces of coffee creamer. 
Ingredients:

1/2 cup skim milk

1 cup fat free half and half 

1 can sweetened condensed fat free (14 oz)

1/3 cup homemade caramel sauce

1 tb pure vanilla extract 

1 tsp finely ground espresso powder

Pinch kosher salt
Directions:

1. In a 2 qt sauce pan place all the ingredients except for the vanilla and turn the temperature to medium to medium high heat. Whisk the liquid mixture  every 30-60 seconds.

2. Once the mixture ever so slightly starts to boil remove from heat and place in large mason jar and add vanilla and gently shake. Cover and let cool in refrigerator. 

3. Shake well befor each use. 

Homemade Oatmeal Packets

  
I love oatmeal in the winter months. I eat it just about everyday. You can add just about anything and everything to it. I generally buy the store bought low sugar packets. I always add additional fixings to them to doctor them up (vanilla extract, almond milk, steiva, unsweetened applesauce, or puréed pumpkin… Plus lots and lots of cinnamon). I have been wanting to make my own for sometime now. 

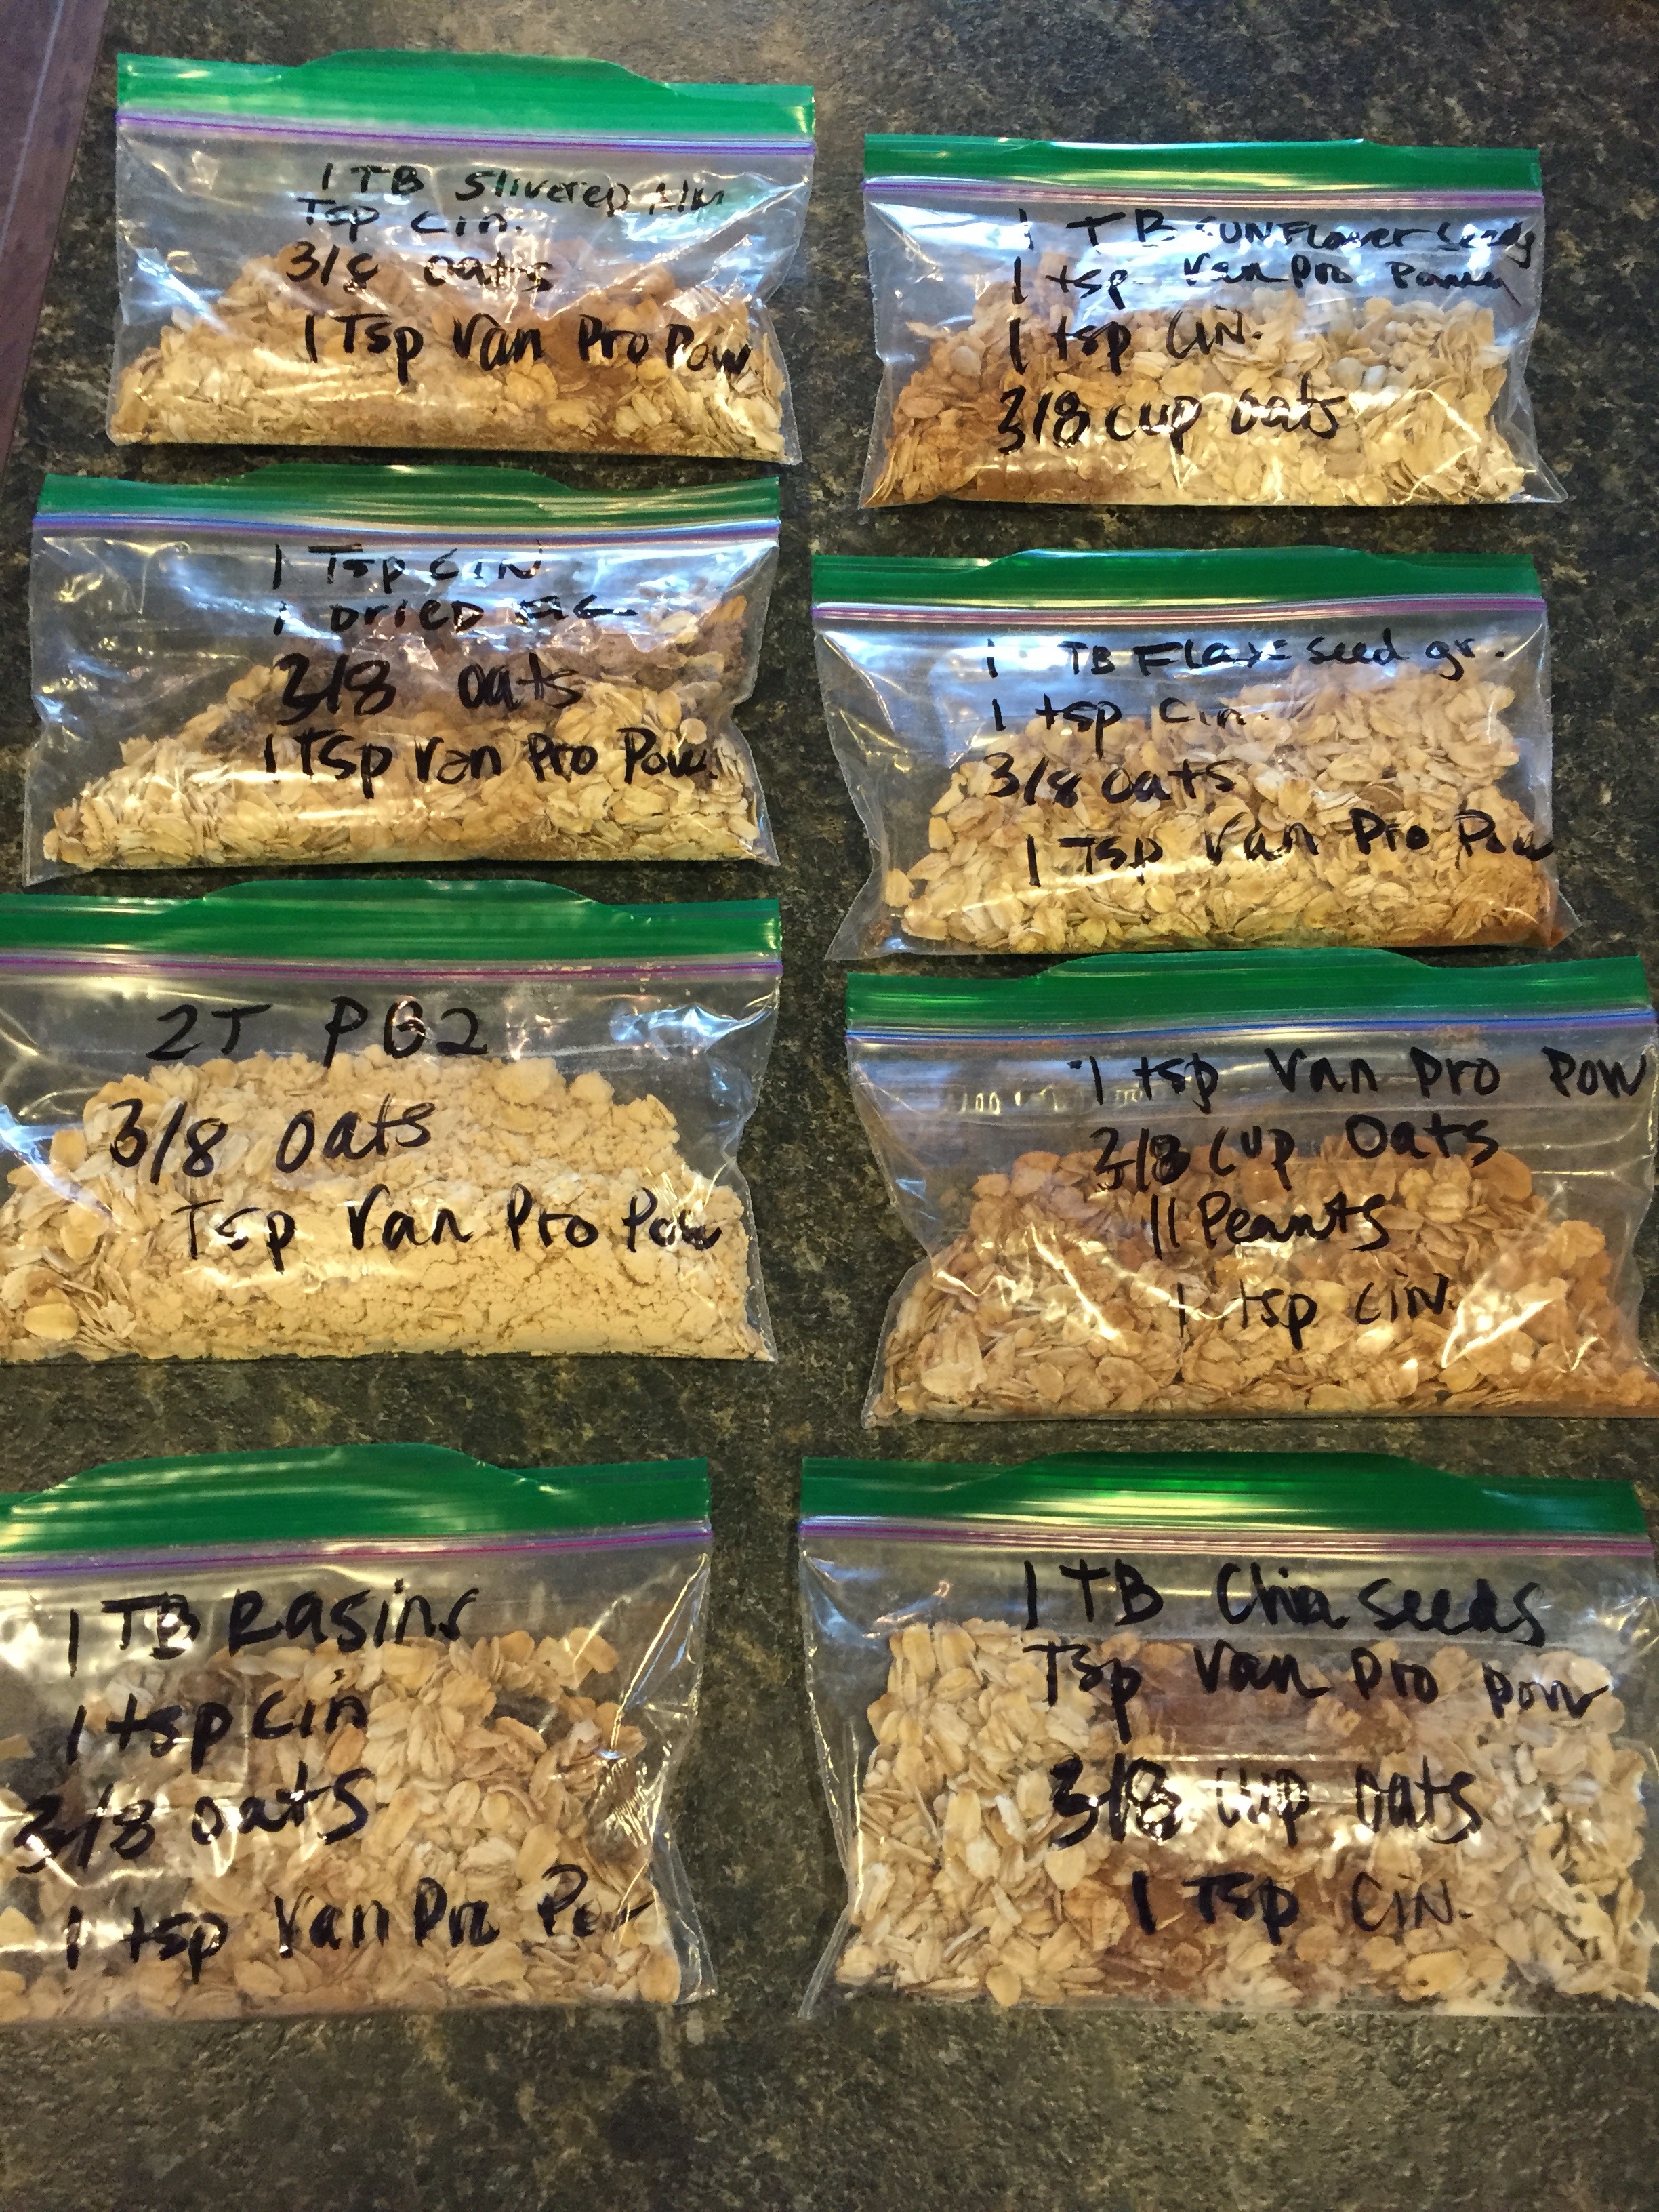
I tried 8 different varies today but the options are endless.

Ingredients: 

All the packets contain

3/8 cup of rolled oats

1 tsp ground Vietnamese cinnamon

1 teaspoon of low sugar vanilla protein powder

1 pack of stevia (Optional & not pictured)

Plus one of the following

  • 1 tablespoon of slivered almonds
  • 2 tablespoons of PB 2 powder
  • One dried fig finely diced
  • 1 tablespoon of raisins chopped
  • 1 tablespoon of Chia seeds
  • 1 tablespoon of flaxseed milled
  • 1 tablespoon of sunflower seeds

Place them in a Ziploc size snack pack baggie. 

Take to work and keeping your desk. 

Directions:

For Hot Water or Milk Preparation

1. Empty packet into bowl. 
2. Add up to 3/4-1 cup hot fat free milk, unsweetened almond milk or boiling water, stir.

3. Let sit for 60 seconds covered. Enjoy!

For Microwave Preparation 

1. Empty packet into microwave-safe bowl.
2. Add up to 1 cup unheated milk or water; stir.

3. Microwave on HIGH 1 to 2 minutes; stir again.

Enjoy!