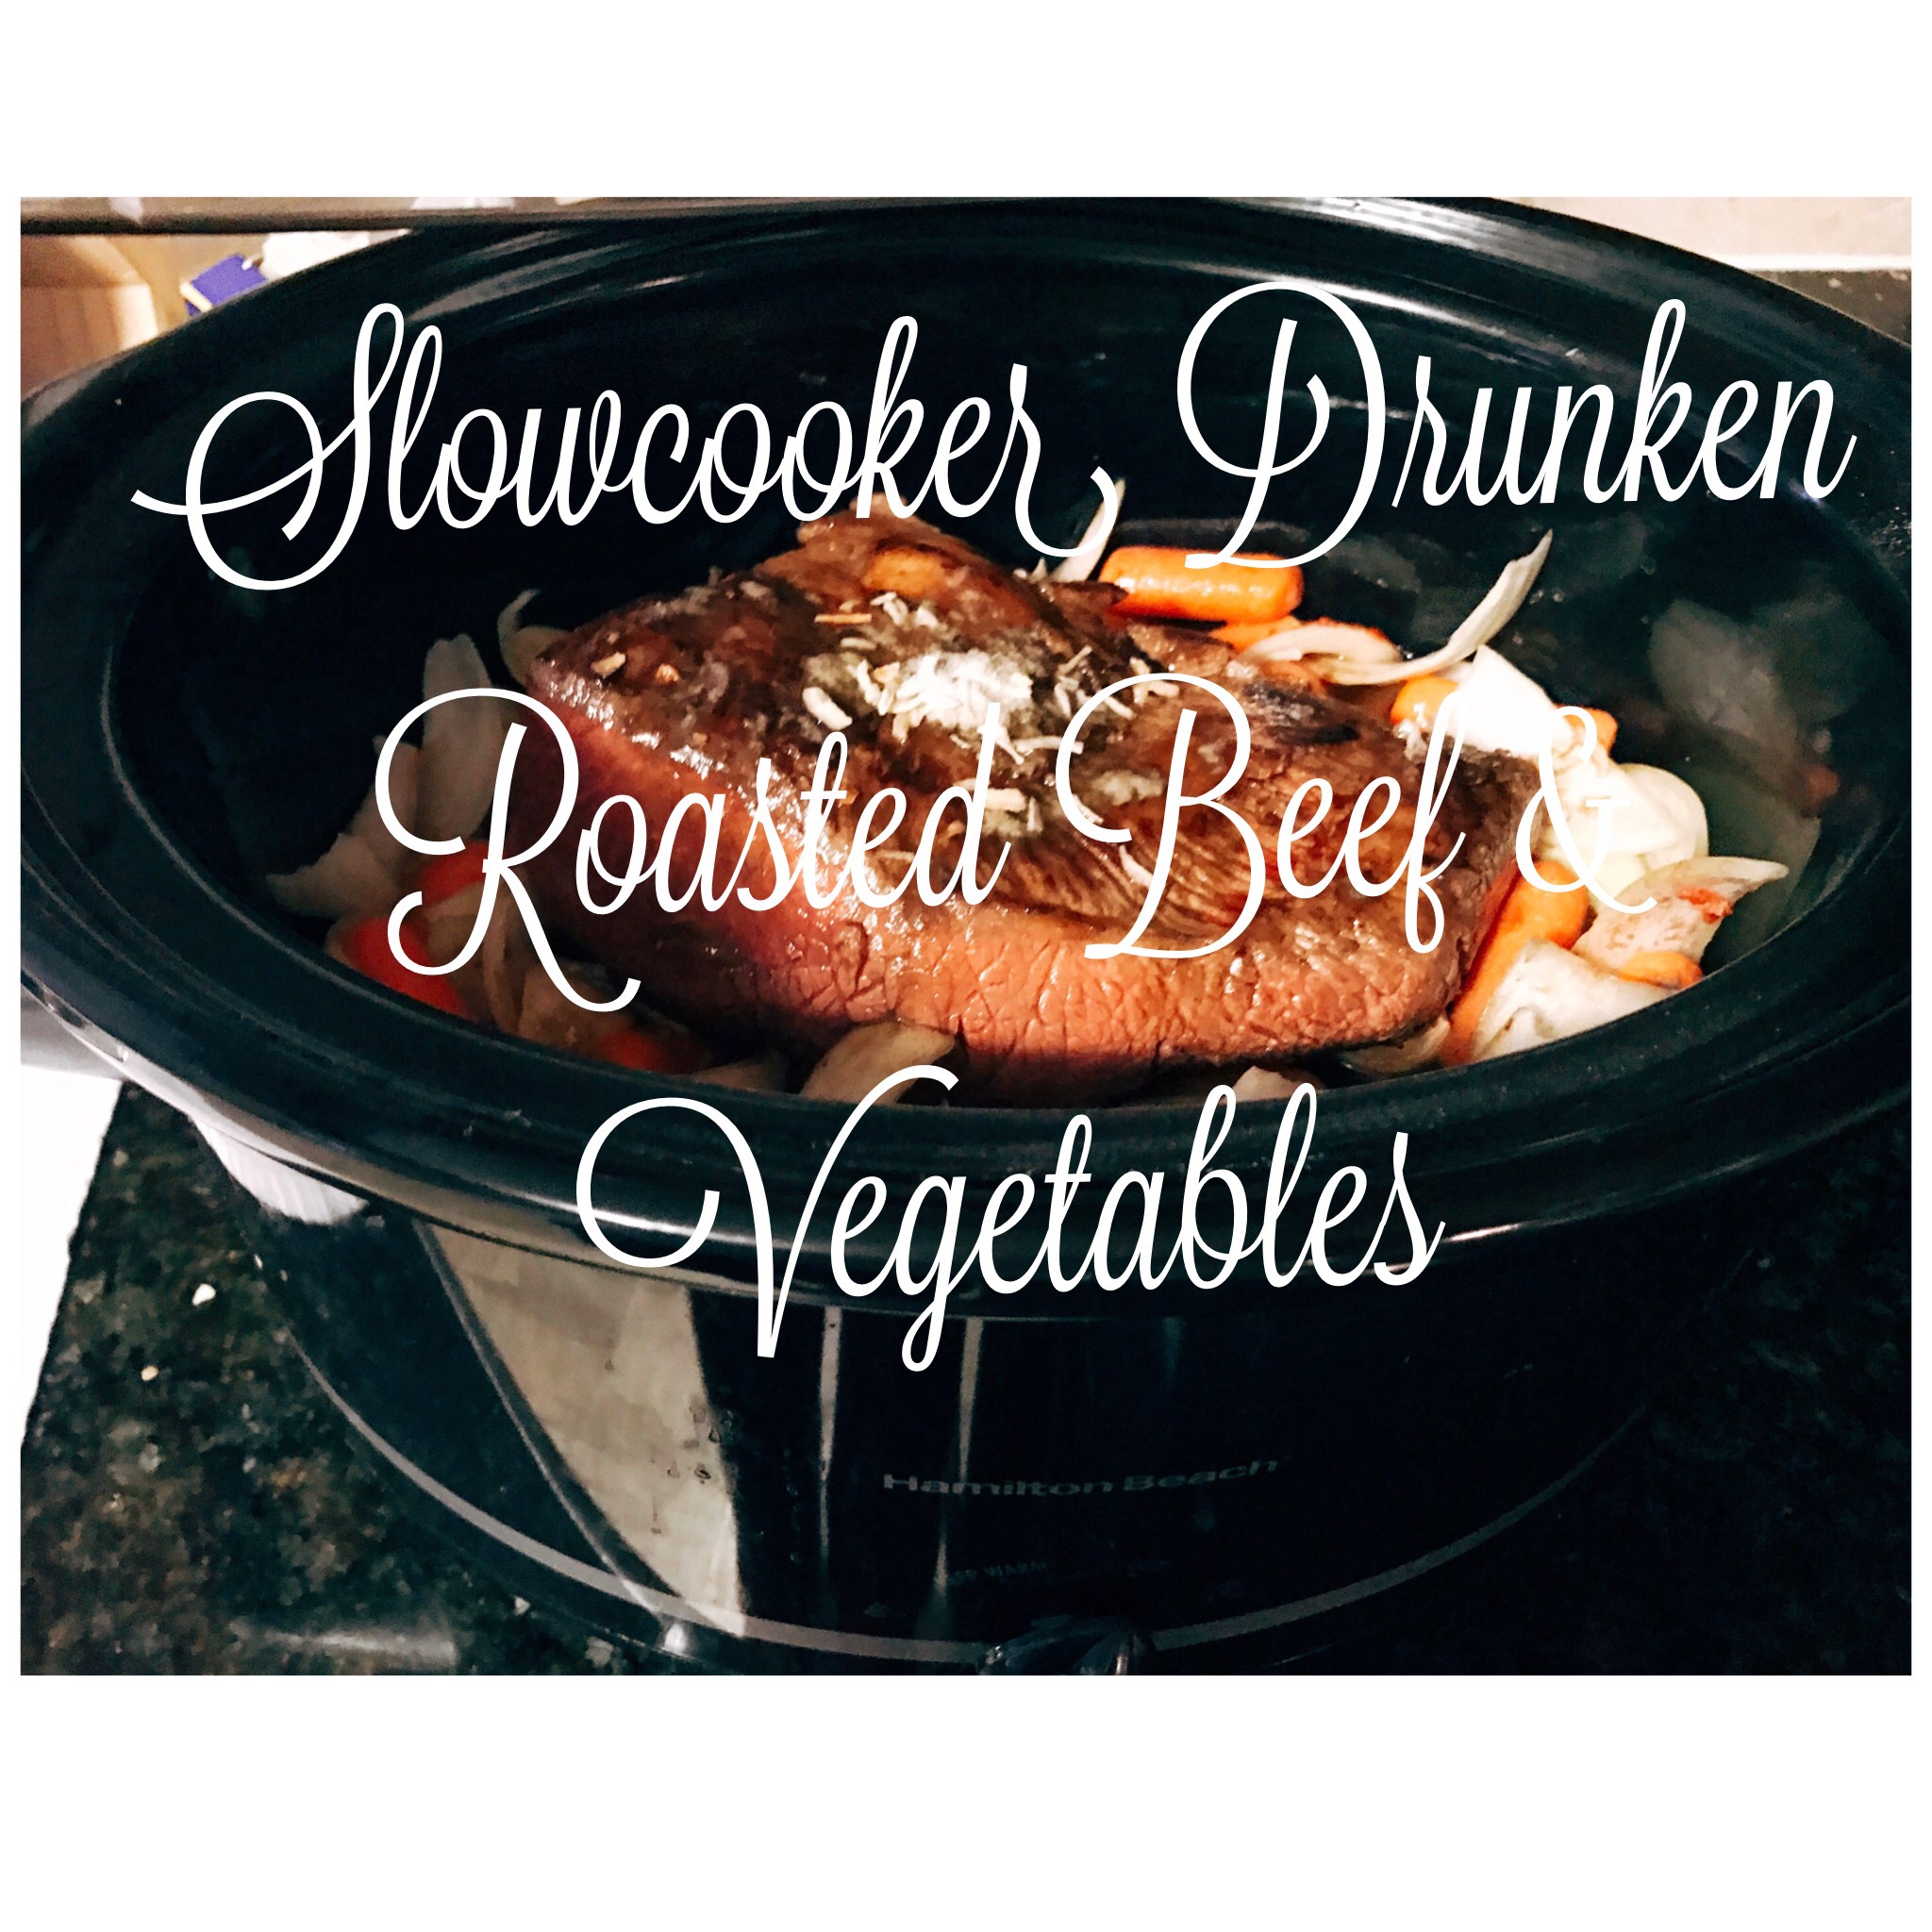
Slowcooker Drunken Roasted Beef & Vegetables

Happy New Year! Welcome 2017! 

Traditionally I make pork and sauerkraut today in honor of my husband’s family tradition to ring in the New Year. However; since we are a guest at a home where pork is not consumed I am preparing a beef roast instead. 

I decided to throw in one of my husband’s favorite beers for good measure, hence the name drunken beef roast. 

Ingredients: 

1.5 pounds small gemstone potatoes, multicolor 

1 pound baby carrots 

3 stalks of celery, cut into 3 inch pieces

1 large yellow onion, quartered 

2 cups beef stock, low sodium 

2 Tablespoons tomato paste

1, 12 ounce can Yuengling light

4 whole cloves garlic 

1 package of dry low sodium onion soup mix

3 pounds bottom round beef roast, seared (fat trimmed off)

Tools for the job:

Slowcooker

Large sauté pan

1-2 Tablespoons Olive oil for searing 

Prework: make sure to rinse and clean all the vegatables prior to using preparing as indicated above. Also, trim the fat off the beef & sear the meat until some caramelization  appears on both sides in the sauté pan. 

Directions:

1. Place the first 8 ingredients in the slowcooker. Arrange evenly and diversely. 

2. Sprinkle with half of the onion soup mix. Set the prepared meat on top of the mixture. Sprinkle the meat with the remaining onion mix. Cover the dish with the slowcooker lid and let the ingredients merry for 8 hours on low. 

Enjoy with some homemade bread! 
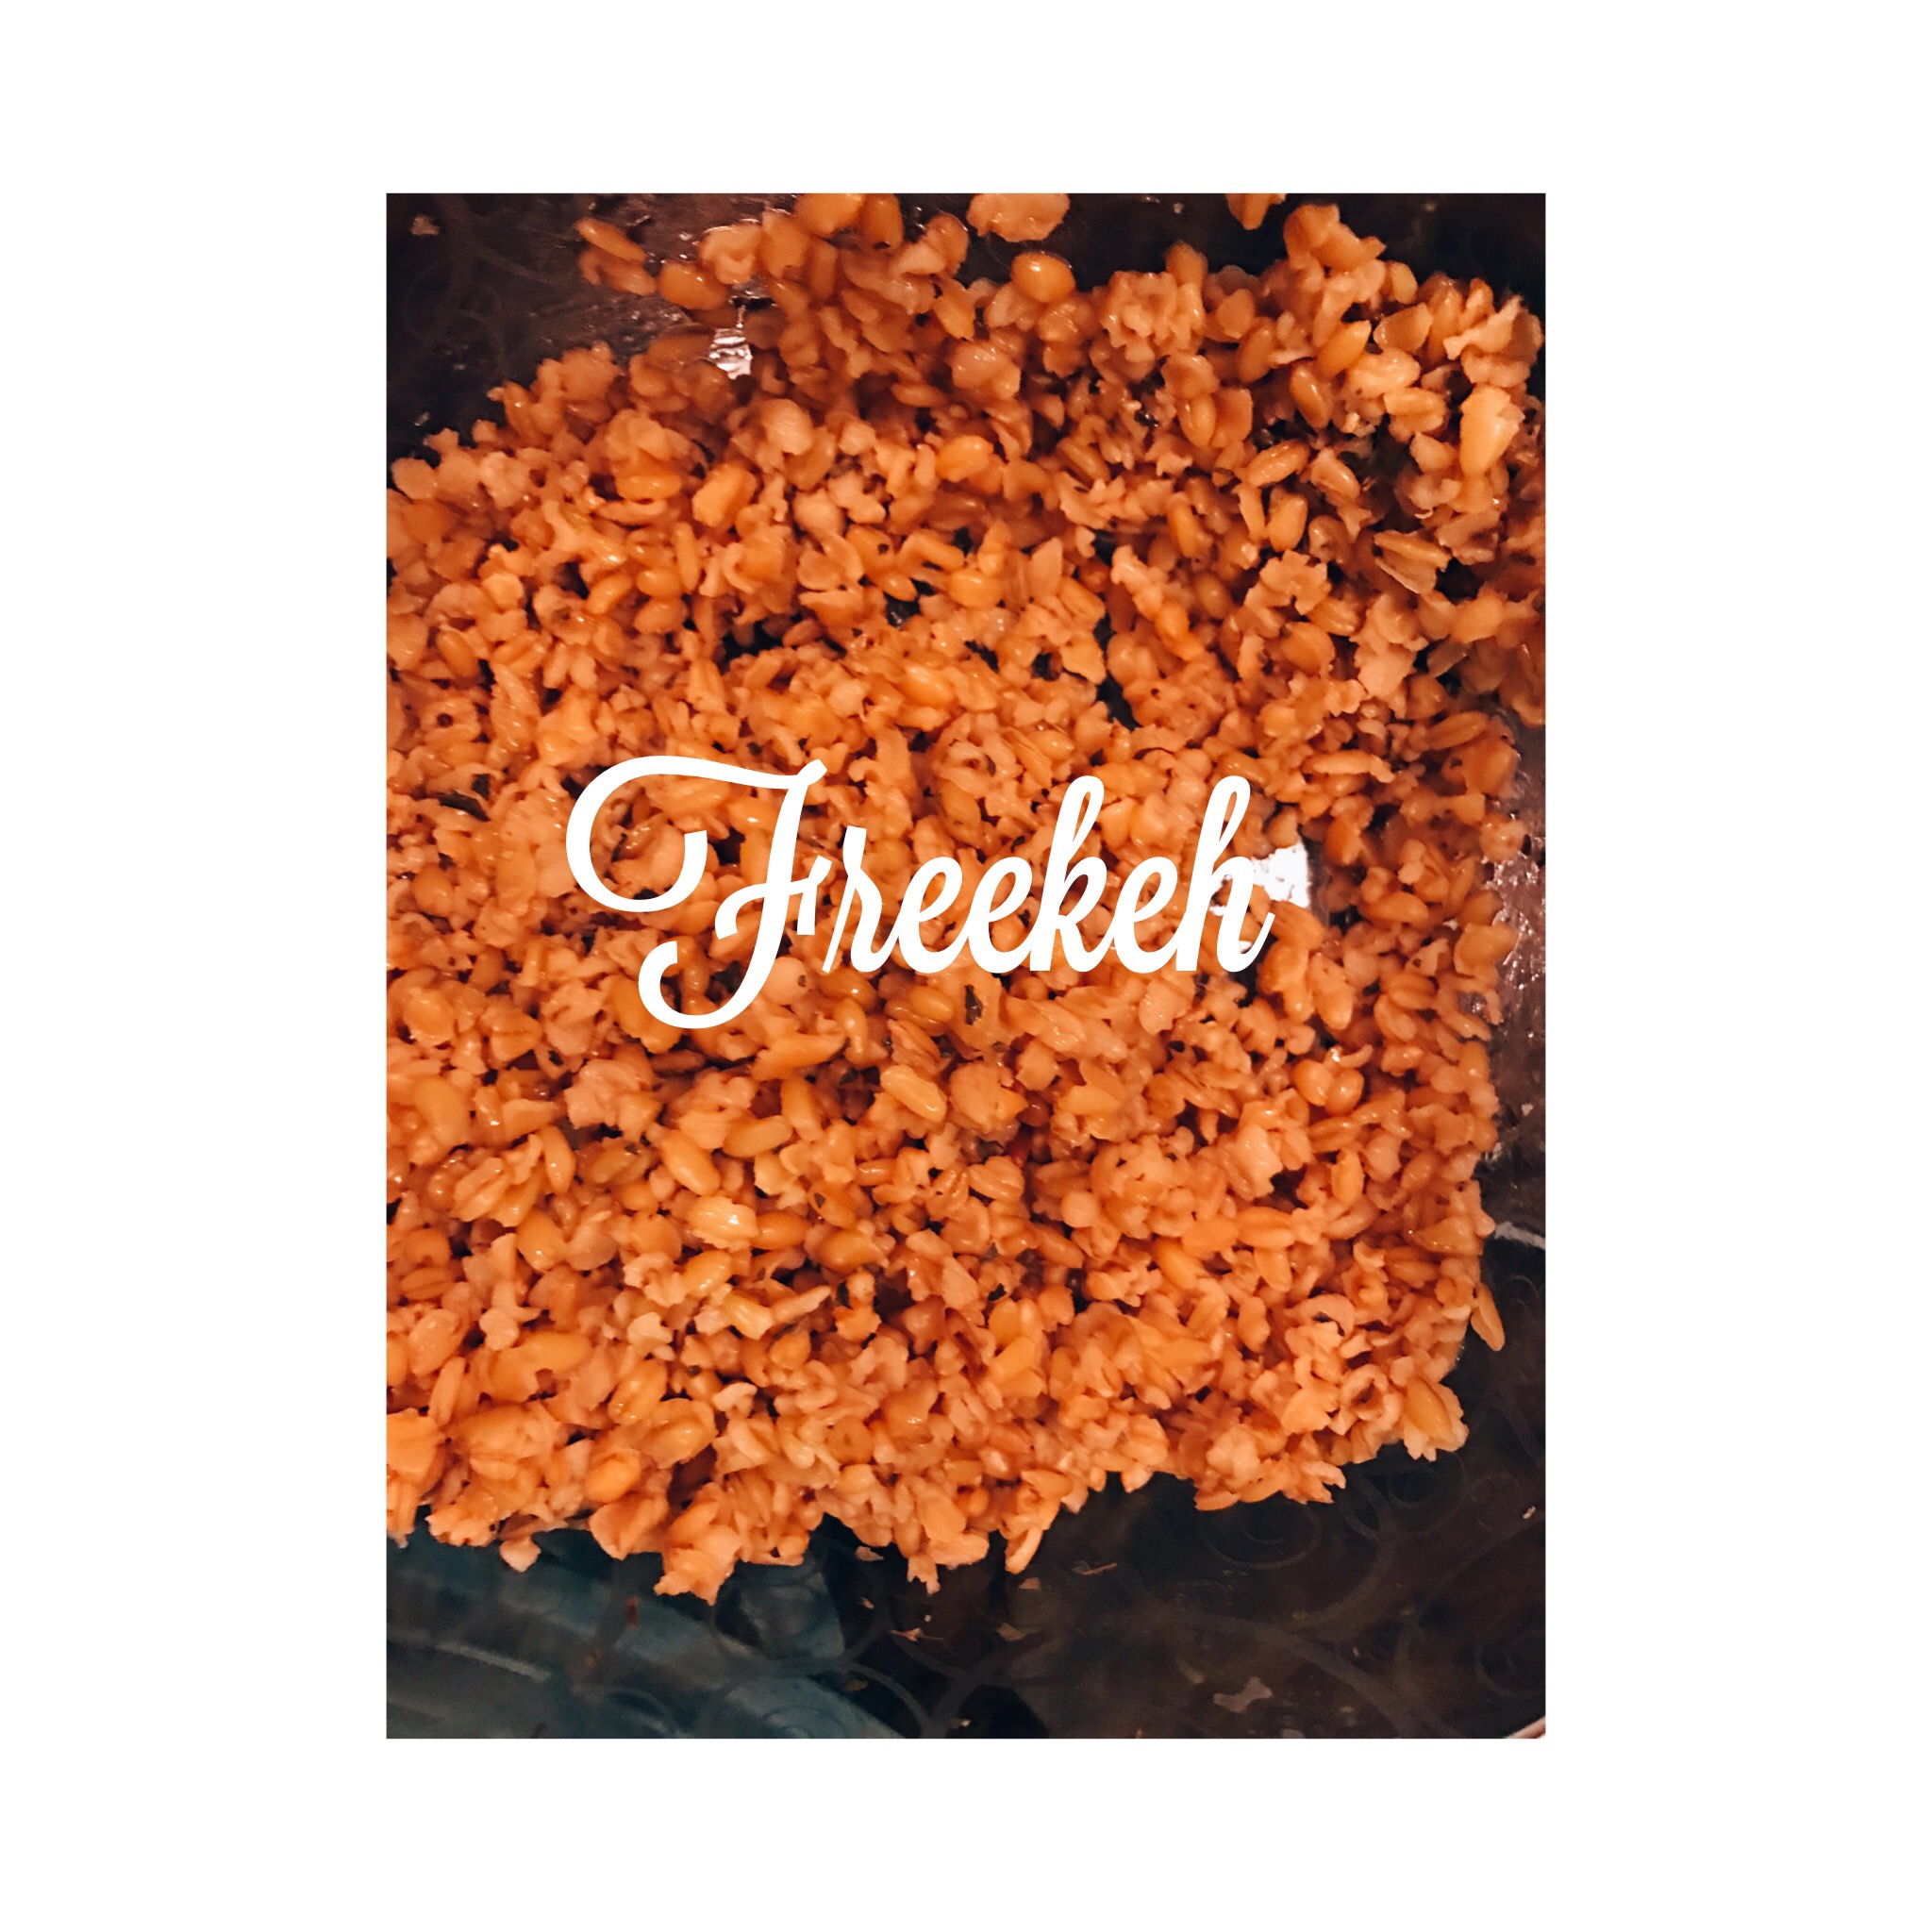
Freekeh 

Are you looking to branch out and try a hearty ancient grain?  Freekeh, might be the way to go. The first time I had freekeh was when we had a HelloFresh order.  I thoroughly enjoyed the nutty texture, the mouthfeel is similar to barley or farro. This versatile grain can be used in place of quinoa, rice, pasta, & couscous. 

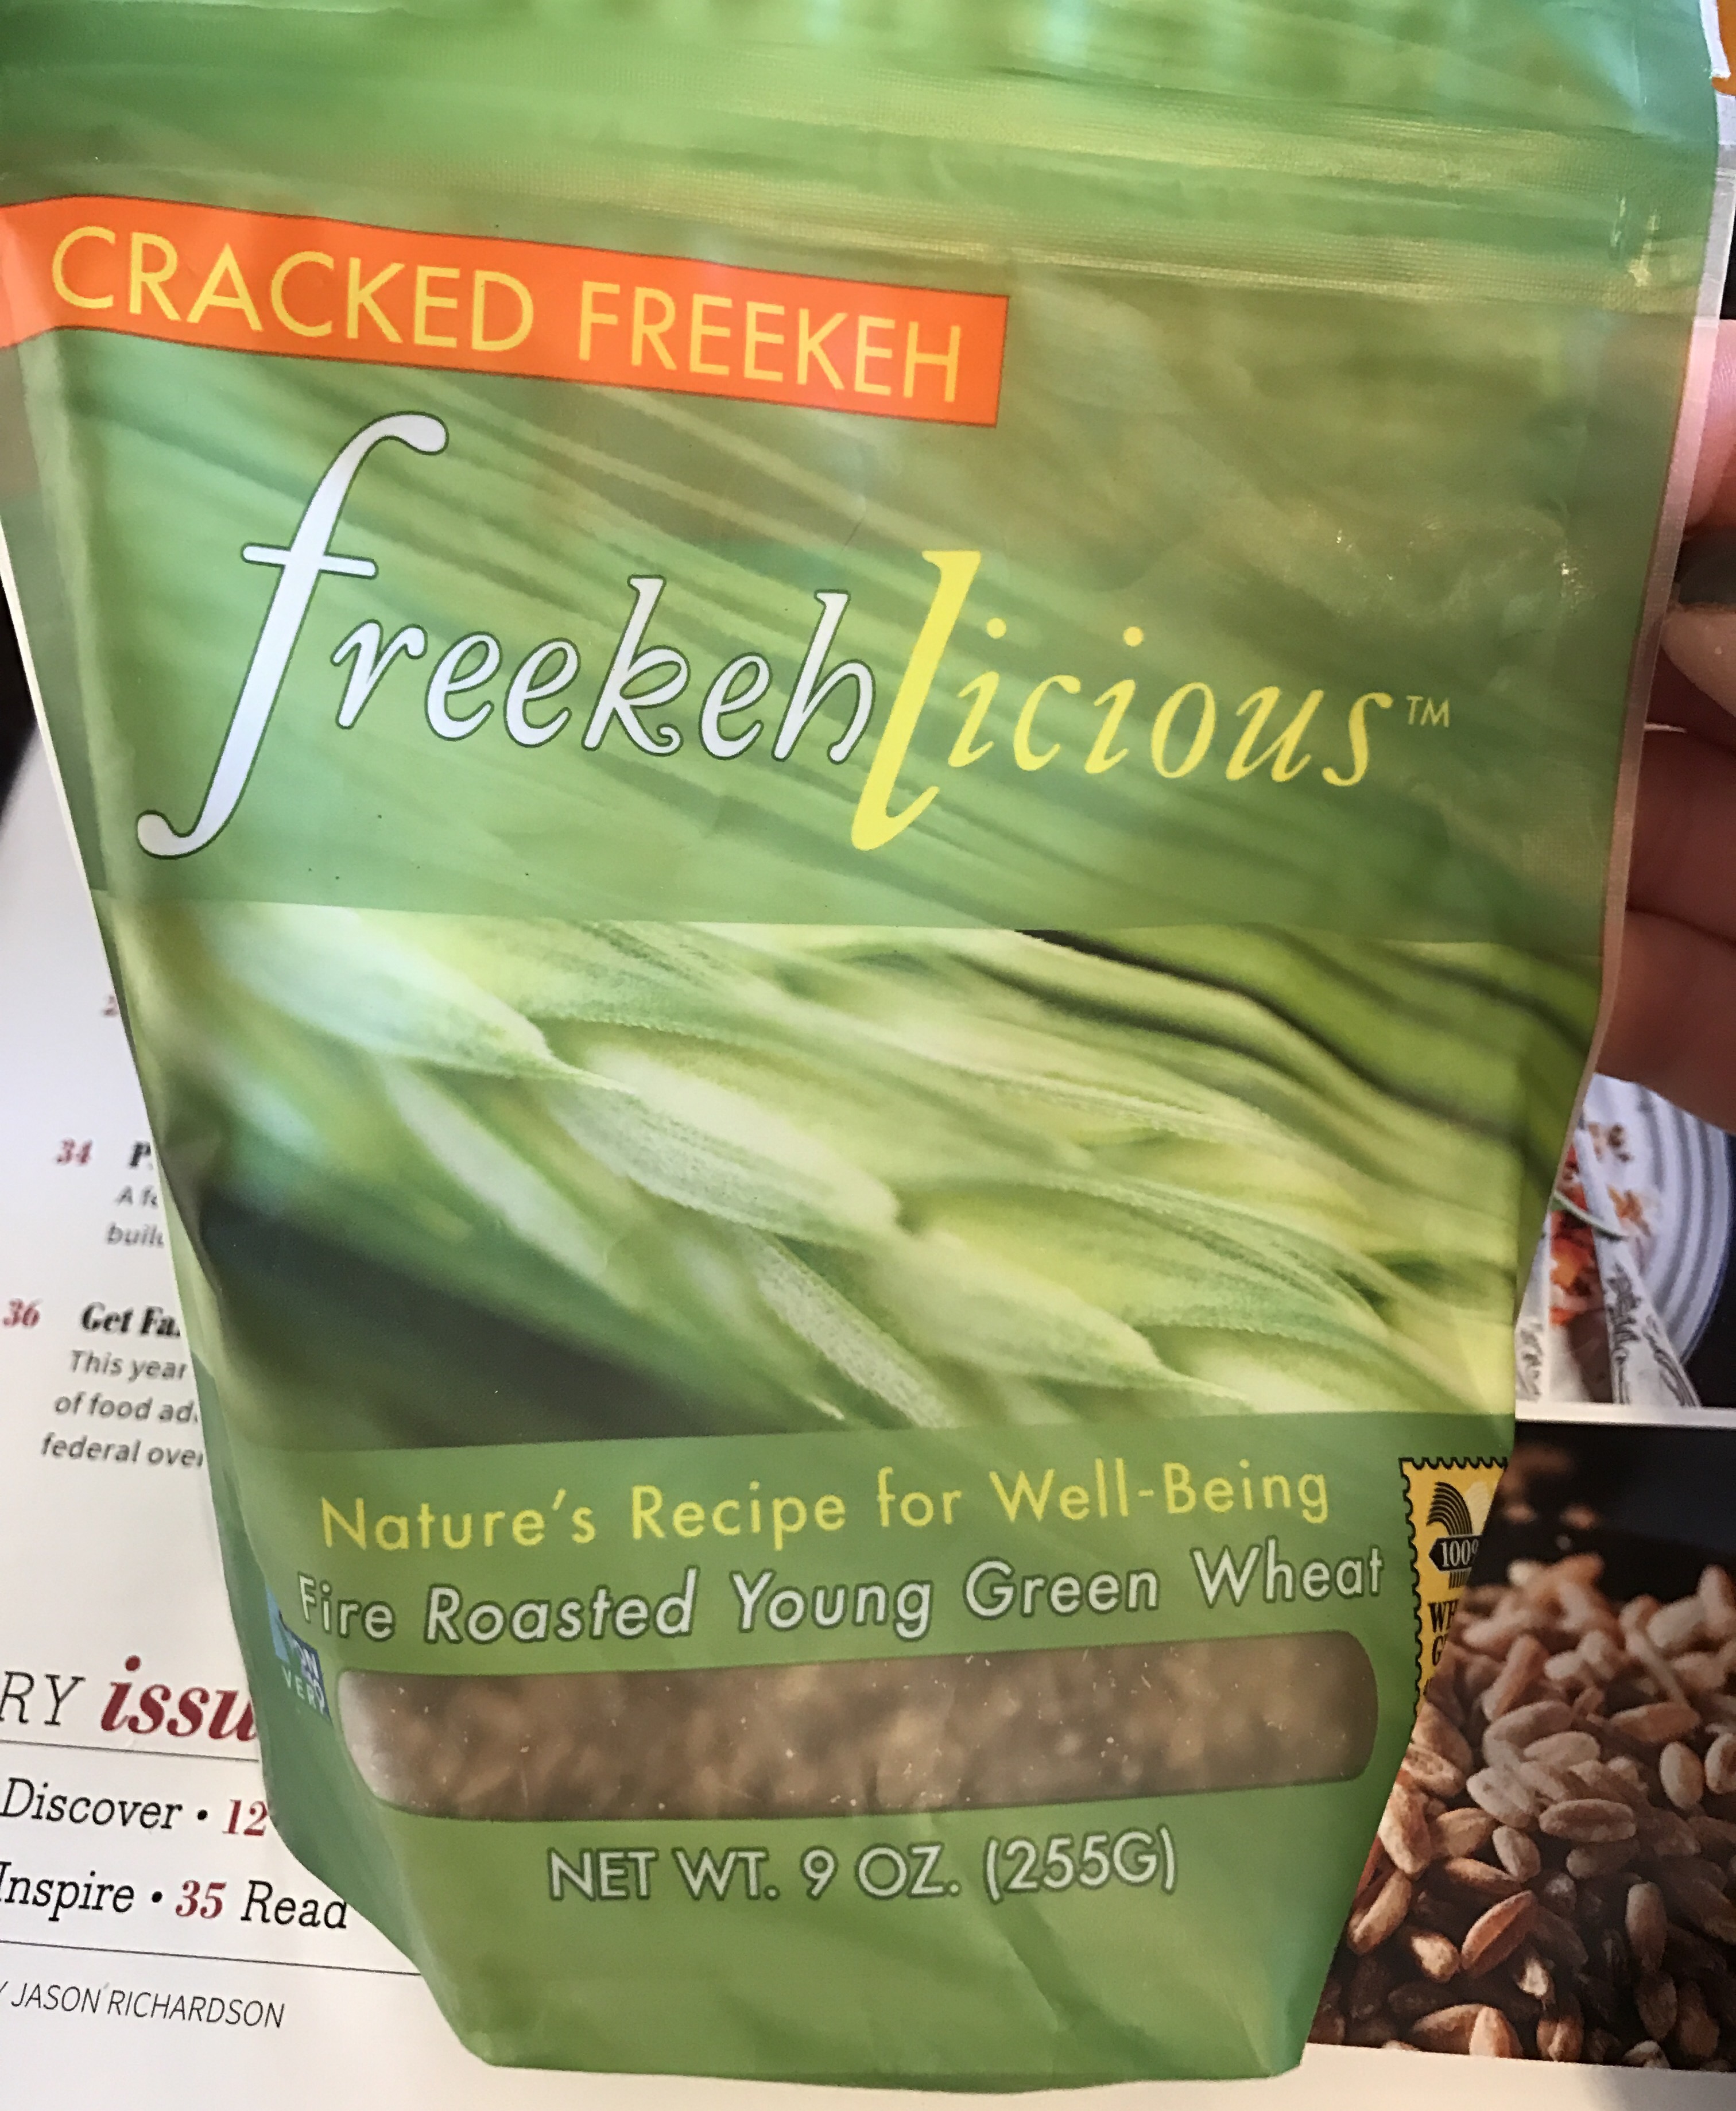
Freekeh (pronounced “free-ka”), is a world grain which is produced from the young green wheat during the harvest. Since freekeh is harvested so early on in the process, it is filled with many rich nutrients &, fiber. Freekeh is also roasted which attributes to the nutty taste. 

Keep in mind, unlike rice, and quinoa, this grain is not gluten free, since it does stem from the wheat grass. 

I was every excited when I was grocery shopping the other day, and came across a discounted package of Freekeh in the bargin bin at Harris Tetter 🤗. 

I’ll take that! Please advise; Never be afraid to rummage through the clearance section at the grocery store! While I purchased this gem, I also came across a full pound of already cut butternut squash for $1.00! 

Yields: 3 cups

Ingredients

1 cup dry freekeh

3 cups vegetable broth, low sodium

1 tablespoon pasta sprinkle 

Directions:

1. Place vegetable broth, freekeh, and pasta sprinkle in a 2 quart sauce pan. On high-medium heat, bring the mixture to a boil. 

2. Once the freekeh starts to boil,reduce the heat, stir, then cover with a lid for 20 minutes to allow the freekeh to simmer. 

3. After the 20 minutes have elapsed, turn the heat off, and allow the freekeh to rest for 5 additional minutes in the sauce pan.  If there is any additional liquid remaining after the 5 minute window, strain the freekeh in a pasta strainer. 

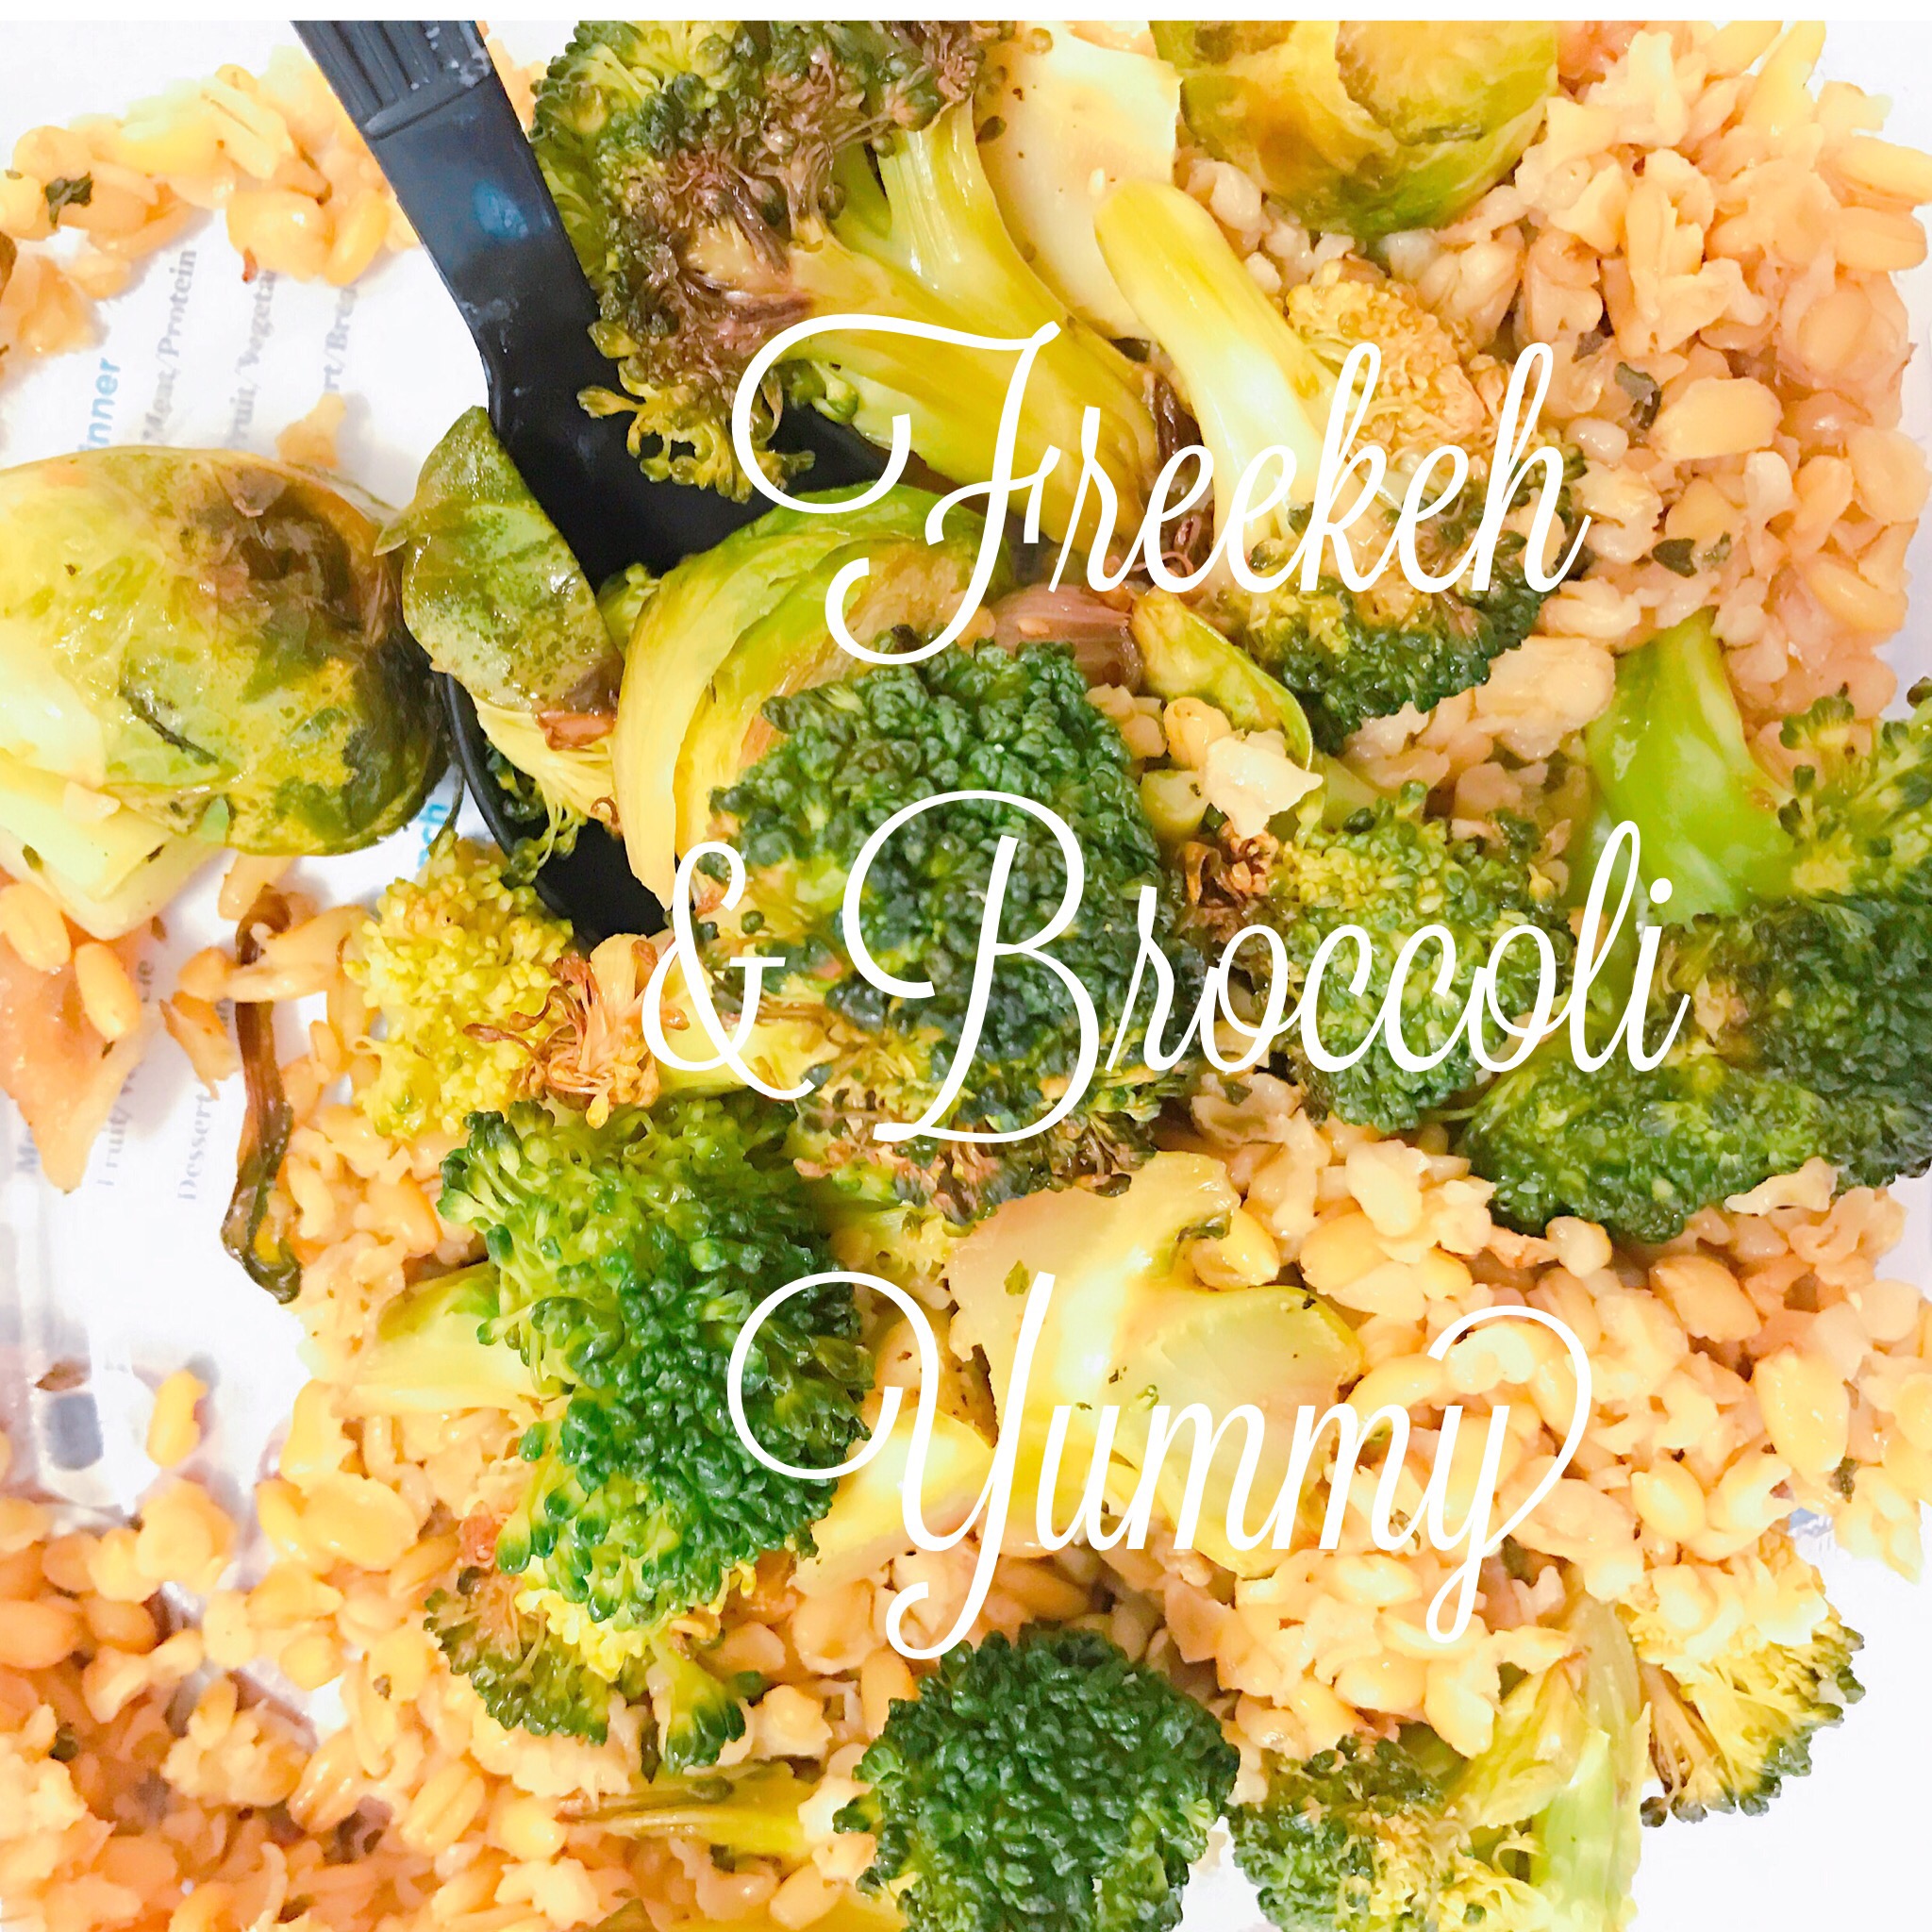
Enjoy with some roasted vegetables, as pictured below. Or try the grain in a stuffed pepper, soup, salad, or stir fry. 


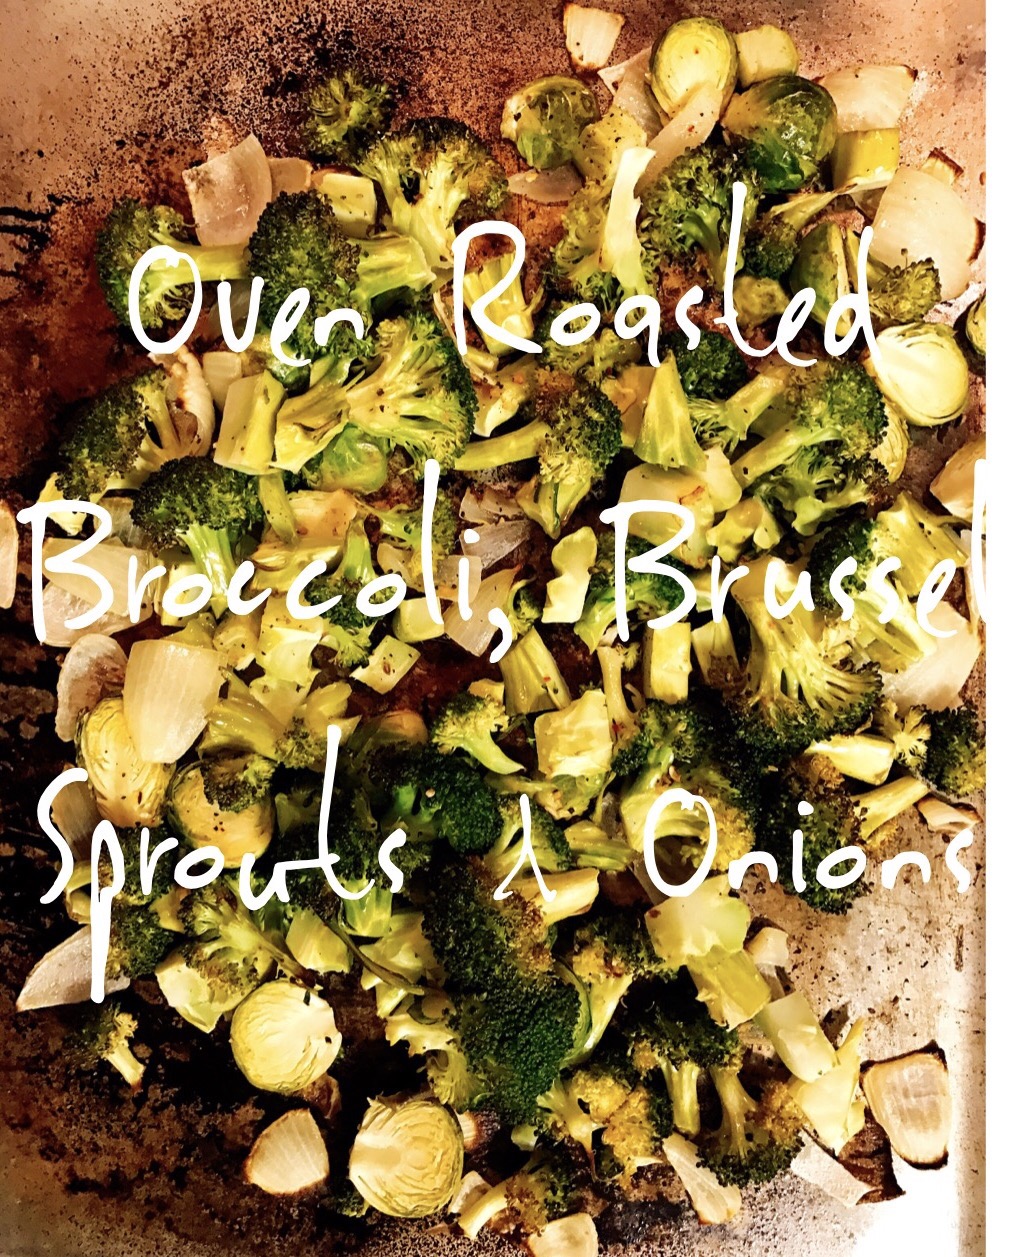
Oven Roasted Broccoli, Brussel Sprouts & Onions


During the winter months, I love roasting vegetables in the oven to perfection. I enjoy when the vegetables have a slight char to them but are still firm for good texture and are not overly done. 

This recipe is an easy side dish which pairs well with almost any entree. I suggest trying the dish with roasted chicken or sautéed tofu steaks with a hearty grain like quinoa or freekeh for the starch companion.

Ingredients :

Canola oil cooking spray

Two smallfresh heads of Broccoli or one large, roughly chopped (stems and all)

One medium yellow onion, quartered

1 cup of fresh Brussel sprouts, halved  

1 Teaspoon of every day seasoning from Trader Joe’s (a blend of sea salt, mustard seeds, peppercorns, coriander,onions, garlic, paprika, and chili pepper)

Directions :

1. Preheat oven to 350 degrees. 

2. Thoroughly rinse all the vegetables with water & prepare according to indication above.

3. Coat with cooking spray a half sheet baking pan. Set aside. 

4. Evenly distribute the vegetables on the prepared baking sheet. Generously spray the vegetables with cooking spray and sprinkle with the seasoning. With a spatula toss the vegetables to coat the seasoning uniformly. 

5. Place the pan in a preheated oven with temperature set to 350 degrees. Bake for 20 to 25 minutes. Make sure to toss the vegetables halfway using silicone spatula. 

6. Afterwards remove from oven and place the mixed vegetables in sealable bowl.  Properly store the leftovers in the refrigerator (if there are any leftovers).

Homemade Vanilla Extract


My husband and I love making homemade gifts for every occasion. We really enjoy tasty treats for presents for our friends and family. 

This year we couldn’t wait to try making homemade vanilla extract after visiting the Hawaii. 

We heard from locals that Hawaii has it’s own vanilla company? What?? I was so excited!  I told our national volcano tour guide! I have a food blog and I practically put high quality vanilla in everything! I mean everything! 

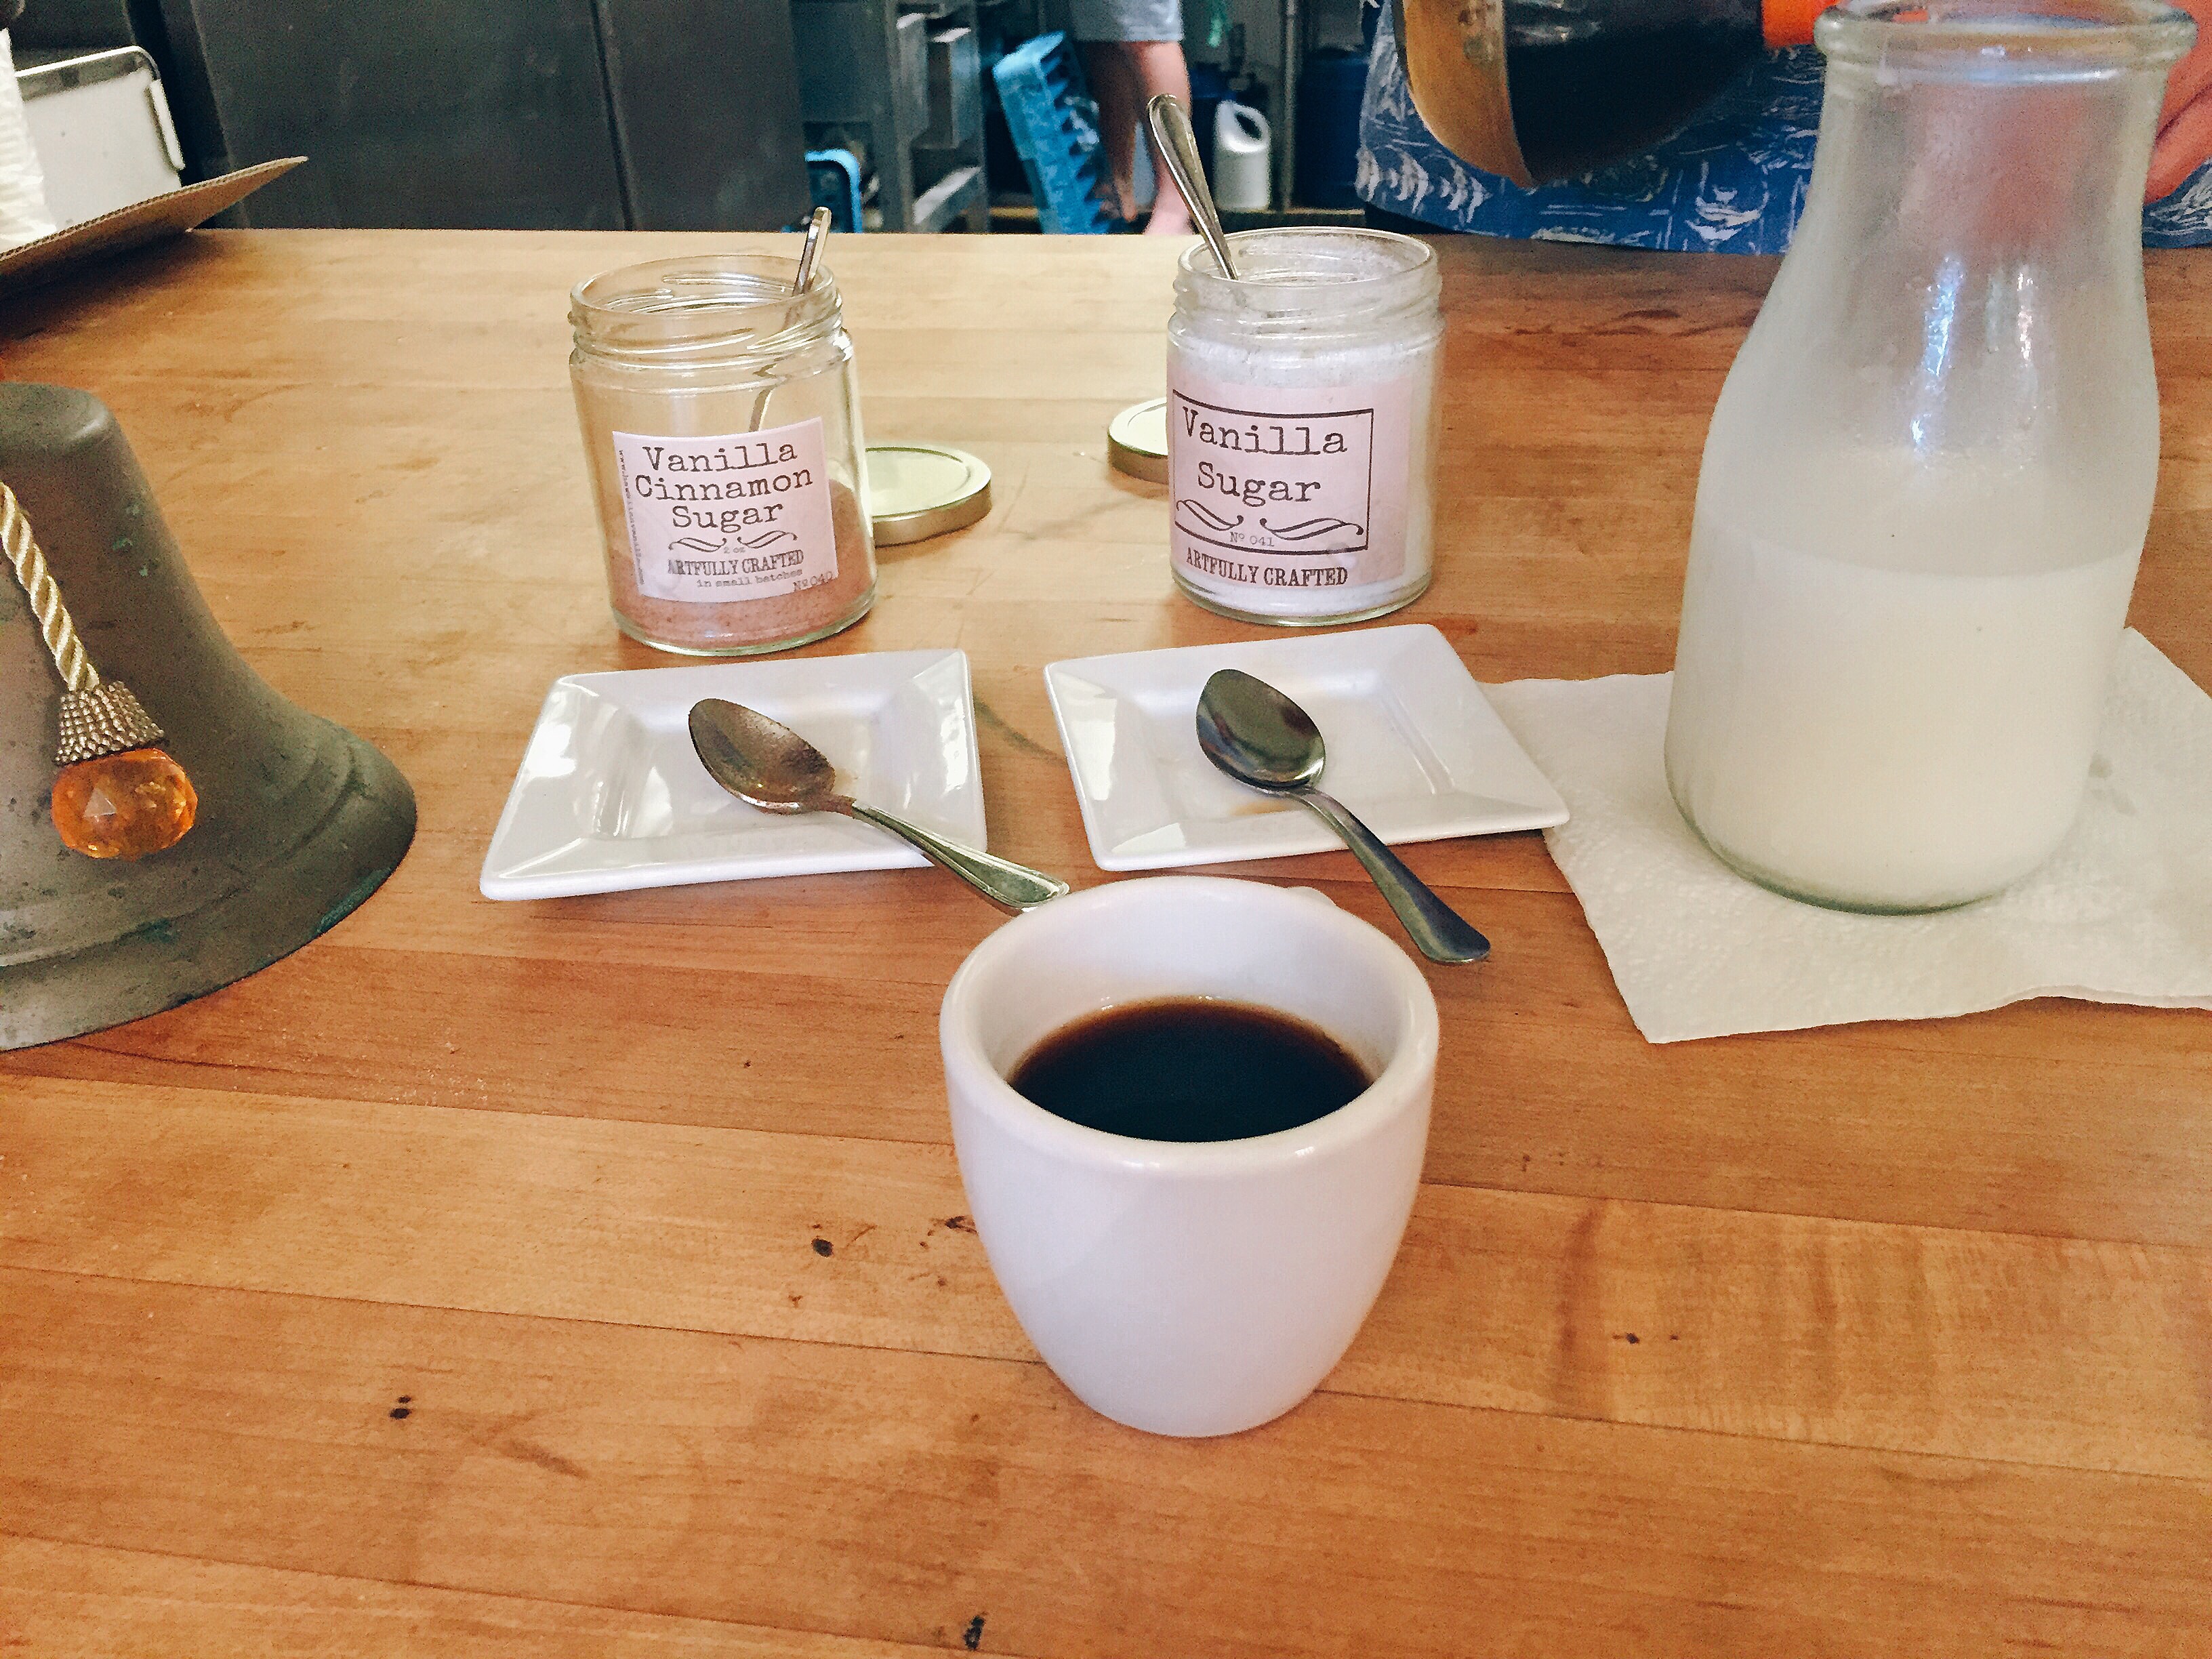
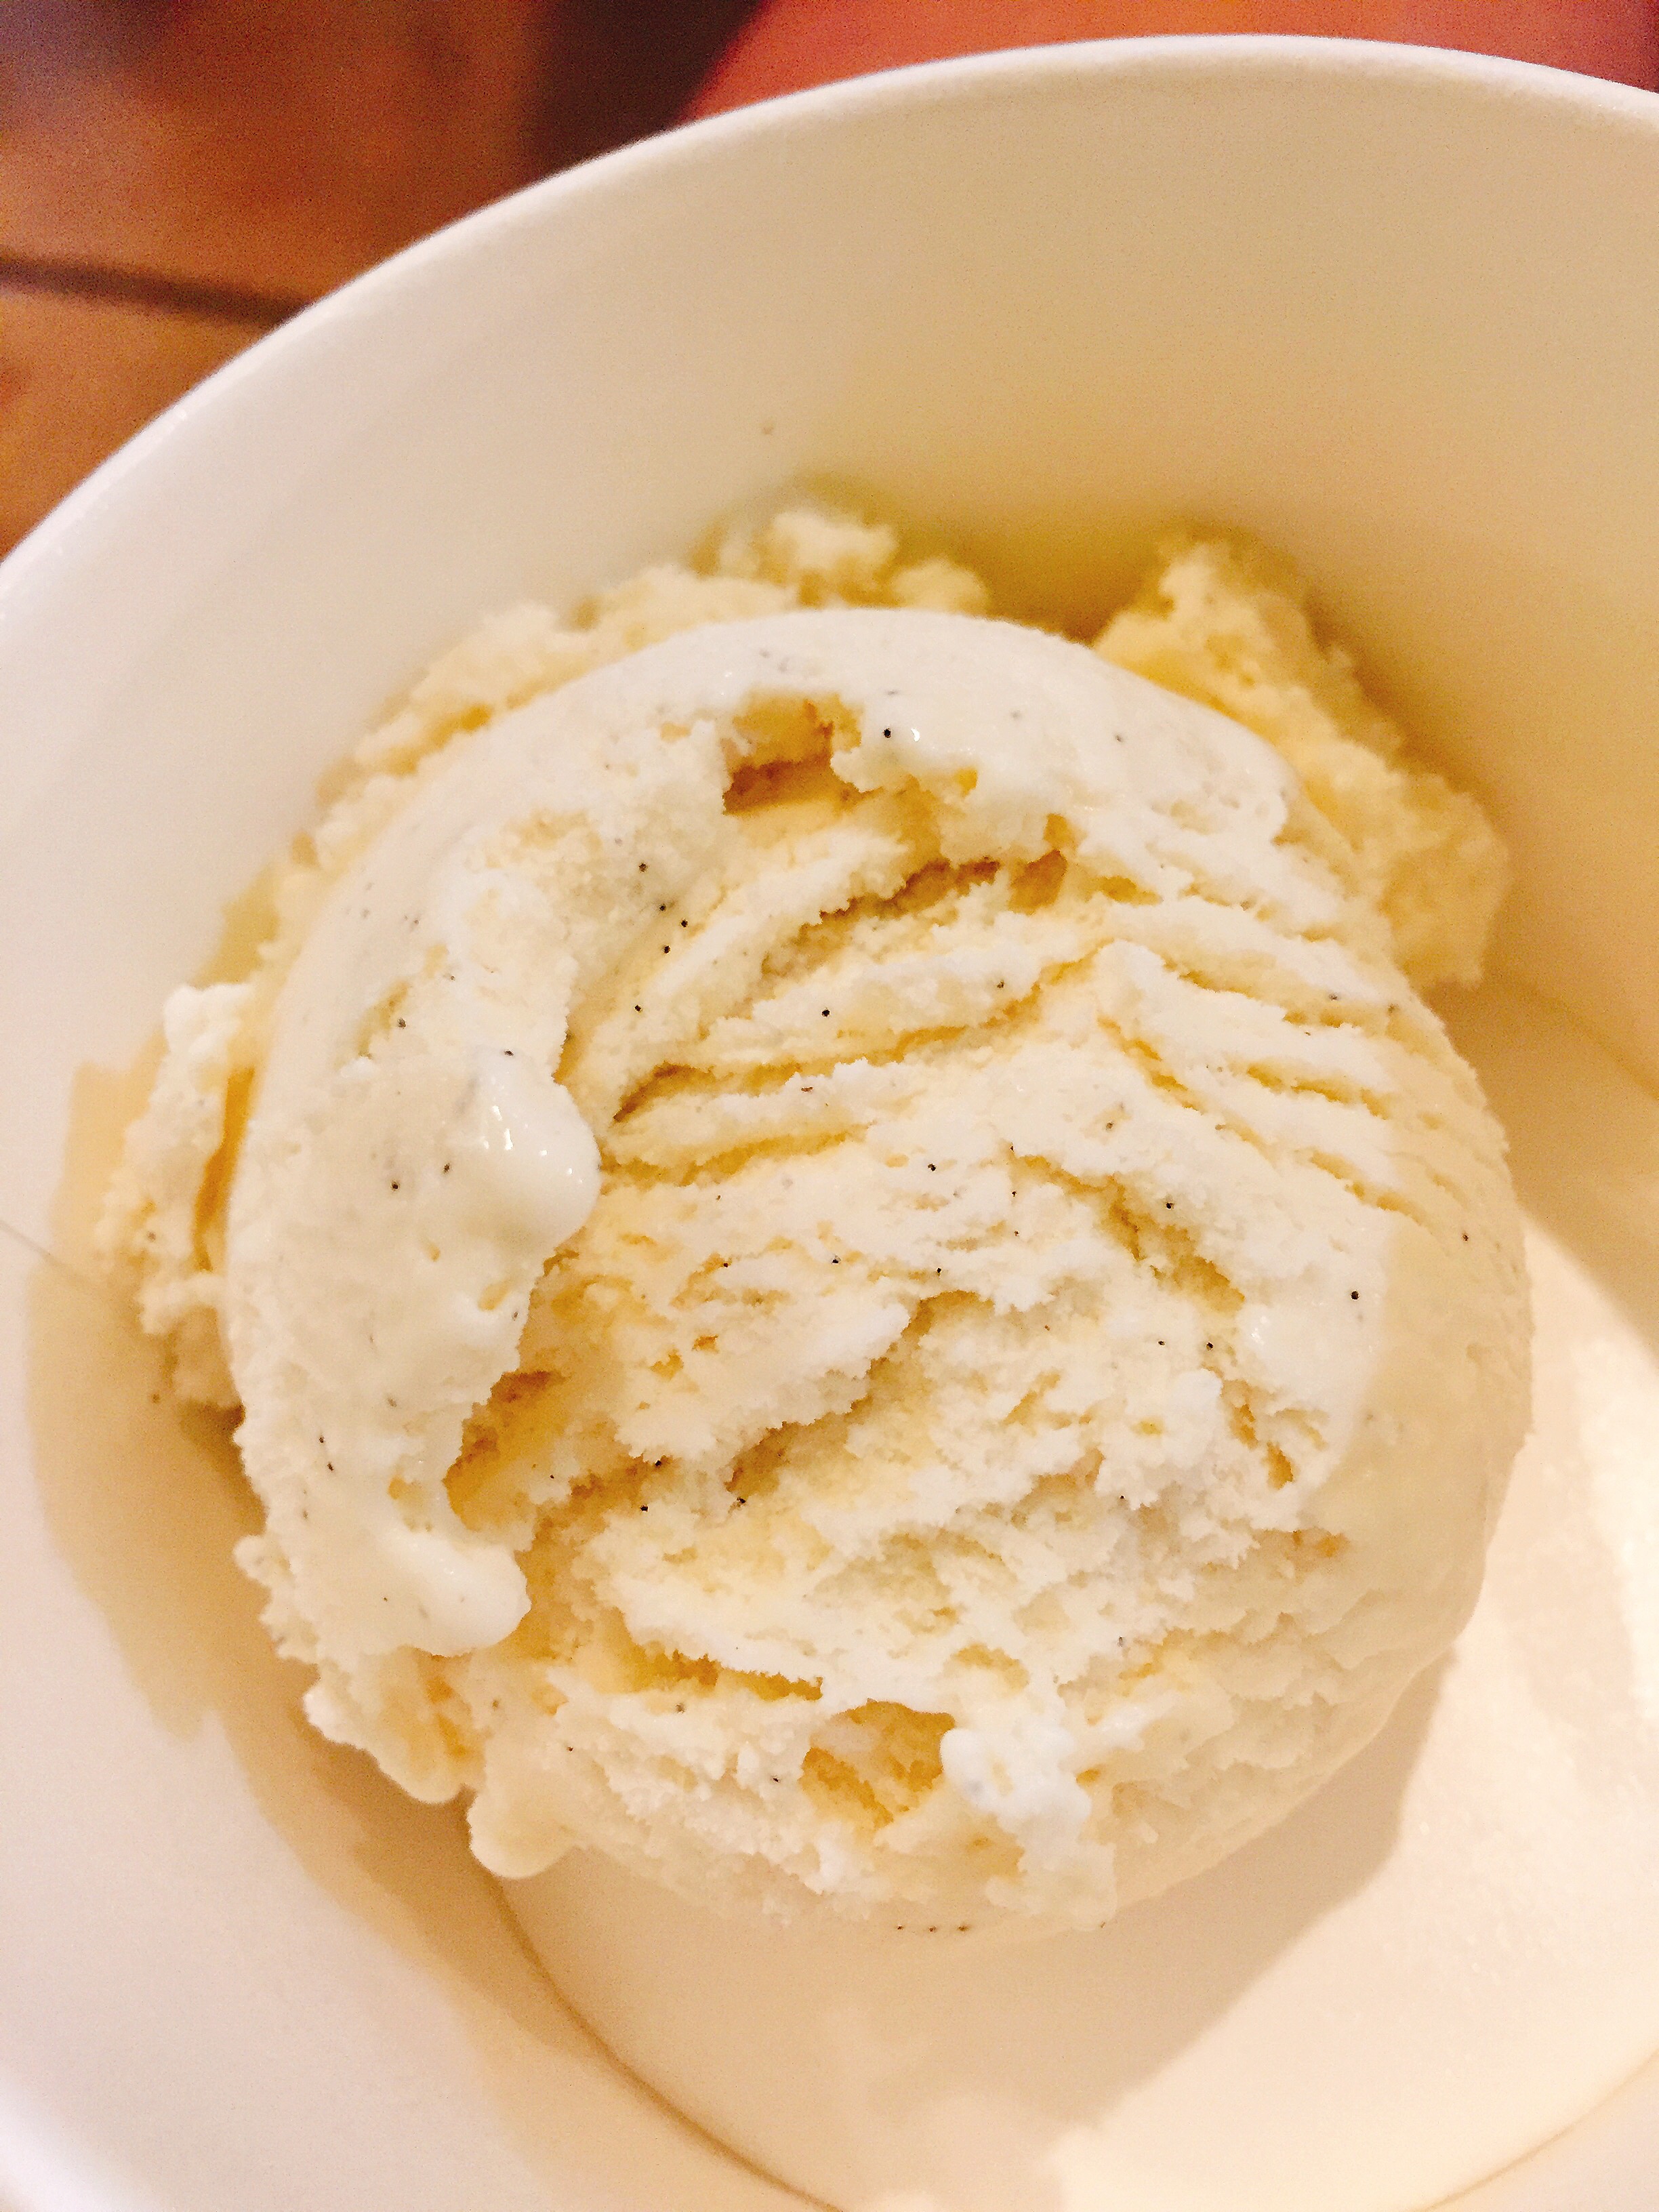
When we looked up the Hawaiian Vanilla Company, we saw that they offer tours! So luckily there were a few spots left on a tour the day before we were heading home. We signed up for the general tour but not the lunch tour. The general tour does come with delicious vanilla tea, coffee and ice cream! 


Warning if you love vanilla like me or even just like using higher quality ingredients for cooking and baking this tour is a must! Don’t pass this family run business and tour up. 
I love d the gift shop; it was filled with everything vanilla from beans to salt to body spray! So many good gift ideas for souvenirs or for yourself. 

The owner is very easy going and extremely knowledgable of the vanilla harvesting process. He loves sharing his passion for vanilla which really engages the audience. Also the whole family is invested in the business; 5 kids. 
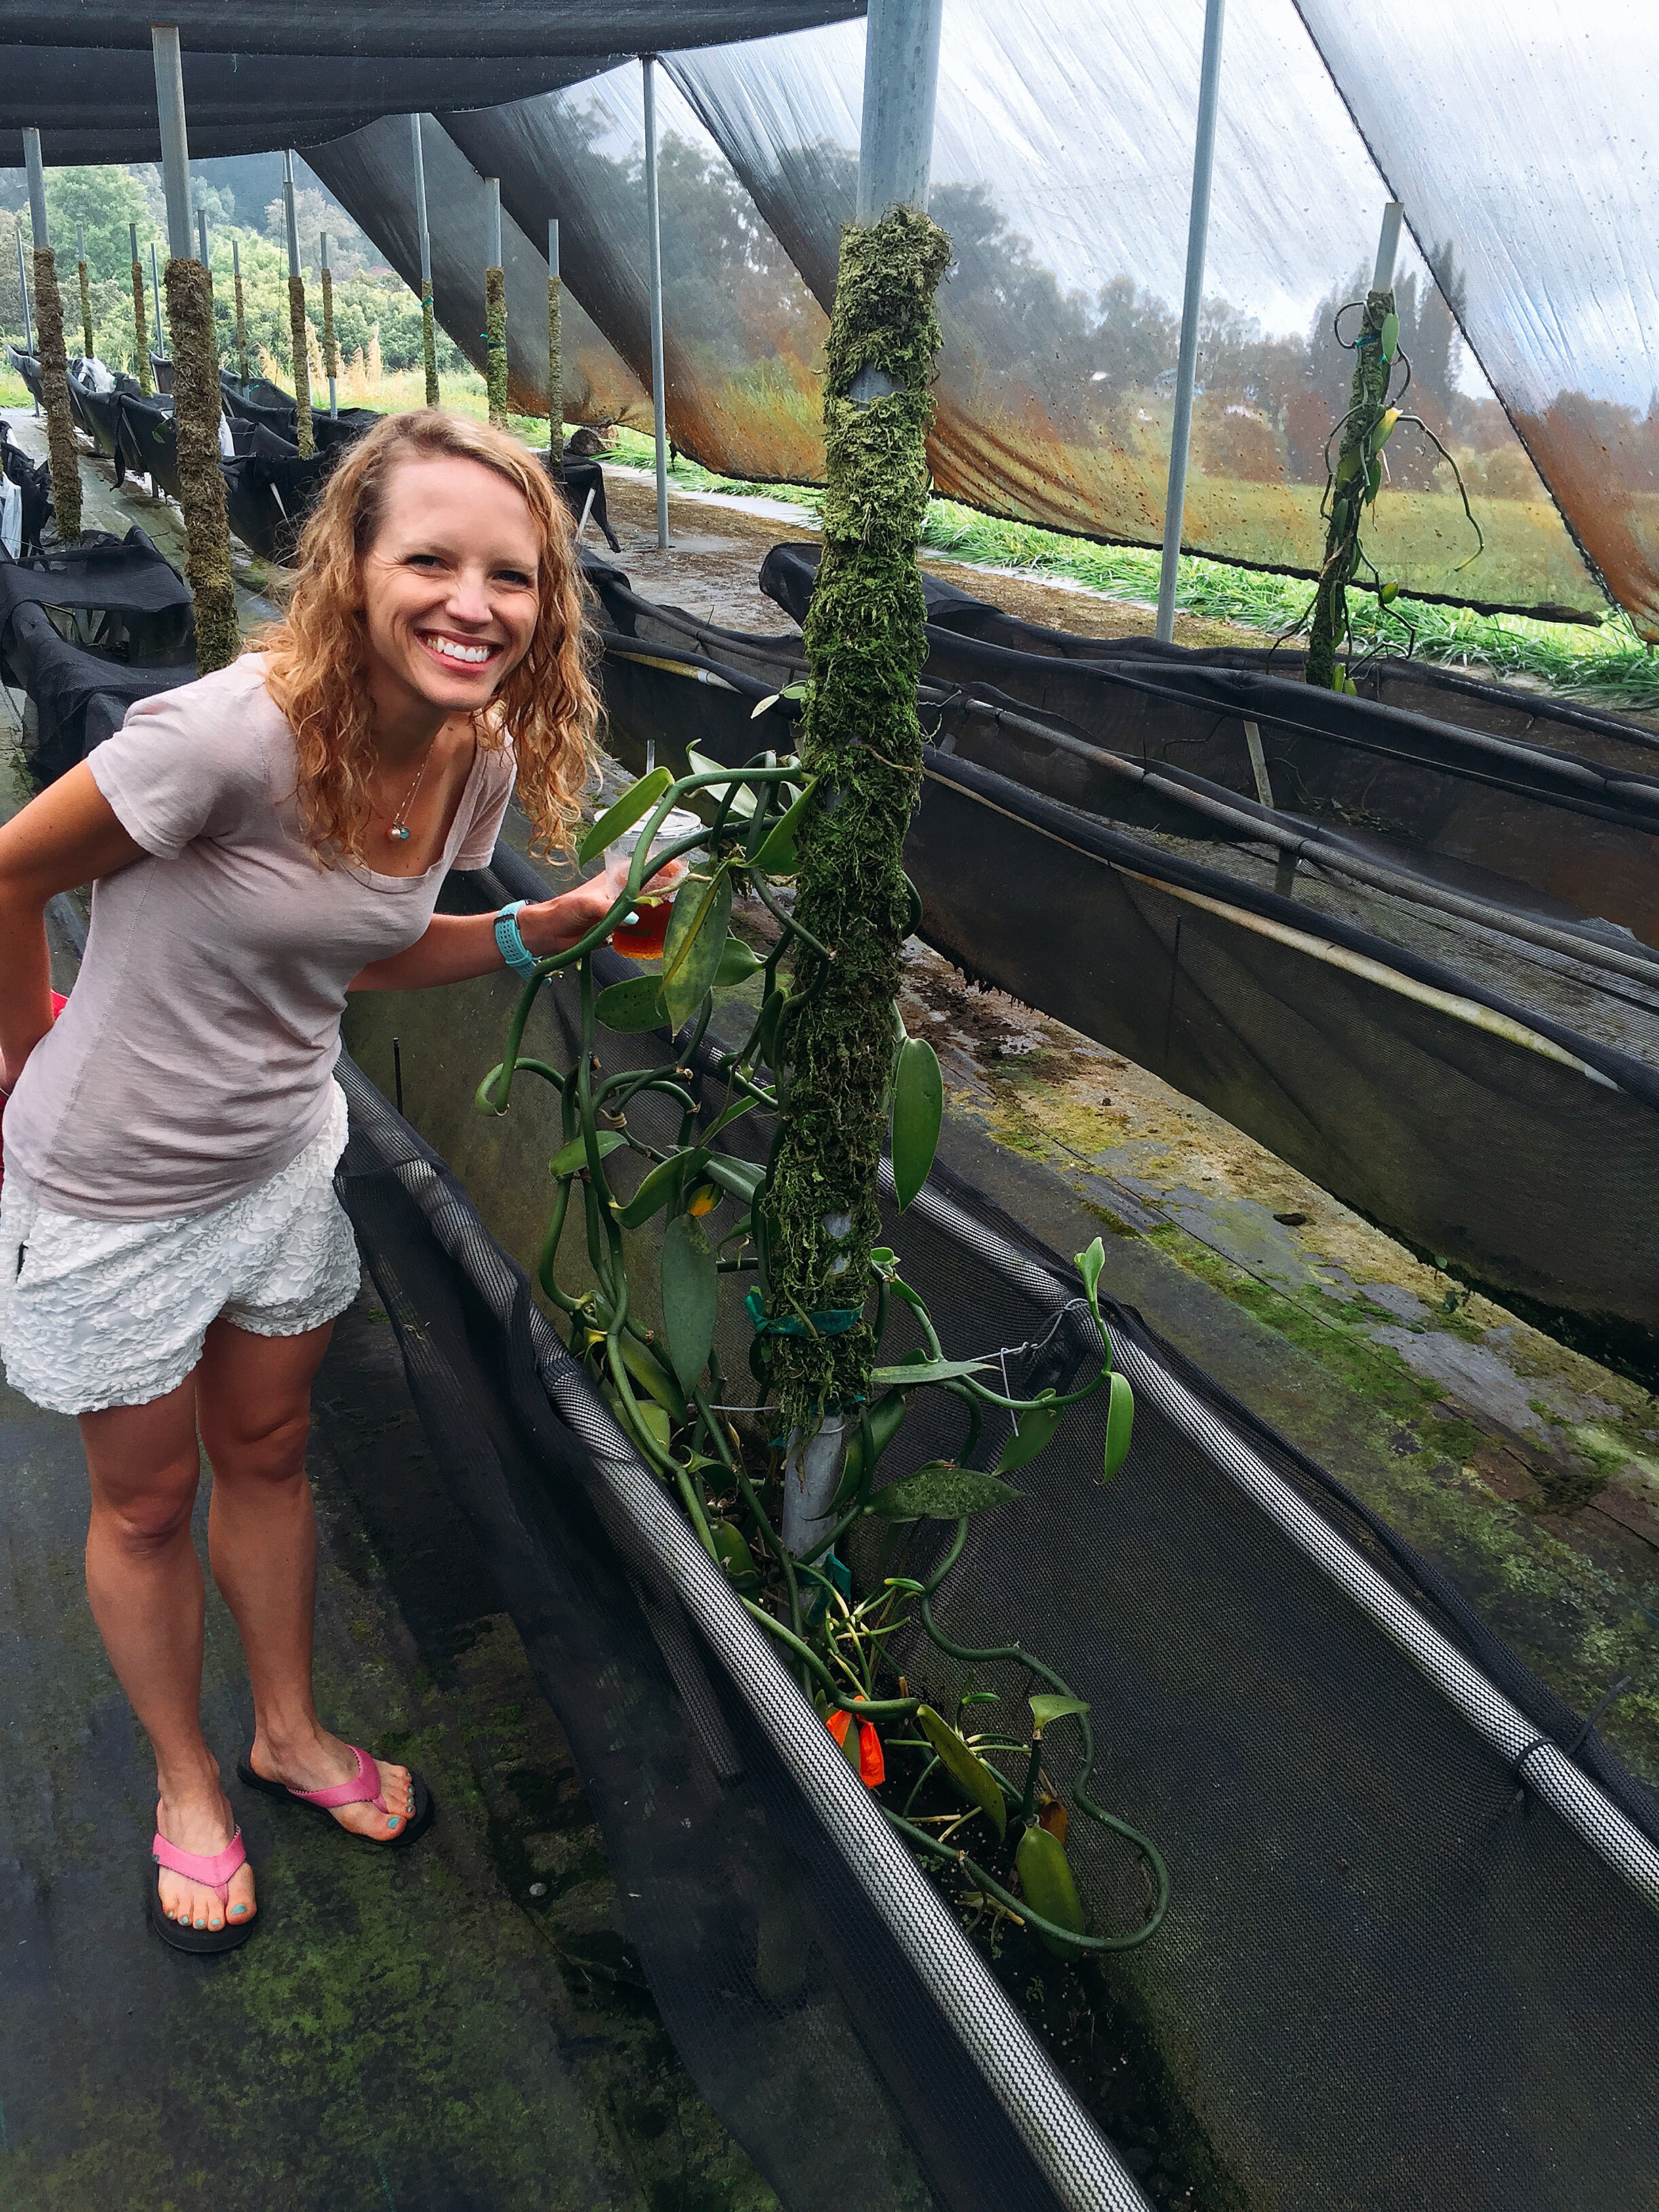
One of my favorite parts of the tour was seeing the vanilla orchids and learning how delicate they are and all the work behind them. I have a better understanding why I pay so much for high quality vanilla. 


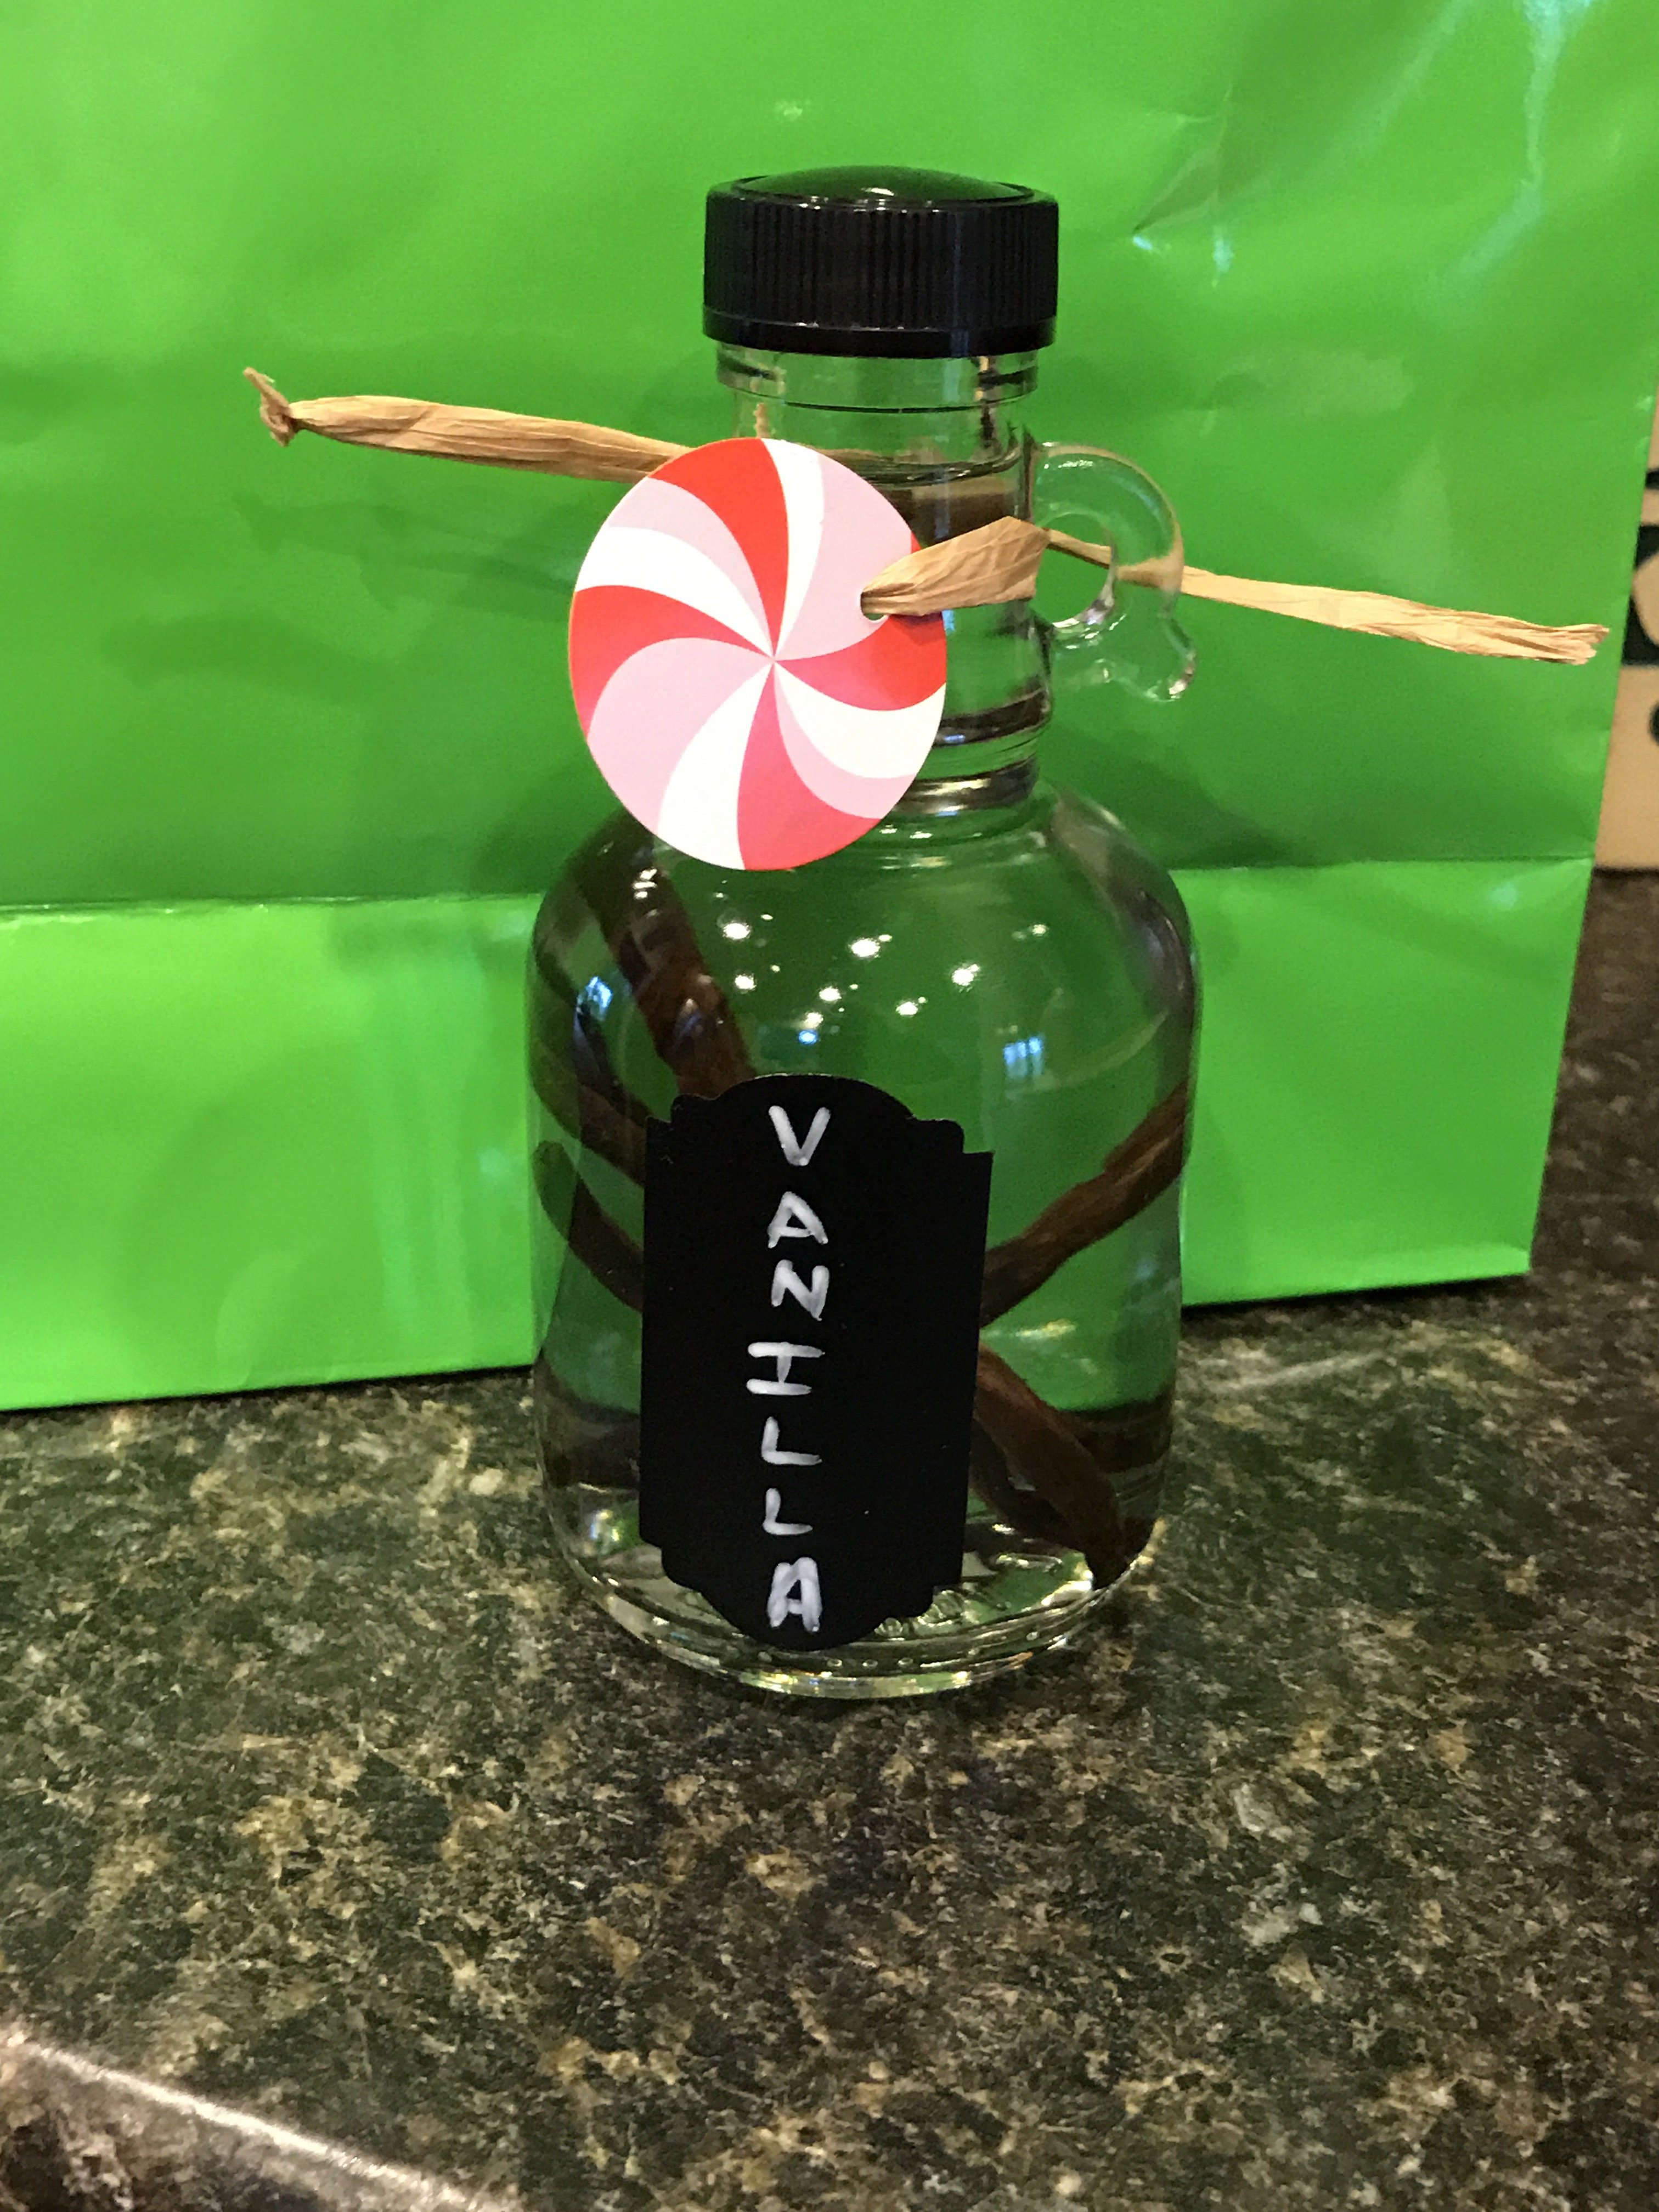
My favorite part was I brought some vanilla beans home to make my own vanilla extract for gifts. 

Ingredients

3 vanilla beans split

12 ounces of vodka 

12 ounce glass sealable container 

patience (9-12 months worth)

Directions:

1. Split the vanilla beans lengthwise with a sharp knife down the center of the bean. 

2. Place the split beans in the glass jar, fill the jars with vodka. 

3. Close the jar, & date the jar with a sharpy on the bottom so you know when to open it for use. 

4. Keep the vanilla extract while it rests in a cool, dry, dark area for 9-12 months before using in your cookies or cakes. 

Enjoy ! 

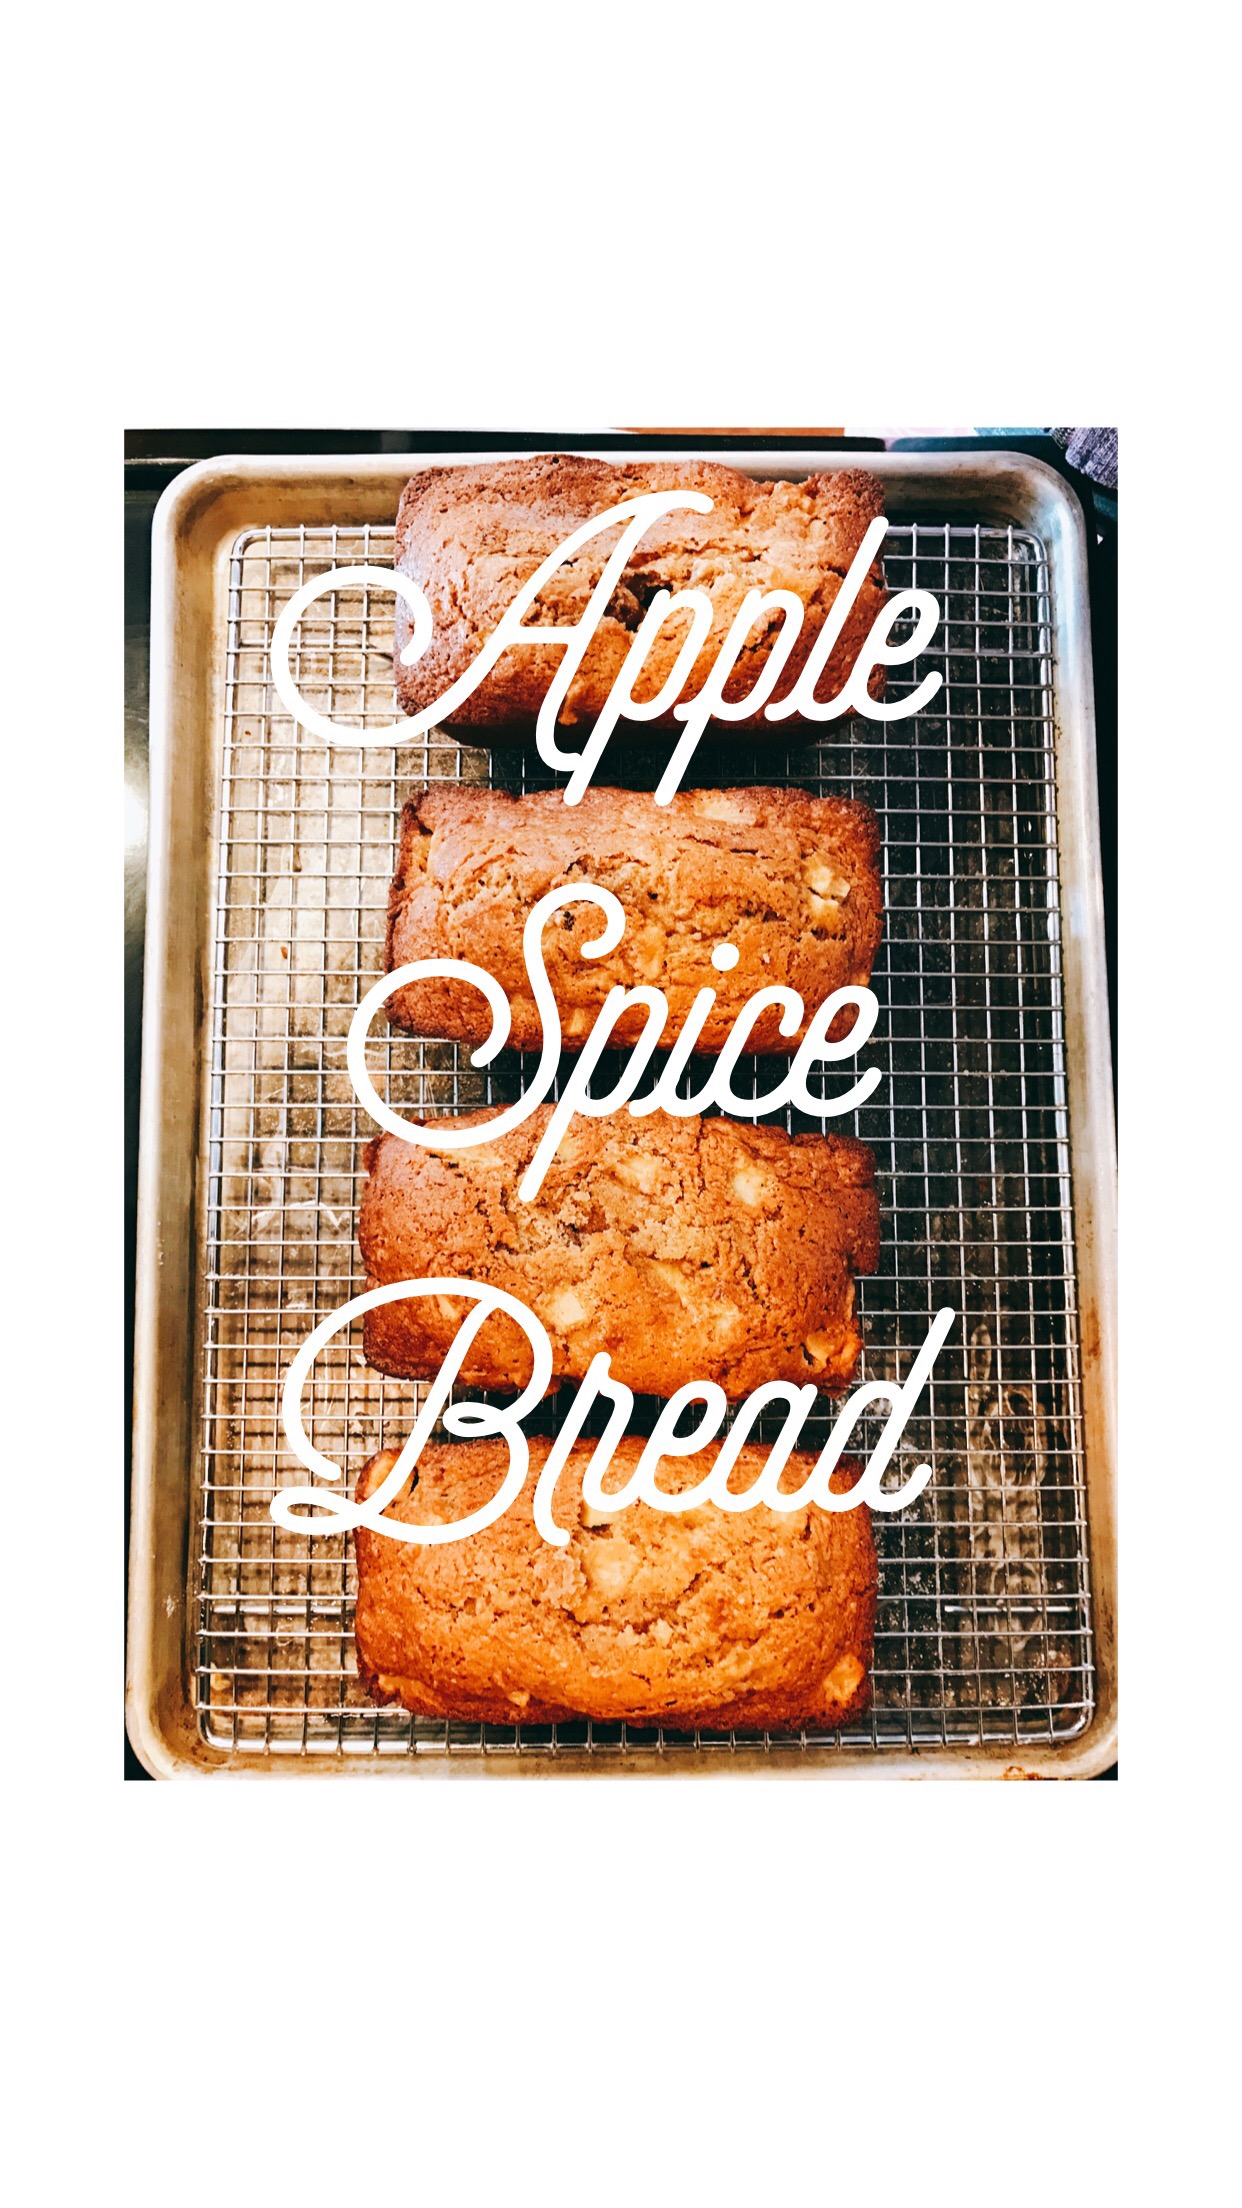
Apple Spice Mini Loaves

My grandpa gave me apples the other day! I do eat one a day religiously as the saying goes. In addition, I could not wait to use them in recipes and make homemade apple butter.  We did end up placing a batch of apples in the slowcooker for homemade apple butter to give out at the holiday this past weekend.

 I personally feel like there is nothing better than homemade thoughtful gifts to give out during the holidays to our friends and family. 

This recipe yields: 4 mini loaves

Ingredients:

3 cups of whole wheat pastry flour

1 teaspoon baking Soda

1/2 teaspoon of kosher salt

2 Tablespoon ground flaxseed

1 teaspoon ground  apple pie spice

1 2/3 cup granulated sugar or raw sugar 

1/2 cup egg white substitute 

1 whole egg

1 Tablespoon of pure vanilla extract

1/2 cup canola oil

1/2 cup unsweetened applesauce 

1/2 cup plain or vanilla Greek nonfat yogurt 

3 cups of apples (peeled, cored, and diced)

Directions:

1. Preheat oven to 350 degrees. Cooking spray mini loaf stoneware. Set aside. 

2. Place the first 6 ingredients in a large bowl and whisk together. Set aside.

3. In another large bowl mix together the liquid ingredients (egg substitute, egg, vanilla, oil, applesauce, yogurt). 

4. Add the dry ingredients to the wet using a silicone spatula. Incorporate until all the ingredients are wet with no dry residue. Caution not to over mix. Lastly fold in the apples. 

5. Divide the batter evenly into the prepared  mini vessels ( each one takes about 1.5 cups).

6. Bake for 35-40 minutes or until toothpick comes out without wet residue. 

7. Allow the breads to cool in pan for 5 minutes then invert onto wire rack for remainder of cooling process. 

Enjoy! 


George’s Best Man-Dog Cake

img_1931

We attendee a very special wedding earlier in the month of our dear friends. It was a lot of fun. We had the honor of preparing their wedding cake for this memorable event.

Their adorable 4-pawed son aka chocolate lab, George was in the wedding party! In honor of this families special day we also baked a dog best man’s cake to go along with their wedding cake. George was able to share his cake with his fellow wedding attendee pups.

If you like the dog biscuits you can find the recipe here. 

This recipe yields one 6 inch round cake

Peanut Butter & Carrot Cake

Ingredients: 
1/8 cup natural peanut butter

1/8 cup canola oil

1/2 tsp. pure vanilla extract

1/8 cup honey

2 egg whites (1/4 cup egg substitute)

1/2 cup whole wheat flour

1/2 tsp. baking soda

1/2 tsp. ground cinnamon

1/2 cup shredded carrots (about 1 large carrot)

Directions: 

  1. Preheat oven to 325 degree & parchment paper line a 6 inch round cake pan & spray with flour canola oil spray (like bakers joy or the pam variety).
  2. In a medium mixing bowl mix together vegetable oil, egg, honey and vanilla extract. Set aside
  3. In a large bowl mix together the flour, baking soda and cinnamon.  Pour the dry ingredients into the wet ingredients. Mix until no dry residue remains. Fold in carrots.
  4. Once batter is combined, pour into the prepared 6 inch baking pan and bake for 40 to 45 minutes. Use toothpick method to check the readiness of the cake. Once toothpick comes out clean out of the center of the cake with no wet residue removed the cake from the oven and allow to cool on wire rack for 5 minutes in the pan. Once time has elapsed remove from the pan and allow to cool the remainder of the time on wire rack.

Peanut Butter Frosting

Ingredients: 

Peanut Butter Cream Cheese Frosting:
4 oz. cream cheese, room temperature
½ cup creamy peanut butter

Directions: 

  1. In a medium mixing bowl with a hand mixer, combine the cream cheese and the peanut butter, beat together until creamy and spreadable.
  2. Once the cake has cooled.  Frost the cake and decorate as you wish. If you like the biscuit idea make sure to add the biscuits while the frosting is still wet and has not firmed up.

Pumpkin Spice Beignets

We rarely use a frier but there are some days when you crave a memory and the only way to take you to that special taste is recreating it at home. My husband’s aunt and uncle brought us Cafe Du Monde Beignet mix for Christmas last year. I was cleaning out the cabinet and came across the box and decided to make some beignets for breakfast for old time sake. I still can remember when we went to Cafe Du Monde for the first time. I can remember breathing in the powdered sugar. 

The coffee is so delicious there. The special ingredient in Cafe Du Monde coffee is chickory. I add their chickory to every pot of coffee we brew. This batch of beignets goes really well with a hot cup of chickory infused Joe! 

I can never leave well enough alone and I thought I’d add some fall flavor to this classic mix. We have pumpkin in abuncance and thought this would do the trick to add some fall flare. 

Servings 12 (24 beignets)

Ingredients:

2 cups of dry cafe du monde beignet mix

1 teaspoon pumpkin pie spice 

3/4 cup buttermilk

4 Tablespoons pumpkin purée 

Canola oil for frying

Cinnamon & sugar blend (optional) [ usually 1/4 cup granulated sugar and 1 Tablespoon of cinnamon]

Directions: 

1. Start the oil for beignets and prepare the temperature to 370 degrees by either a electric fryer or using a candy thermometer in a deep skillet. If using a skillet place 1-2 inches deep of oil. 

2. While the oil heats. Place the beignet mix and pumpkin spice in a medium bowl and whisk. Add in the buttermilk and puréed pumpkin using a silicone spatula fold ingredients together. 

3. Prepare a lightly floured surface and roll the dough out to an 1/8 thickeness and evenly cut the dough into 24 pieces. 

4. In 1 to 2 inches of prepared oil, fry the beignets for 8-10 seconds until puffy and golden brown. Make sure to bast continuously. Once beignets are to desired color and pillow shape. Remove from frier and place on wire rack with paper towels below rack and allow excess oil to drip off. Allow to cool slightly. 

5. In the meantime; in a paper brown bag place the cinnamon and sugar blend. Give the bag a good few shakes.   Add a few donuts at a time and shake to coat the beignets. 

6.  Remove the Beignets from the brown bag & Enjoy ! 

George’s Dog Biscuits

We attendee a very special wedding yesterday of our dear friends. It was a lot of fun. We had the honor of preparing their wedding cake.

Their adorable 4-pawed son aka chocolate lab was in the wedding party! In honor of this families special day we also baked a dog best man’s cake to go along with their wedding cake. To top off the cake, we made George LC Brown savory dog biscuits. 

This recipe was adapted from all recipes.  

Ingredients

1 teaspoon of penzey’s beef base

3/4 cup boiling water

2 1/2 cup whole wheat flour, plus scant for kneading.

3/4 cup dry powdered milk

1/4 cup egg white

1/2 cup canola oil

2 TABLESPOONs of brown sugar (not packed)

Yields: 2 half sheet pans of mini dog bones; aka enough to fill a 24 ounce mason jar

Directions:

1. Preheat oven to 300 degrees. Paperline a half sheet baking pan. 

2. Dissolve the beef base in the boiling water. Set aside.

3. In a medium to large bowl whisk together flour, dry milk, egg whites, brown sugar, and oil. Add in the broth liquid and incorporate into the batter. 

4. Place the dough onto lightly floured surface and knead the dough 4-5 times. Roll out the dough with a rolling pin to about 1/4 inch thickness. Cut the dough into desired shapes. 

5. Place the cutouts closely on prepared baking pan. Bake for 20 minutes at 300 degrees.

6. Remove from oven and allow to cool on pan on wire rack. Once cooled store in mason jar. 

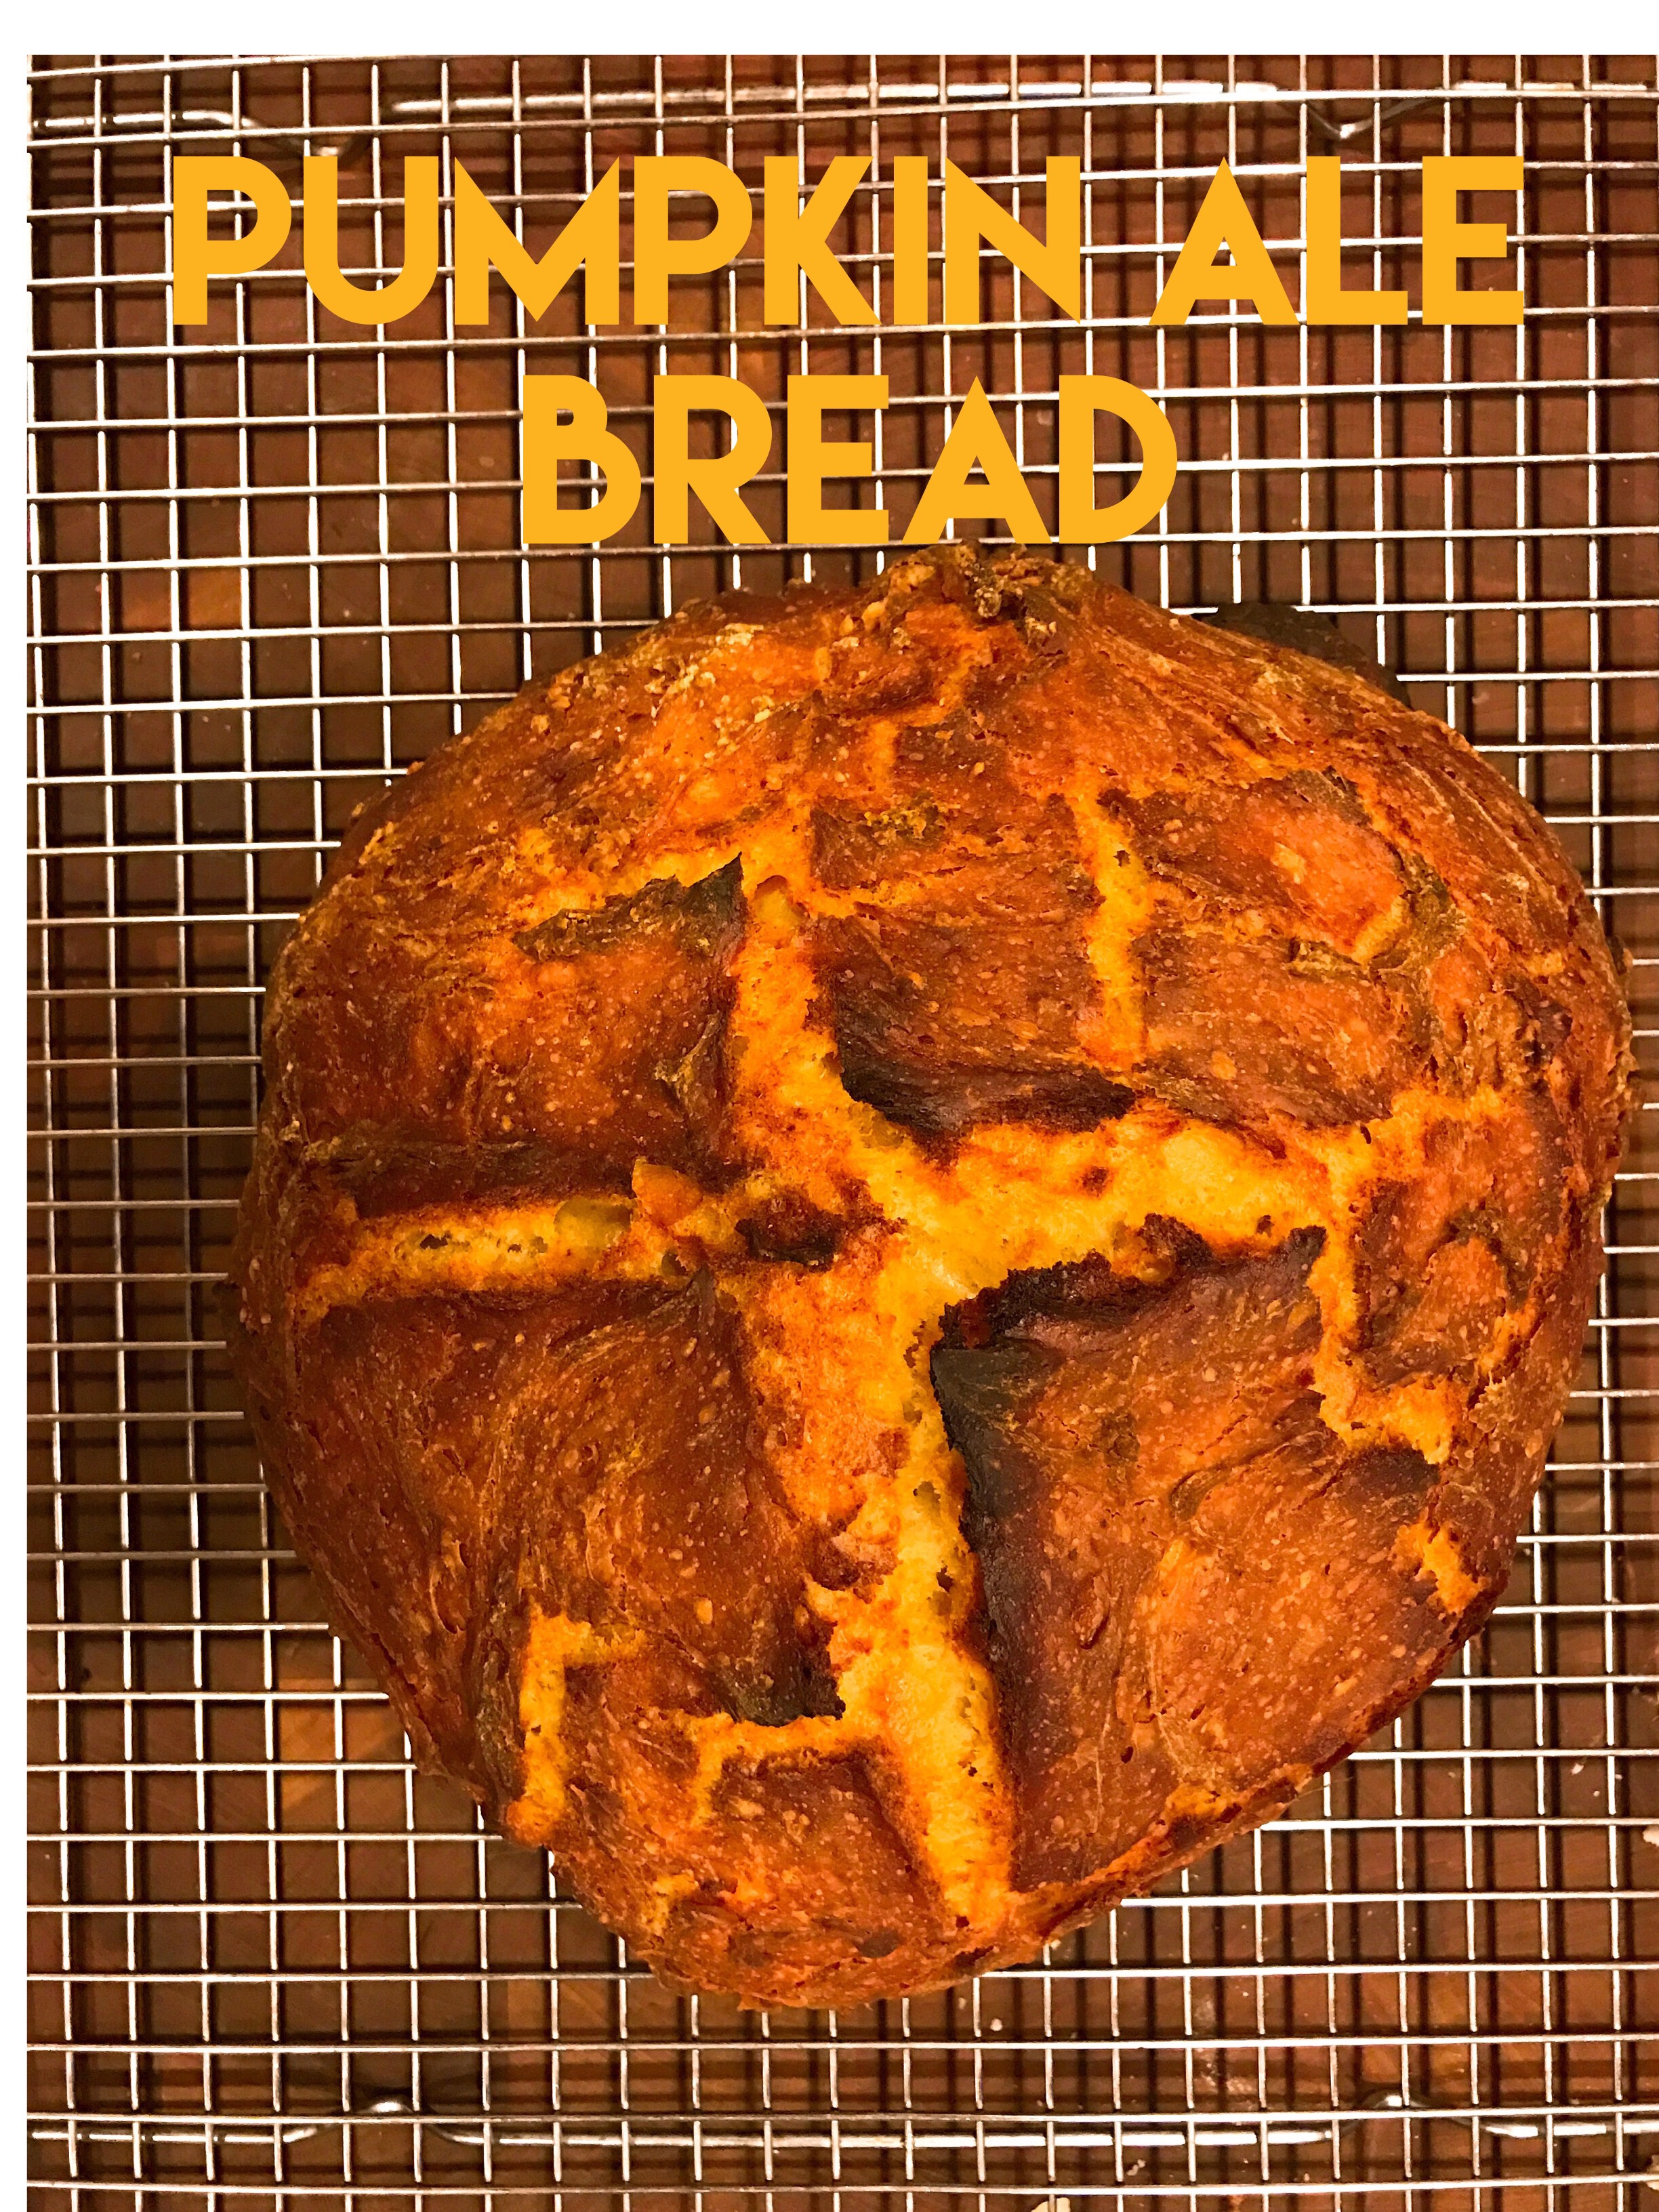
Pumpkin Ale Bread

Tomorrow is Halloween and I have pumpkins on my mind. It is really rainy in the burgh so I thought I’d bake some beer bread to go with supper. I checked out the refrigerator and low and behold we had pumpkin hard cider on hand. 

I think this will make for a tasty fall bread. The bonus with this bread is you don’t have to let it rise. It is a quick bread. The only waiting period is allowing the Dutch-oven to heat up. 

This bread pairs well with butternut squash soup.

Prep Time:5 minutes 

Cook Time: 45 minutes

Ingredients:

4 cups of Bread Flour

1 Tablespoon baking powder

1 1/2 teaspoon kosher salt 

12 of pumpkin hard cider (Ace is what I used)

3 tablespoons of honey

4 Tablespoons puréed pumpkin
Pre-work: Preheat oven to 500 degrees with large dutch-oven in oven. Allow to heat for 1 hour. 

Directions:

1. In a large bowl whisk together flour, salt, & baking powder l. Set aside.

2. Pour the hard cider, honey and pumpkin into the dry ingredients. Mix with wooden spoon just until all ingredients are moist. Knead on lightly floured surface for one or two times just enough to form a ball. If you sill have time for the oven to heat up, spray the bowl with cooking spray and wrap with saran wrap. 

3. Once an hour has elapsed carefully (with oven mitts) remove the Dutch-oven from oven. Continuing to use oven mitts remove lid and carefully place the dough in the center of the Dutch-oven. Scoring the dough with a knife make a “X”. Using the oven mitts place the lid back on the Dutch-oven and return the vessel back into the oven. Decrease the temperature to 400 degrees and allow the bread to bake for 45 minutes.

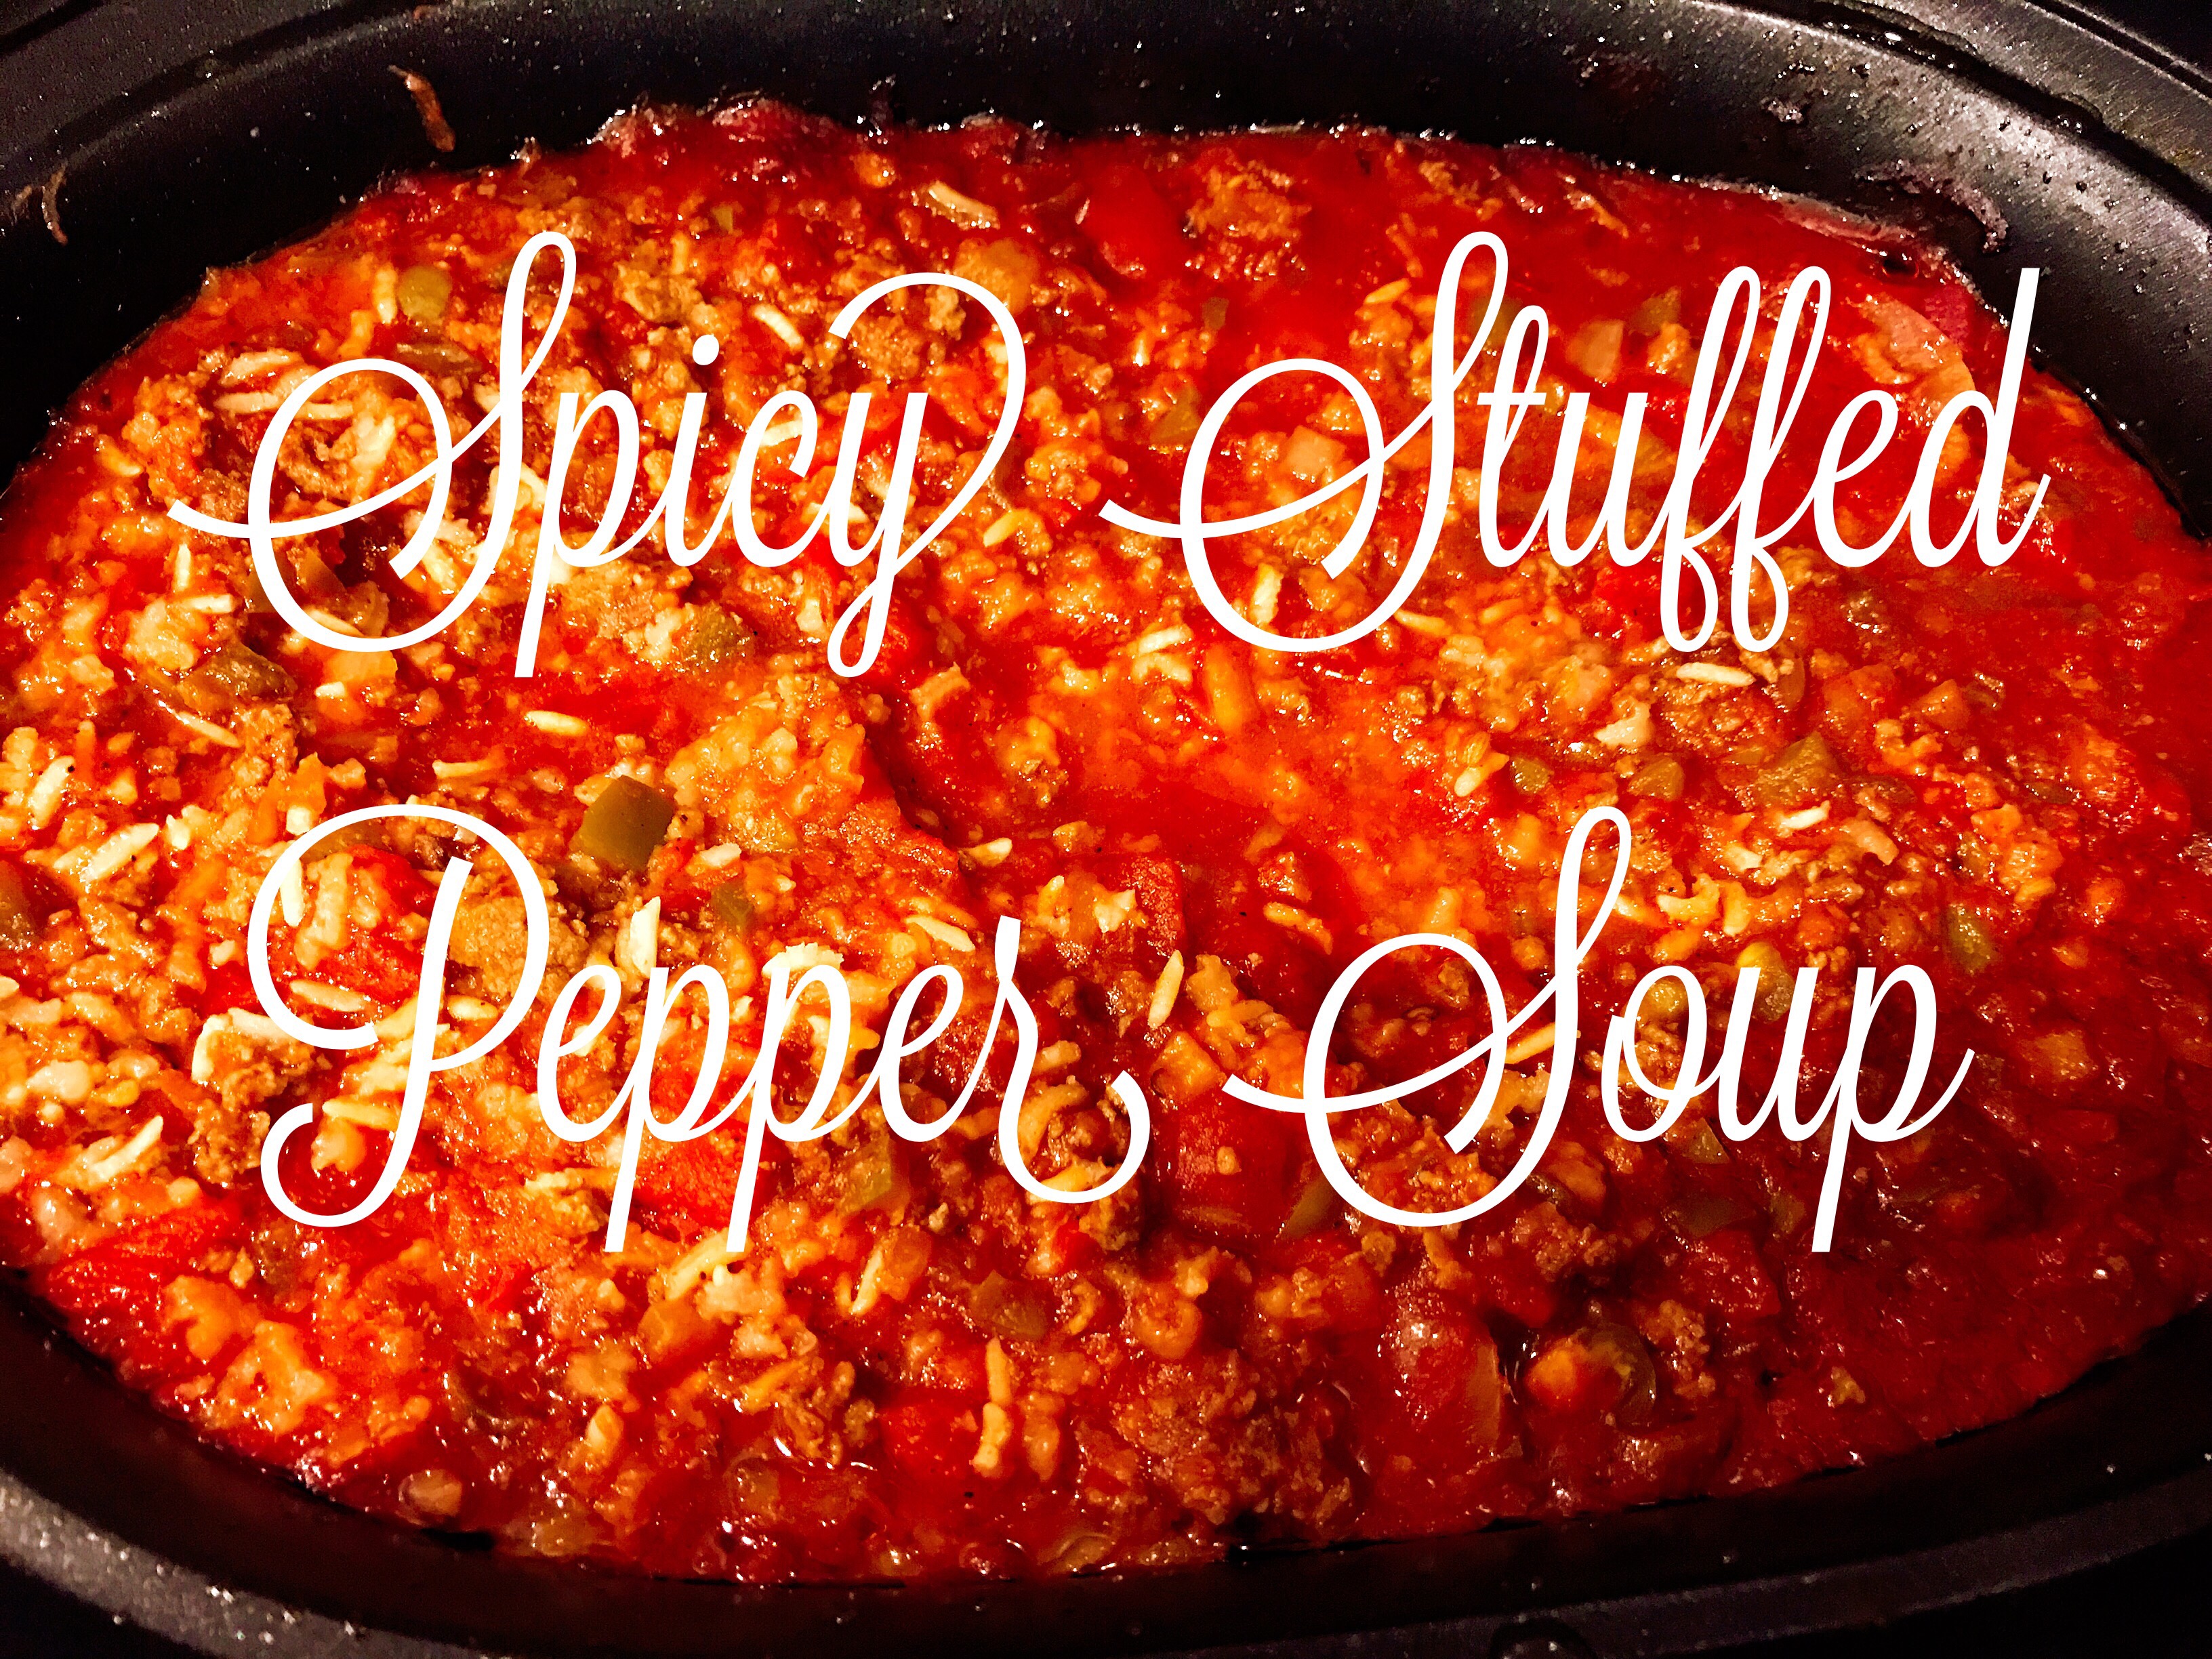
Spicy Stuffed Pepper Soup


We had so many green peppers in the garden this year! I was stuffing them like crazy! At work we have stuff Pepper Soup on the menu all the time. I thought I’d give it a try in the slowcooker. I have made Stuffed Pepper Soup before with vegetarian soy crumbles and you can most definitely do that with this recipe. 

This is a perfect fall dish for the crisp weather this time of year and a good way to use those heirloom green peppers from the garden. 

This recipe yields: 12 serving

Prep time: 15 minutes

Ingredients:

1 pound spicy sausage

1 pound extras lean ground beef (93/7)

32 ounce canned no added salt tomato sauce

1 (10 ounce can) rotel (undrained)

1 can diced tomatoes (undrained)

1 quart of low sodium spicy v8

1 quart of water   

2 cups of diced green peppers

1/2 cup diced yellow onion

1 small jalapeño, diced

2 cups of uncooked brown rice 

1/4 cup brown sugar 

1 teaspoon ground pepper

1 teaspoon kosher salt

2 teaspoon penzeys beef base

Directions: 

1. In a large nonstick pan brown the beef and sausage over medium heat. Make sure no pink meat remains. Drain the meat to remove excess fat. 

2. While the meat cooks prep and pour all other ingredients into a 6 quart slowcooker. Once meat is done dump the meat into the slow cooker and stir. Set the soup on low for 8 hours. Stir occasionally. 

Enjoy! Goes well with cornbread!